Want spring decor that’s easy and beautiful? These simple diy paper spring garlands that adds soft seasonal charm make decorating stress-free.
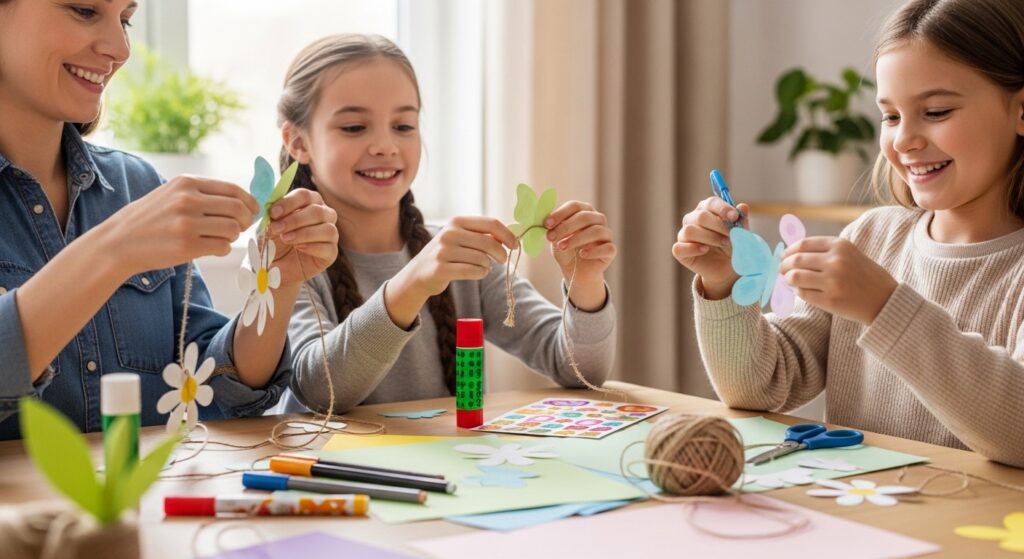
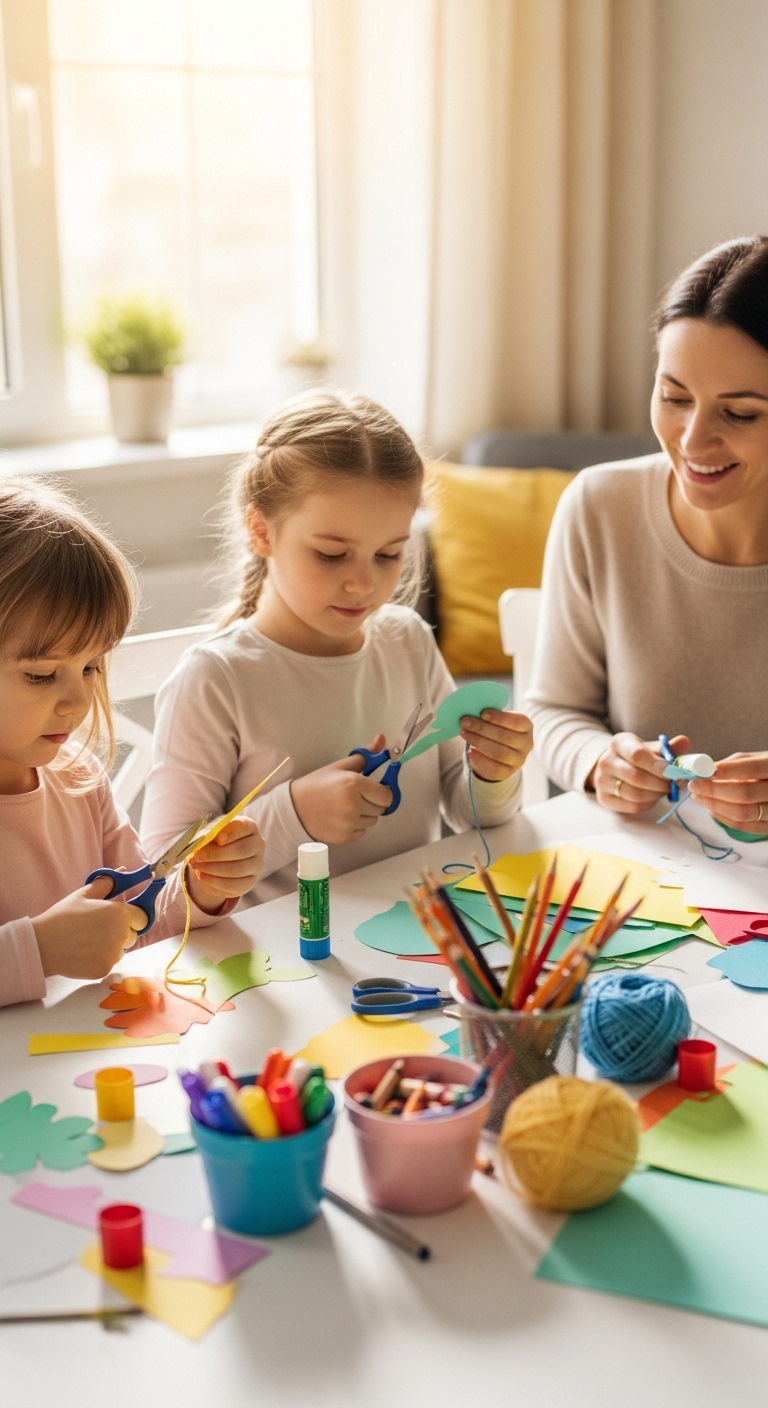
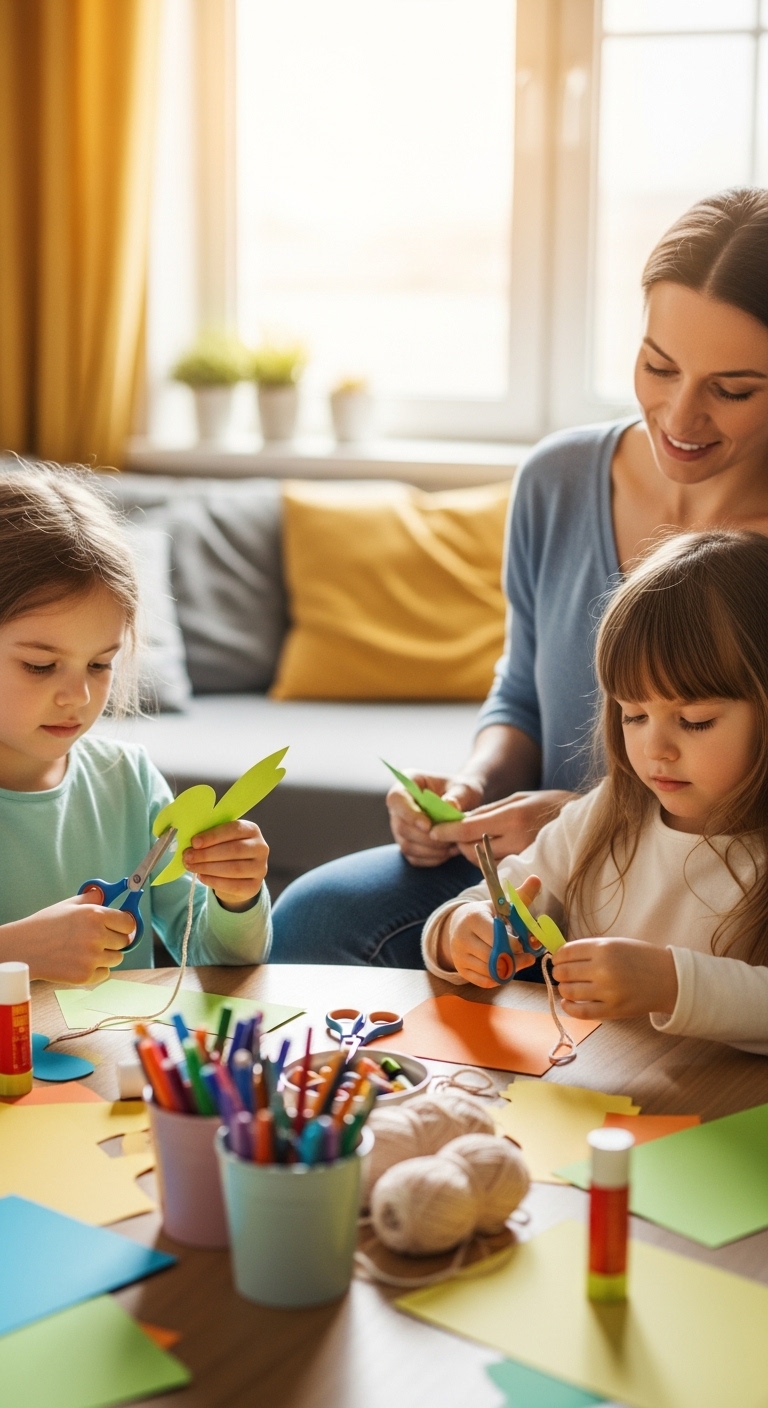
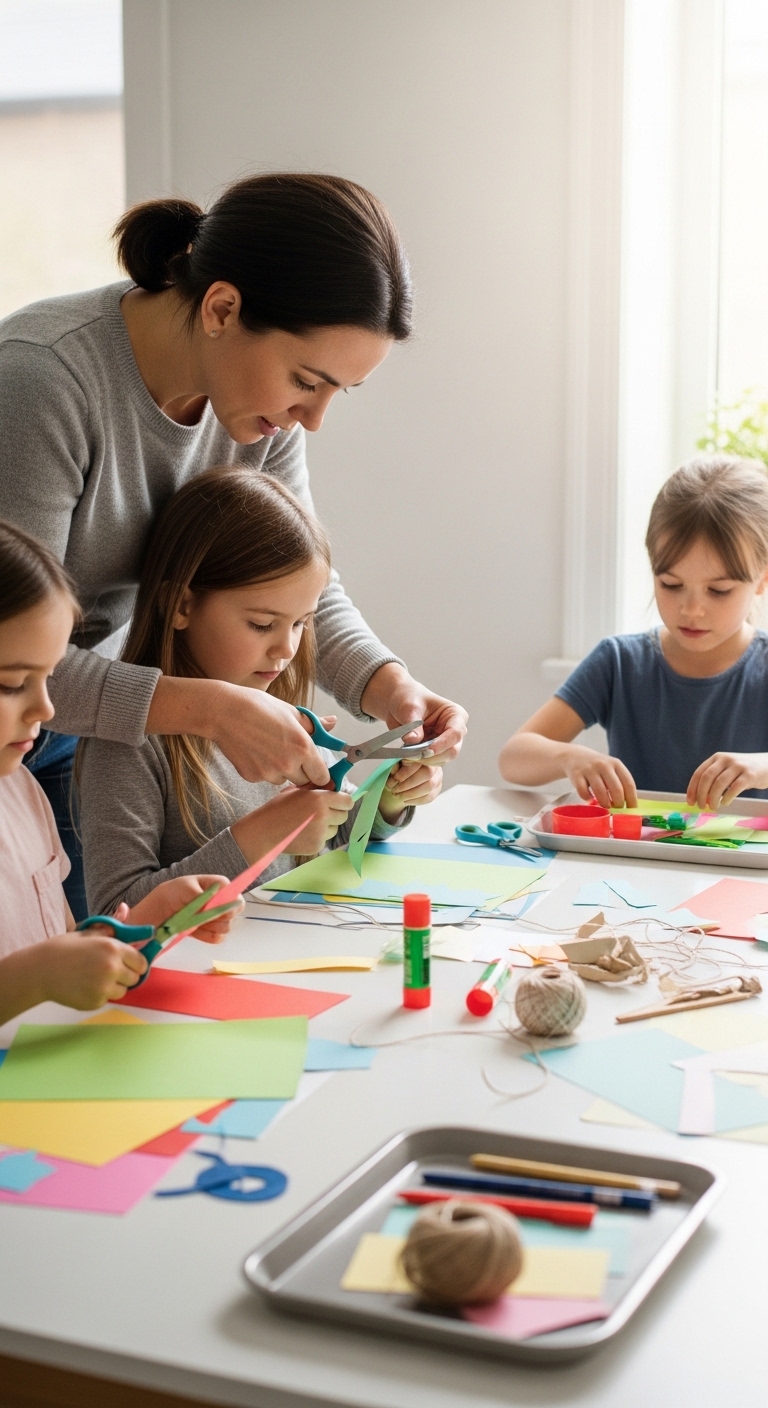
Tired of looking at plain walls and empty shelves but don’t want to spend a fortune on decorations? Making your own paper garlands is easier than you think, and they can completely change the look of a room.
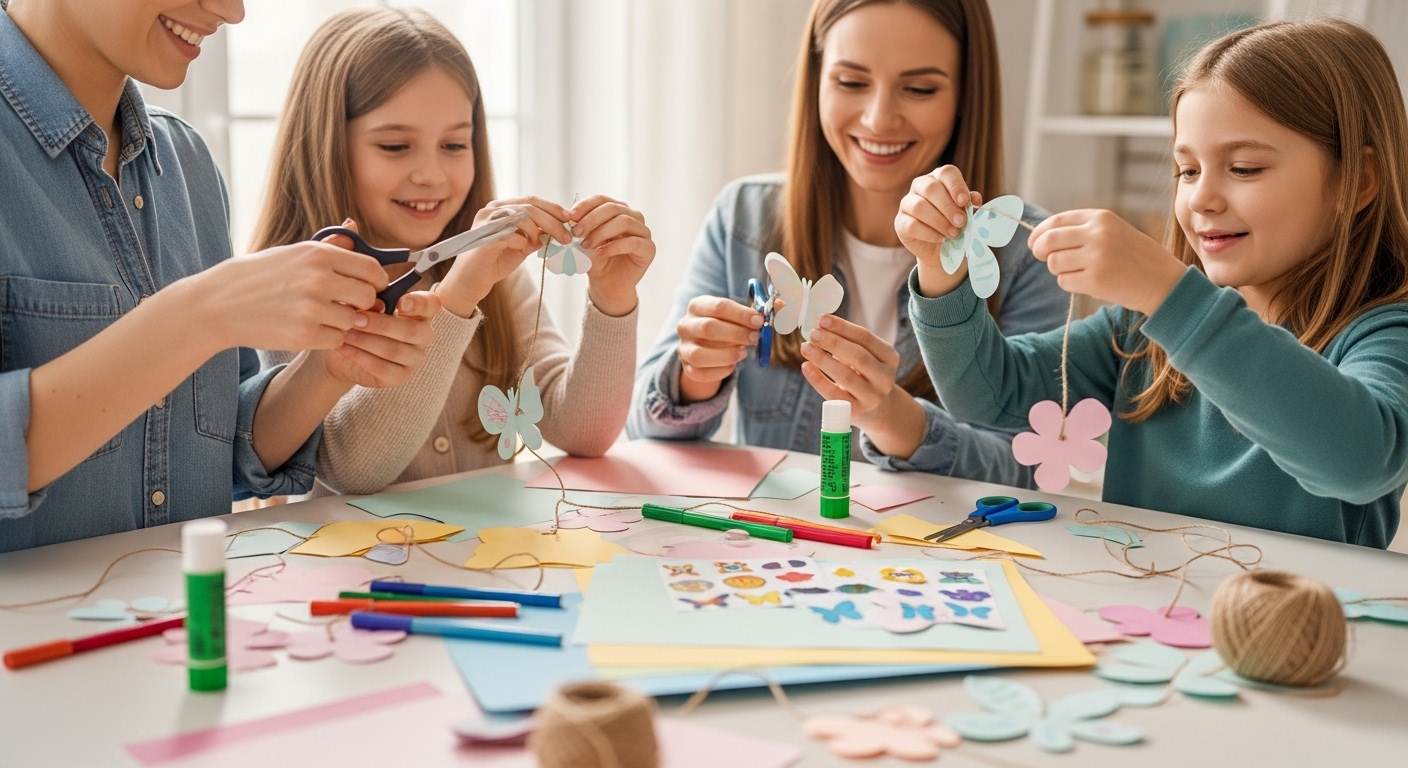
With just a few sheets of paper, scissors, and string, you can create beautiful, cheerful decorations. Kids can help too, practicing colors, shapes, and hand skills, all while having fun. By the end of this post, you’ll have garlands that actually make your space feel bright and welcoming, without stress or expensive supplies.
If your kids enjoy slow, hands-on activities like this, you may also like this Friendship-Themed Spring Preschool Crafts For Kids that help children connect while creating.
Table of Contents
- 1 How Paper Garlands Bring Cheer and Learning Into Your Home
- 2 Materials You’ll Need for DIY Paper Spring Garlands
- 3 Step-by-Step Guide to Making Your DIY Paper Spring Garlands
- 4 Creative Variations to Make Your DIY Paper Spring Garlands Unique
- 5 How DIY Paper Spring Garlands Teach Beyond Decor
- 6 Safety and Preparation Tips for DIY Paper Spring Garlands
- 7 Bring Your Space to Life with DIY Paper Spring Garlands
How Paper Garlands Bring Cheer and Learning Into Your Home
Spring decorations don’t have to be complicated or expensive. Paper garlands are a simple, low-cost way to brighten any room, and they’re more than just pretty, they can be fun and educational for kids.
Making garlands teaches children patterns, colors, and hand-eye coordination.
Cutting shapes and arranging them in sequences helps with early math skills and spatial awareness, while choosing colors and designs encourages creativity and decision-making.
For adults, paper garlands are a stress-free way to refresh your space. A few simple materials, colored paper, scissors, and string, can transform a blank wall, a shelf, or a window into a soft, cheerful display that feels seasonal and inviting.
Even better, these garlands are flexible: you can mix textures, layer shapes, or include recycled paper to make a unique decoration that reflects your style.
Most importantly, paper garlands invite conversation. While hands stay busy, children talk more freely. You end up discussing the holiday, animals, weather, or memories from previous years. The decoration becomes a background tool for connection.
Materials You’ll Need for DIY Paper Spring Garlands
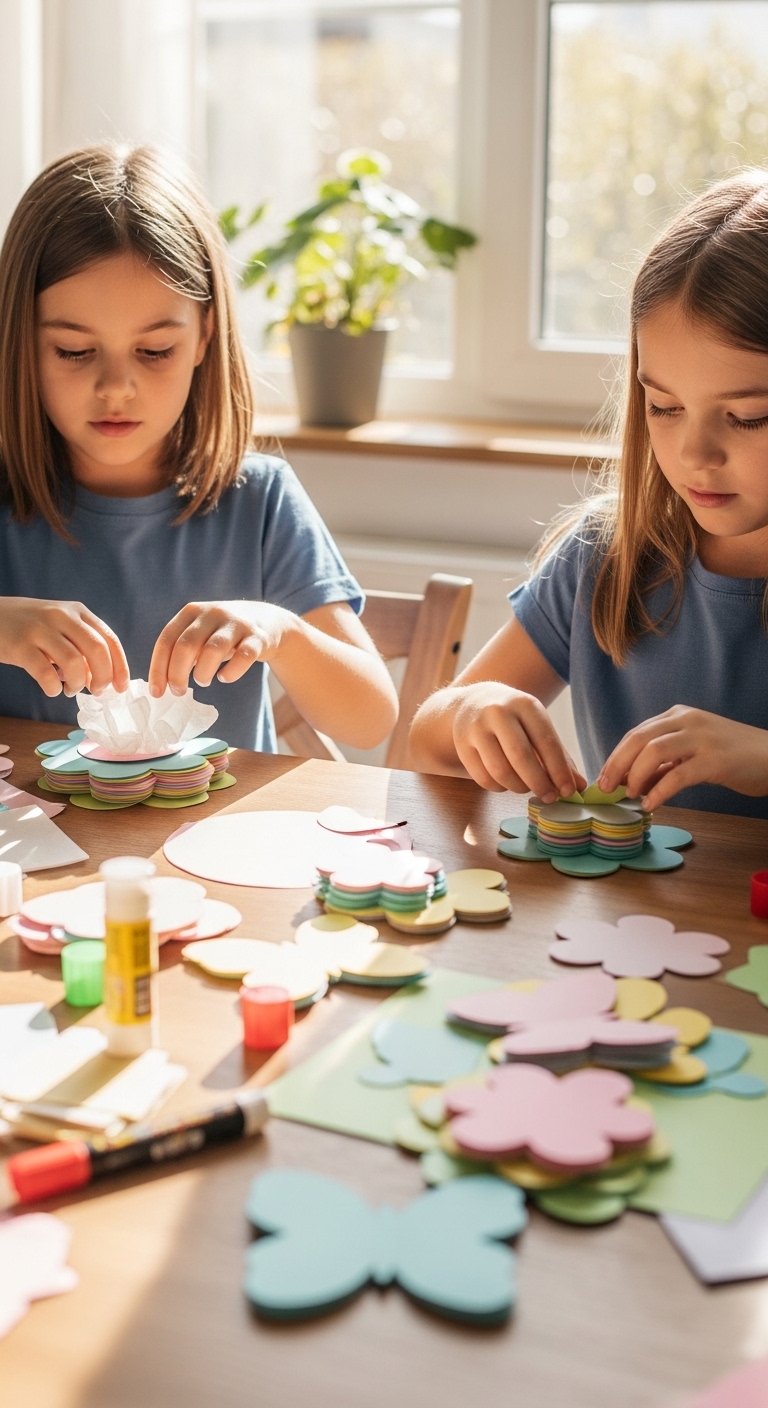
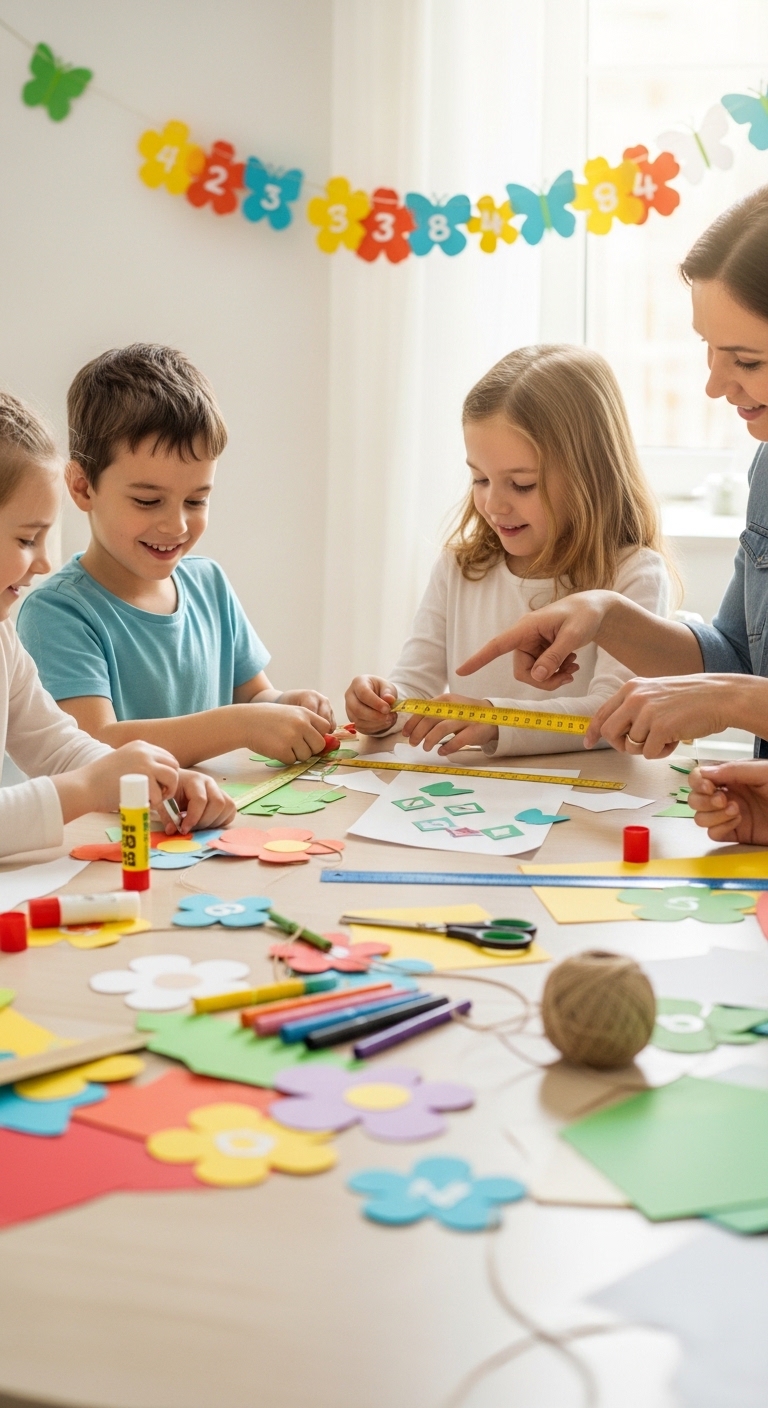
Making simple DIY paper spring garlands doesn’t require fancy supplies. Most items you need are inexpensive or already at home, and each one plays a role in creating charming, cheerful decorations.
The goal isn’t perfection, it’s the same relaxed crafting atmosphere we use during simple How to Host a Cozy Self-Care Craft Night for Busy Women (Aesthetic + Budget-Friendly) at home.
Basic Supplies (Essential)
- Colored craft paper: This is the main material for your garland. Choose pastel or bright colors for a soft, spring look. You’ll cut shapes like flowers, leaves, or circles from these sheets.
- Scissors: Needed to cut your paper into shapes. Small, sharp scissors help with precision, especially for kids.
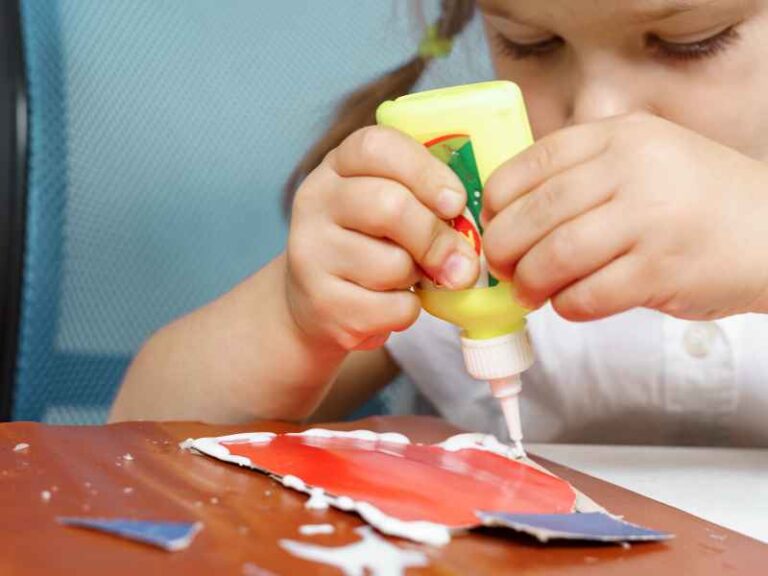
- Glue or tape: Used to attach your paper shapes to the string or to layer shapes for dimension. Glue sticks work well for kids, while liquid glue gives a stronger hold for adults.
- String or twine: The base that holds your garland together. Choose natural twine for a rustic look or colorful string to match your paper shapes.
Optional Supplies (For Creative Variations)

- Recycled paper or old magazines: Great for an eco-friendly version. They add interesting textures, patterns, and colors that make each garland unique.
- Tissue paper: Perfect for soft, flowing designs. Ideal if you want a delicate, airy look rather than solid shapes.
- Markers or colored pencils: Use them to add patterns, designs, or doodles on your paper shapes for a personalized touch.
- Hole punchers: Makes stringing shapes faster and neater, especially for younger kids who may find threading tricky.
Tips for Materials
- Paper types affect the look: Smooth cardstock gives crisp, sharp shapes, while tissue paper adds softness and movement to your garland.
- Mix textures: Combining different papers or recycled materials makes your DIY paper spring garlands more visually interesting and gives kids more sensory learning opportunities.
Step-by-Step Guide to Making Your DIY Paper Spring Garlands
Creating DIY paper spring garlands is simple, fun, and a great way to add seasonal charm to your home. Follow these steps to make garlands that look cheerful and feel satisfying to craft.
1. Choose Your Theme & Colors
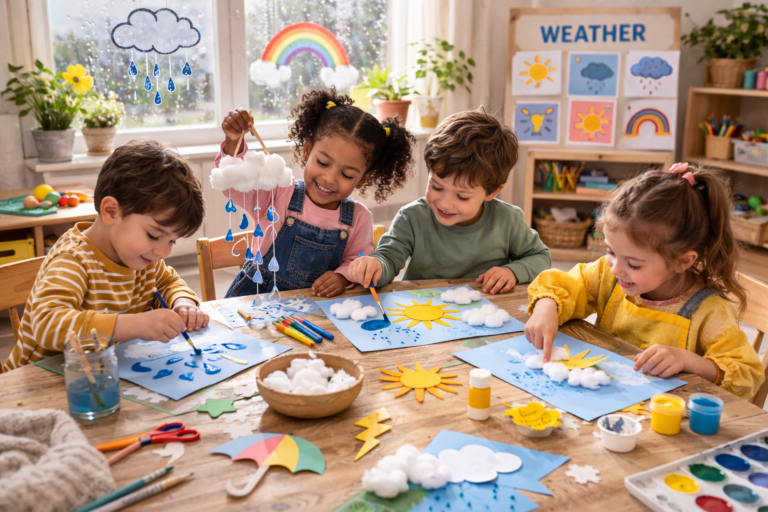
Decide on the colors and shapes for your garland. Pastels, floral designs, or simple nature-inspired shapes like leaves and butterflies work beautifully.
-
Pick a Simple Spring Theme
Keep it clear and recognizable. One idea is enough.
Good kid-friendly options:
-
Flowers & garden
-
Butterflies & bugs
-
Rainbows & sunshine
-
Baby animals
-
Easter eggs
-
Nature shapes (leaves, clouds, raindrops)
Tip for parents/teachers:
Ask: “Where would we see these outside?”
This turns crafting into observation and memory, not just decoration.
-
Limit the Color Palette (The Secret to Cute Results)
Instead of using every color, choose 3–5 main colors.
Examples:
-
Pastels → soft pink, mint, lavender, yellow
-
Nature → green, brown, sky blue, white
-
Bright spring → coral, turquoise, sunshine yellow
-
Neutral + pop → kraft paper, cream, one bright accent
Children actually cut more carefully when the colors feel intentional, they start noticing patterns.
-
Assign Colors to Shapes
Now the craft becomes a thinking activity.
Example:
-
Yellow = sun
-
Green = leaves
-
Pink = flowers
-
Blue = raindrops
You’ve just added classification skills without saying “lesson.”
-
Let Kids Make One Creative Choice
Give structure… but leave one decision to them:
-
pattern order
-
extra color
-
special shape
-
glitter piece
Ownership = engagement.
Why This Step Matters
Skipping this stage usually leads to:
-
random cutting
-
fast boredom
-
“I’m done” after 2 minutes
Planning turns crafting into storytelling, and storytelling keeps kids invested.
Also Picking a theme helps your garland look cohesive and visually appealing. You can also teach kids basic color theory, for example, which colors go well together or how warm and cool tones change the mood. Seasonal symbolism can be fun too, like green for new growth or yellow for sunlight.
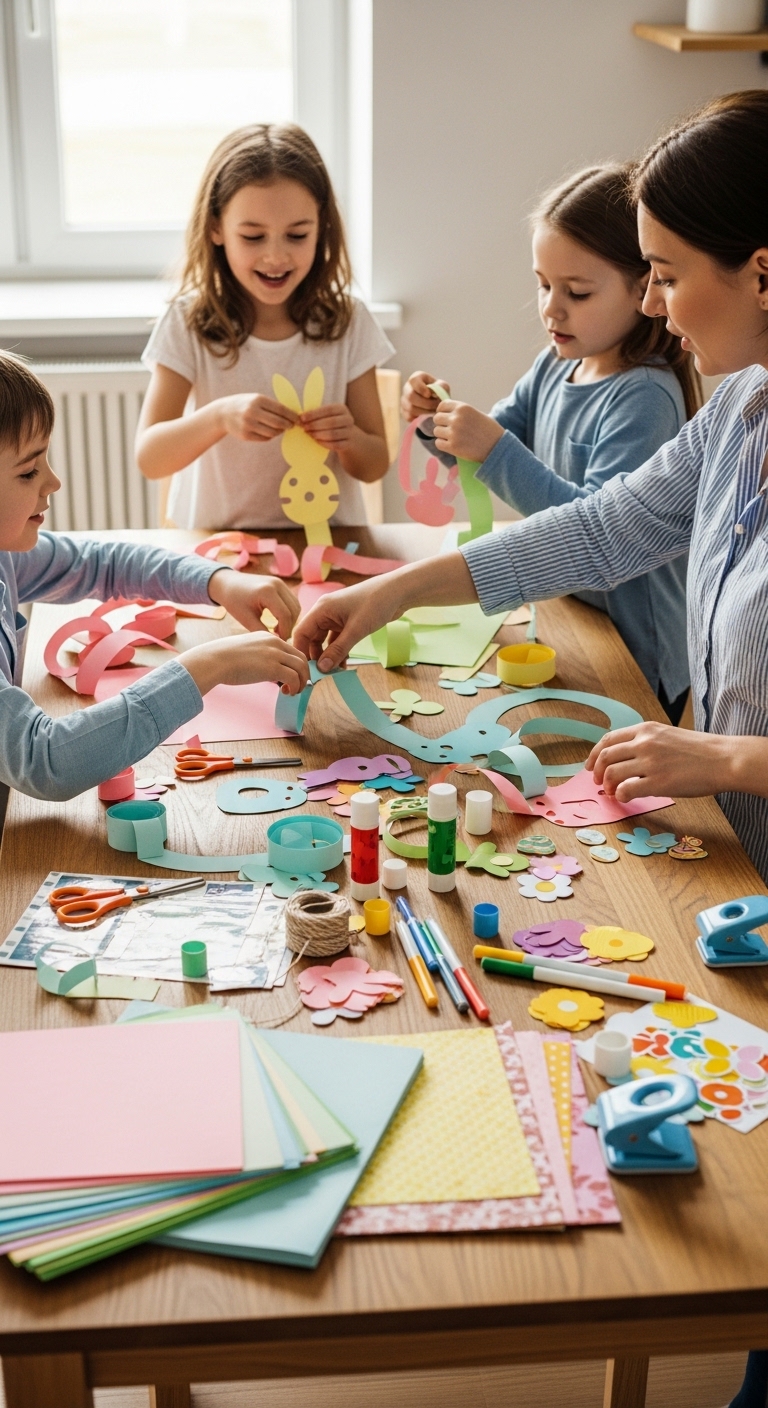
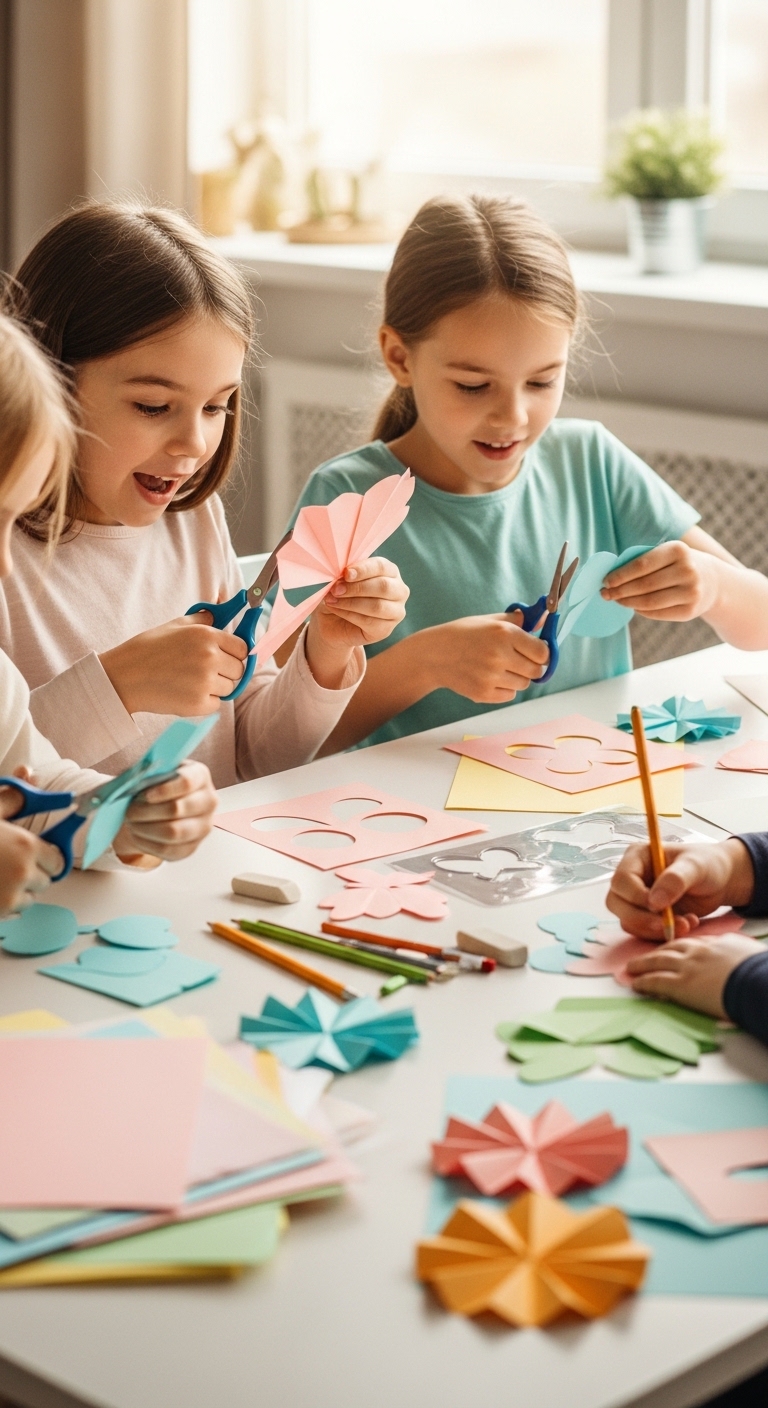
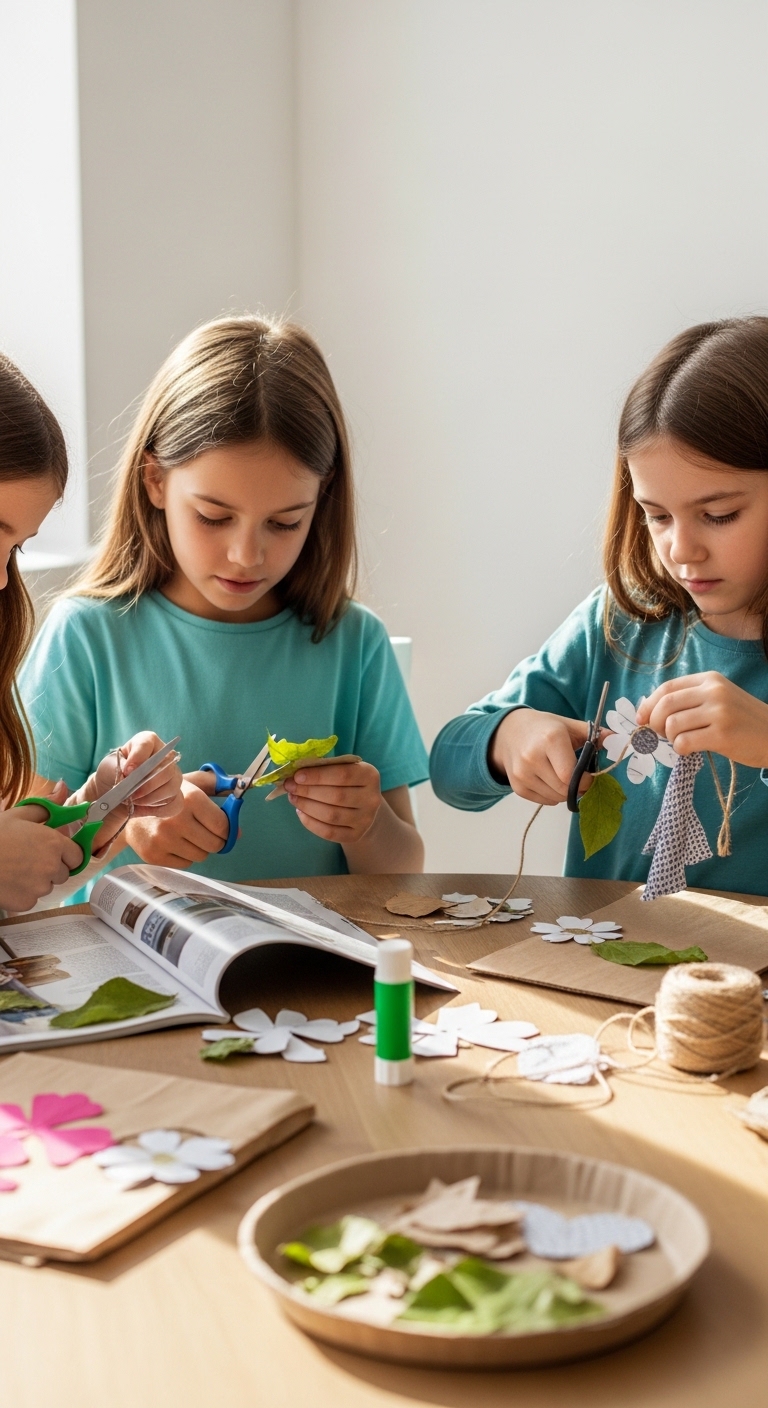
2. Cut and Prepare Shapes
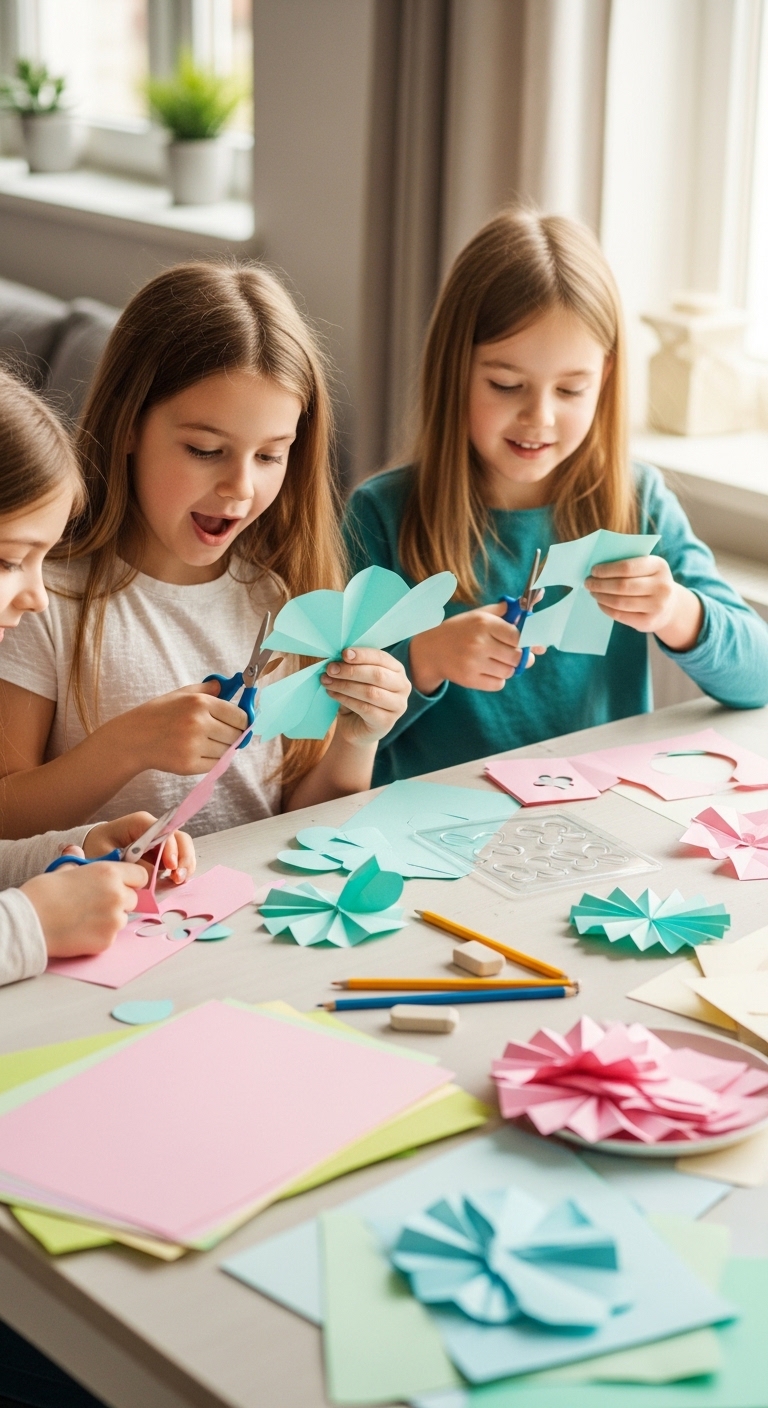
Cut your paper into the shapes you’ve chosen: flowers, leaves, circles, or abstract designs. Use scissors, templates, or stencils for accuracy.
-
Fold Paper to Make Cutting Easier
Show kids how folding helps create multiple shapes at once.
Simple examples:
-
Fold in half → two identical shapes
-
Accordion fold → repeating patterns
-
Fold a butterfly shape → perfect symmetry surprise
This step feels magical to children because the reveal matters more than the cutting.
-
Draw Simple Guidelines First
Light pencil outlines prevent the “I messed up” meltdown.
You can:
-
Draw one template and let them trace
-
Use cookie cutters as stencils
-
Trace cups, lids, or hands for circles and flowers
Learning bonus:
Tracing improves pencil control and confidence, especially for preschoolers.
-
Adjust Scissors to Age Level
Not all kids should cut the same way.
Younger kids (3–4):
-
Snip fringes
-
Cut straight lines
-
Cut wide shapes
Middle (5–6):
-
Basic curves
-
Simple petals
-
Cloud shapes
Older (7+):
-
Detailed butterflies
-
Layered flowers
-
Small shapes
Matching difficulty prevents fatigue and keeps excitement high.
-
Prepare Pieces Before Decorating
Create a “shape pile” first before adding glue or markers.
Why this works:
-
Kids stay focused on one task
-
Less mess
-
Better results
-
Teaches planning (finish step A before step B)
You can even make it a challenge:
“Let’s see how many flowers we can prepare before decorating!”
-
Celebrate the Reveal Moment
When folded shapes open, pause and react.
This small moment:
-
Builds confidence
-
Encourages persistence
-
Makes them want to continue the project
Educational tip: Cutting and folding shapes is a great way for kids to practice hand-eye coordination, symmetry, and fine motor skills. Measuring lengths or trying to match sizes also introduces early math skills in a fun, hands-on way.
When cutting shapes like flowers and leaves for your paper garlands, you might also enjoy our step‑by‑step ideas in 6 Simple Flower Crafts for Kids That Encourage Creativity Over Perfection where we explore playful ways to work with floral art projects.”
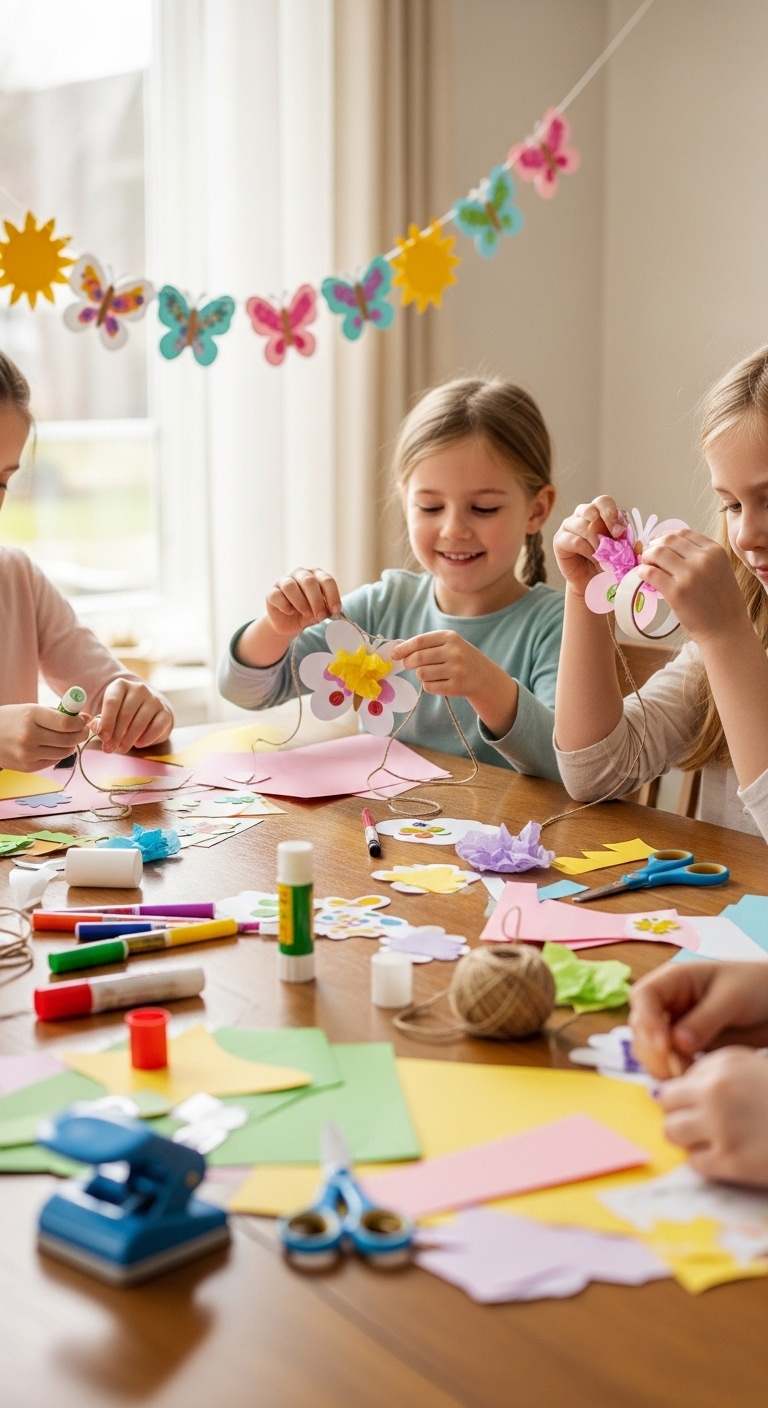
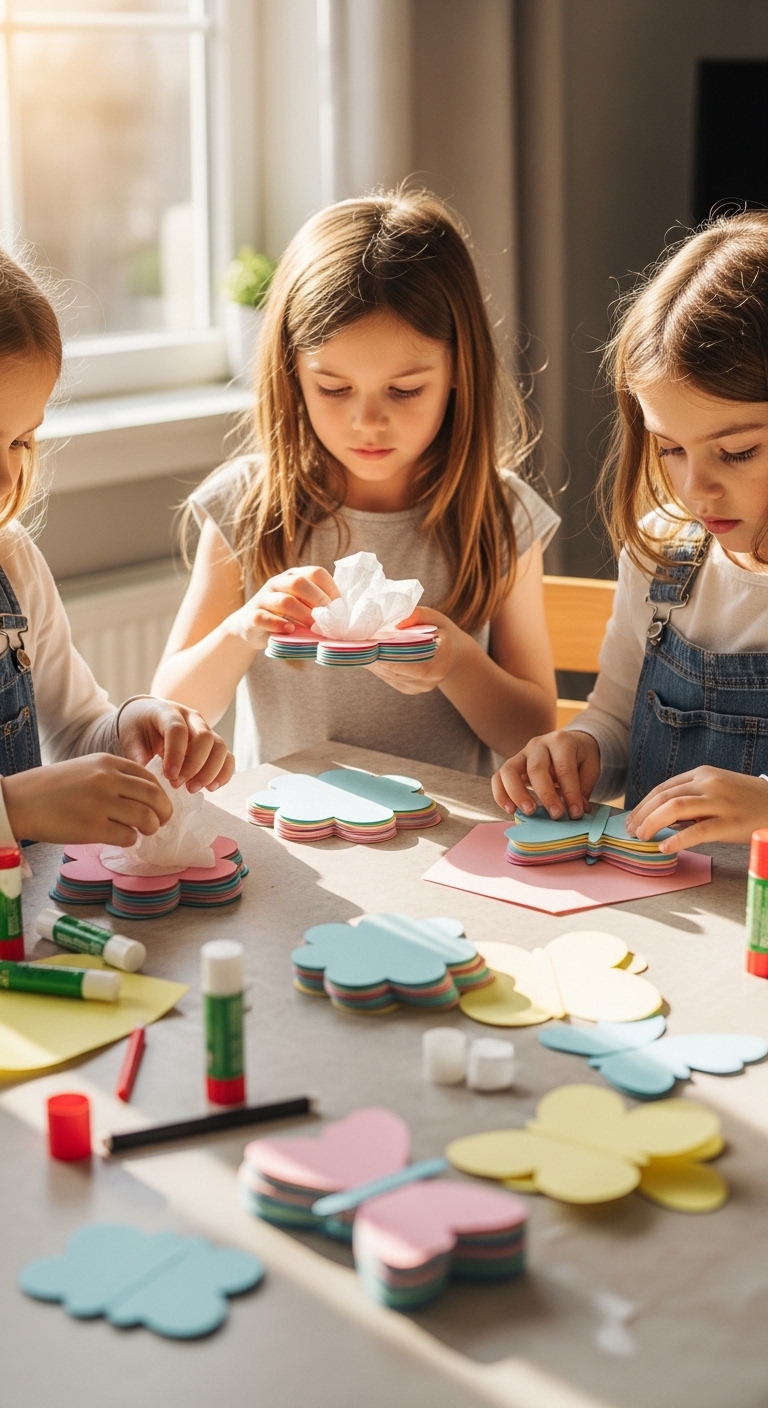
3. Assemble the Garland
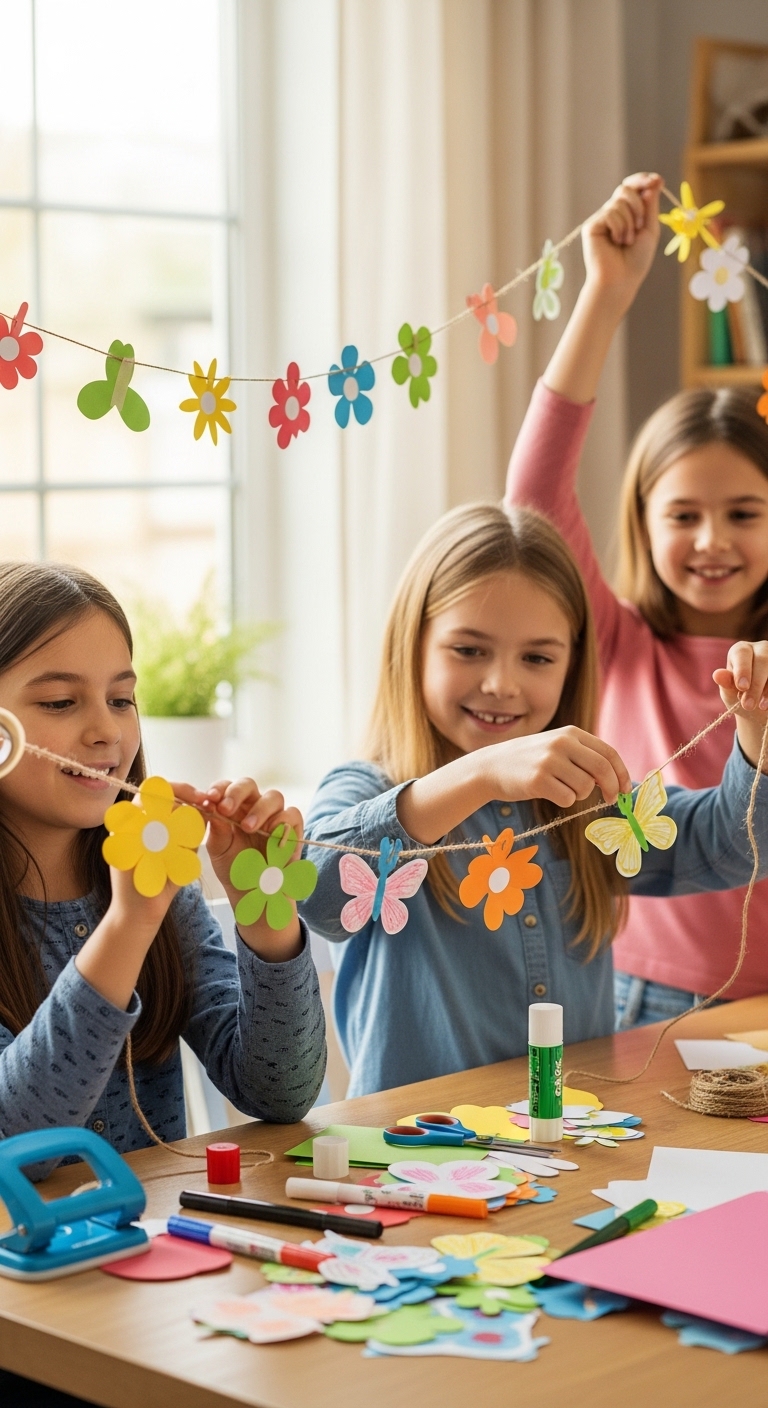
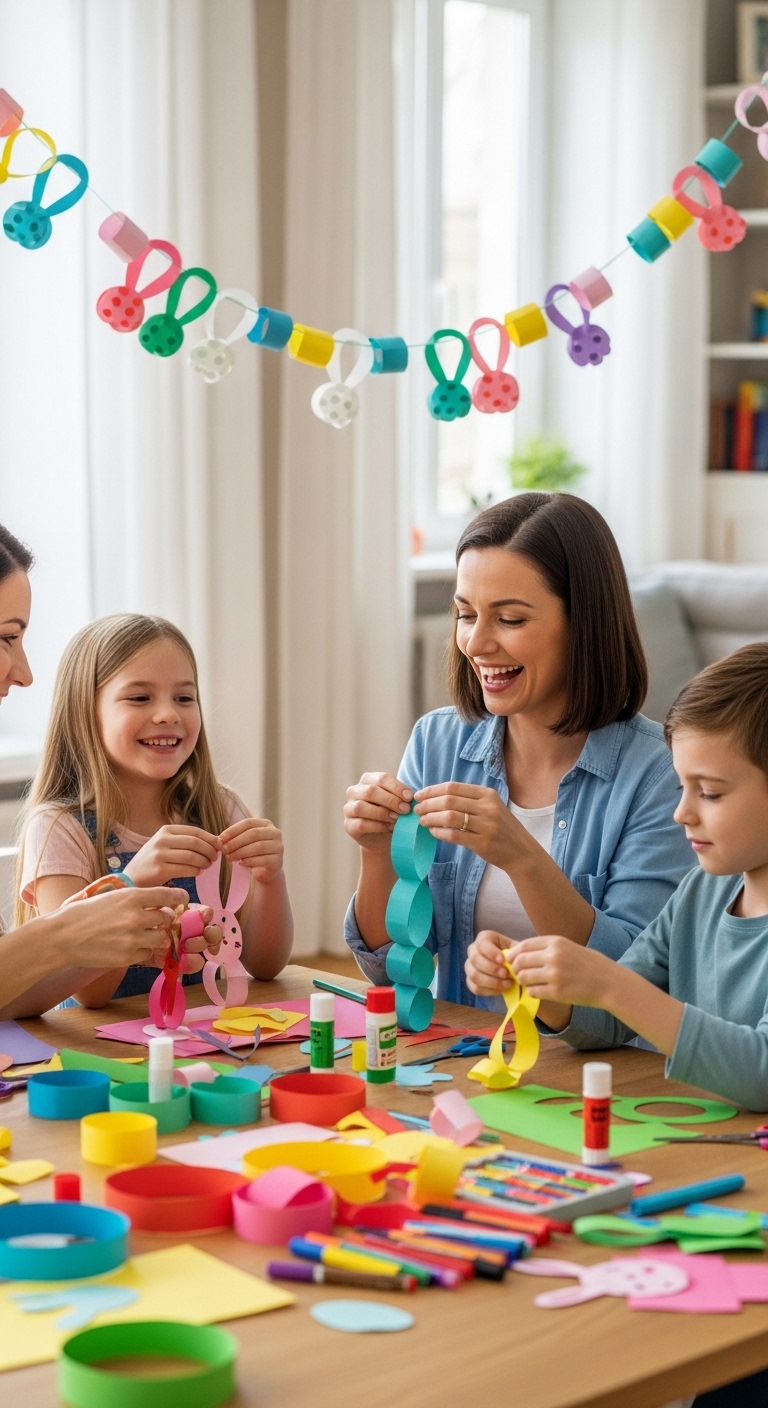
Attach your shapes to string or twine using glue, tape, or by threading holes. Arrange them in repeating patterns or random clusters depending on your style.
Educational tip: Stringing shapes in order teaches sequencing and pattern recognition. Arranging shapes with spacing in mind develops spatial awareness, and layering shapes adds depth and visual interest.
-
Add Details Before Attaching
Decorate each shape while it’s still flat.
It’s much easier than trying to color after the garland is hanging.
Ideas kids naturally enjoy:
-
Dots and patterns on flowers
-
Faces on butterflies or suns
-
Color gradients (light → dark)
-
Mixing crayons + markers + stickers
Learning moment:
Kids practice planning: finish the piece first, then assemble.
-
Introduce Texture
Texture keeps kids engaged longer than plain coloring.
Simple options:
-
Tissue paper crumples for flower centers
-
Cotton for clouds
-
Yarn for stems or antennae
-
Scrap paper layering
This builds sensory awareness and creativity without extra cost.
-
Punch Holes or Prepare Tape Spots
Now prepare each piece to connect into a garland.
Two easy methods:
Hole-punch method
-
Punch top corners
-
Thread string through
-
Great for older kids
Tape method
-
Lay string flat
-
Tape shapes onto the string
-
Best for younger kids
-
Thread or Attach the Shapes
Spread the pieces on the floor first before hanging.
Teach spacing:
-
Close together = full and colorful
-
Far apart = calm and minimal
Let kids decide, they learn visual balance naturally.
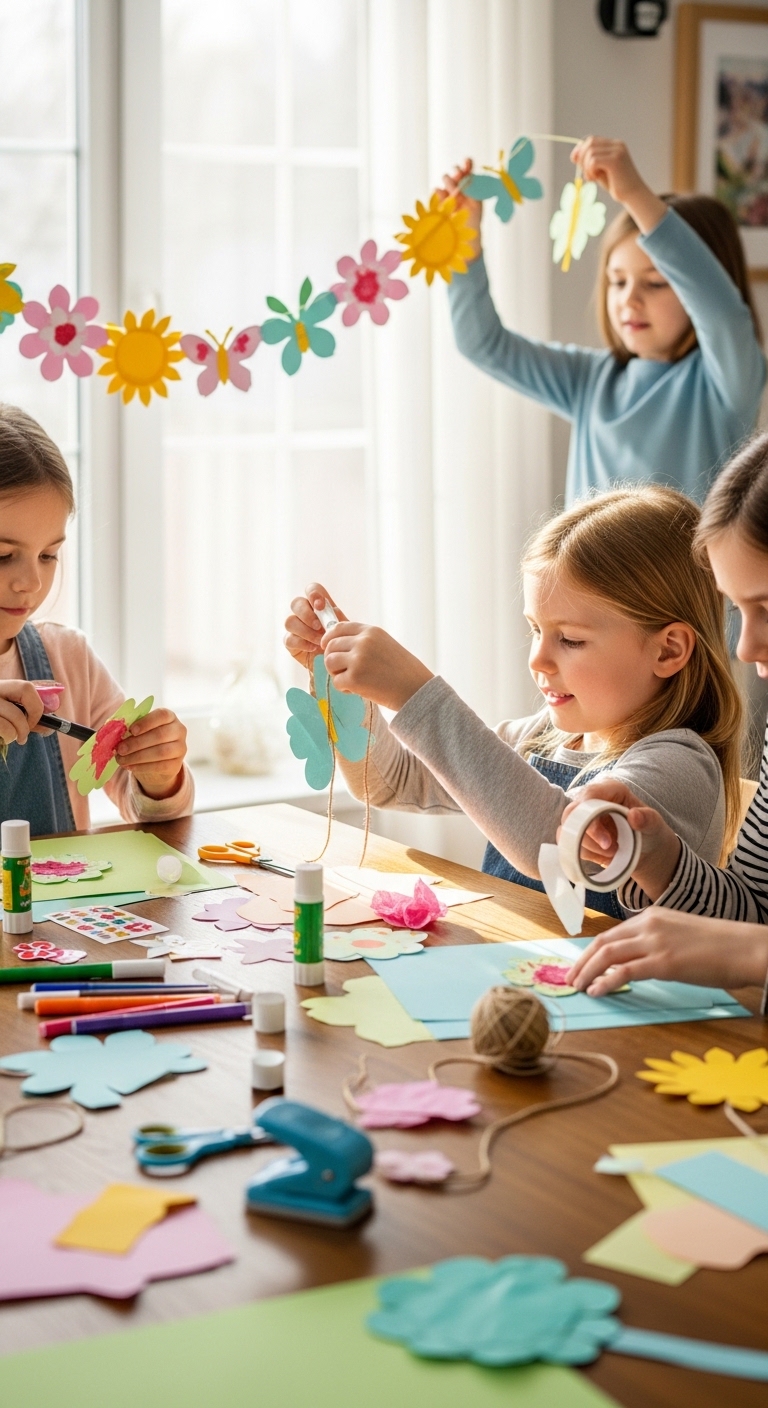
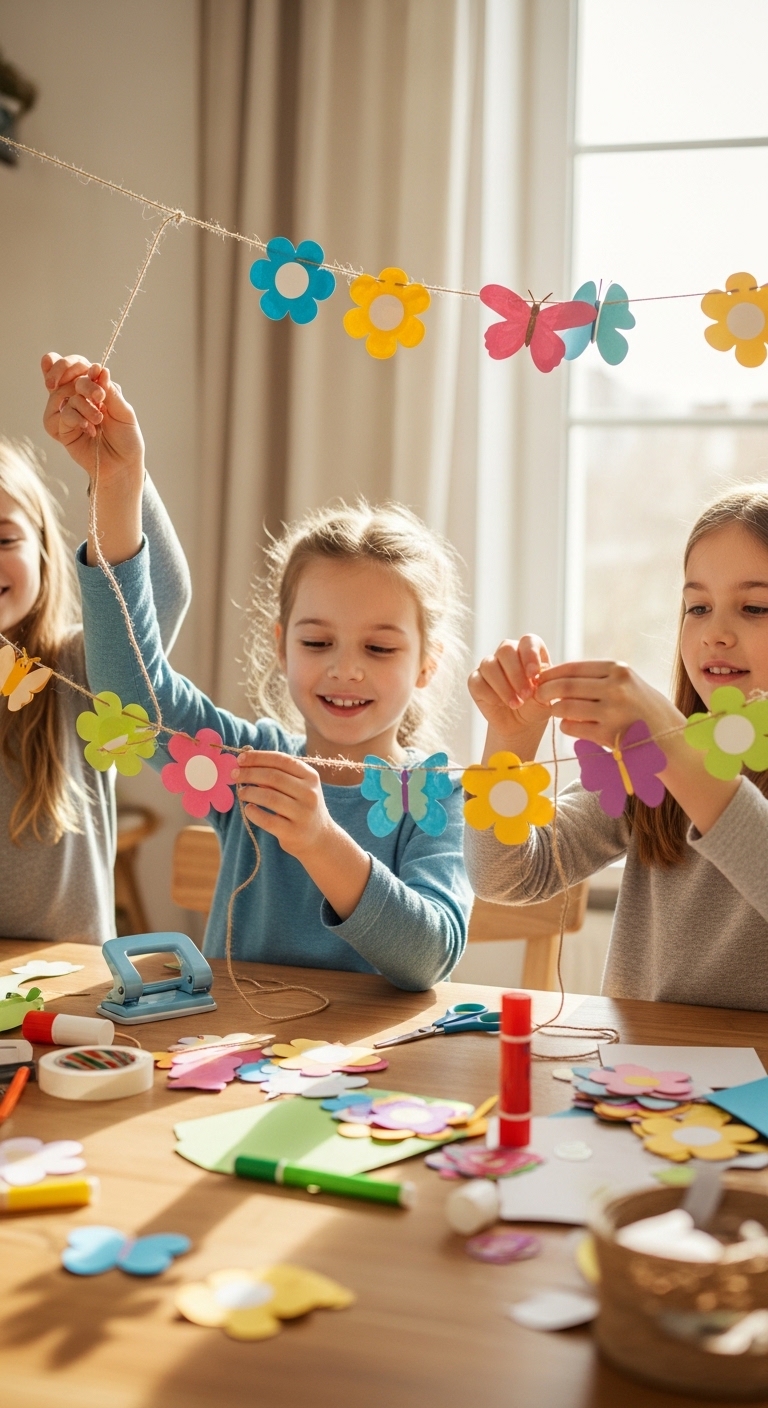
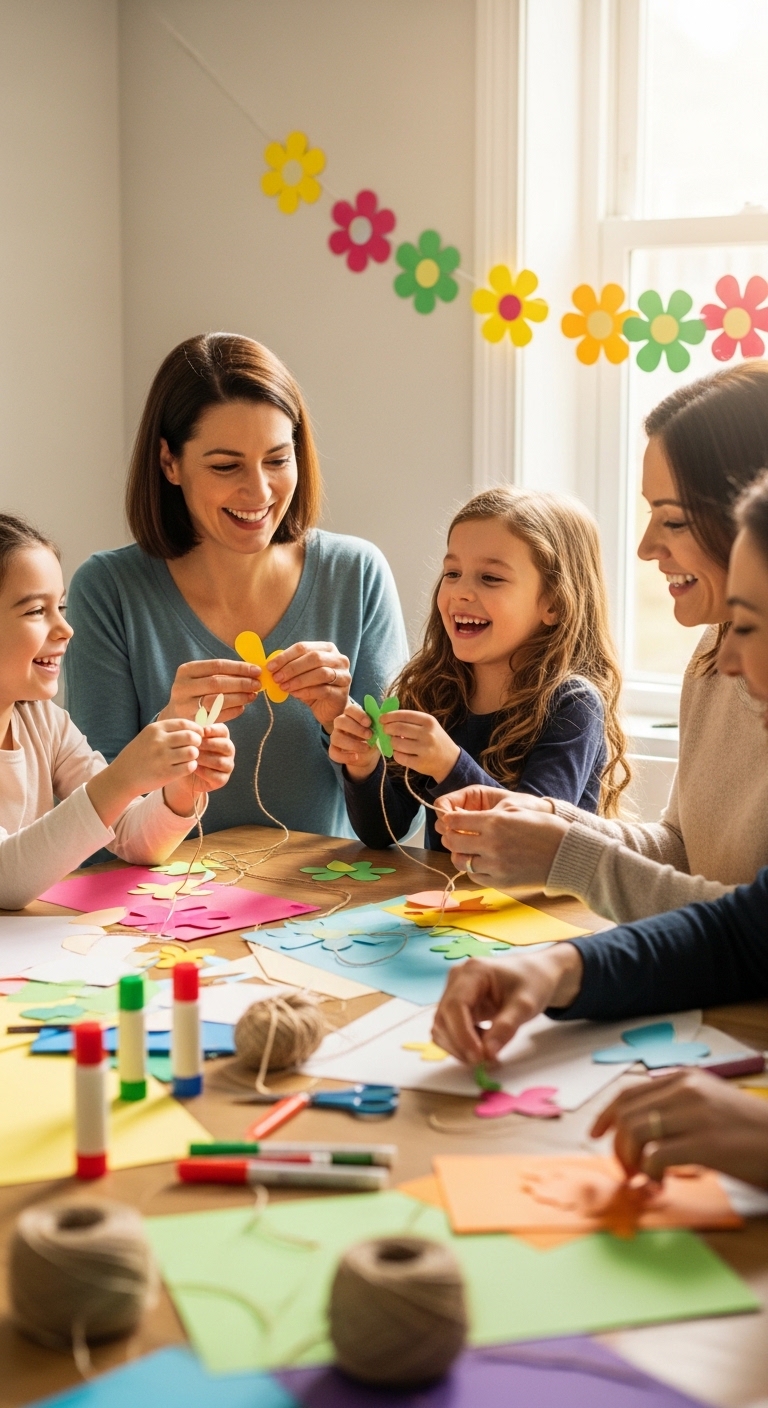
4 Display Your Garland

After the cutting stage, decorating feels like freedom colors, texture, and personality finally appear.
Let them make choices here. Perfection doesn’t matter; ownership does.
-
Hang & Celebrate

Hang across:
-
A window
-
Bookshelf
-
Wall
-
Doorway
Pause and admire it together.
That moment gives kids pride, the real reason crafts boost confidence.
Educational tip: This is a chance to teach basic design composition. Kids can learn about balance, spacing, and how colors interact with light and surroundings. Moving the garland around encourages them to see how placement affects the overall look.
If you’re hanging your new DIY paper spring garlands near a window or soft corner, our post 3 Gentle Ways to Use Window Coverings to Make Your Home Feel Softer offers tips to enhance that cozy look.
Creative Variations to Make Your DIY Paper Spring Garlands Unique
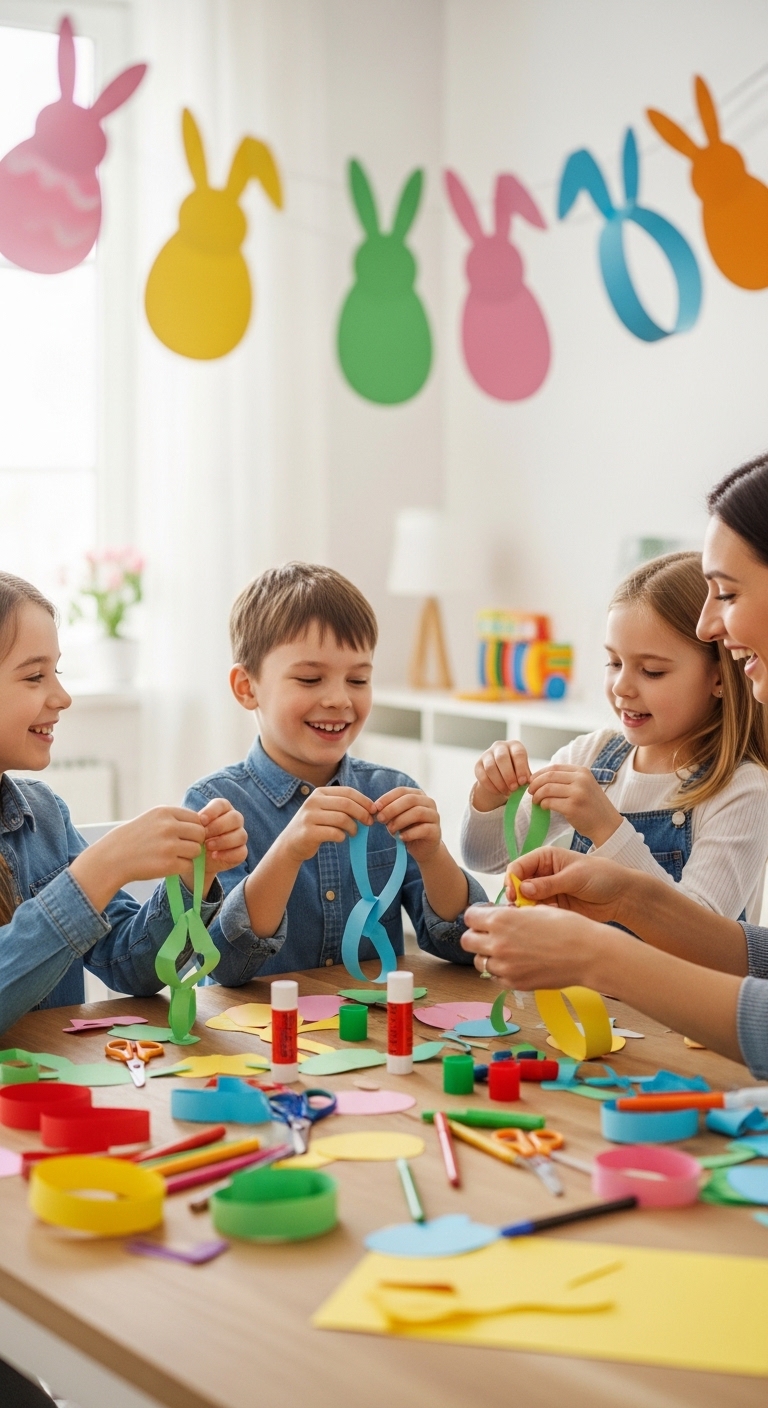
Once you’ve made a basic garland, there are simple ways to make it more fun, creative, and educational. These variations can help your DIY paper spring garlands feel fresh while teaching kids new skills.
For more craft ideas that encourage creativity and confidence while blending art with learning, check out Farm Animal Crafts for Kids: Building Confidence and Creativity Beyond the Tutorial.
Layered Shapes for Texture
Layered shapes mean stacking paper flowers, leaves, circles, or other designs on top of each other instead of using single flat pieces. This technique adds depth and visual interest, making the garland look more dynamic and professional.
Educational benefit: Layering helps kids understand spatial relationships, symmetry, and patterns. They learn how different shapes interact and how to arrange them in visually pleasing ways, skills that translate into early math and design awareness.
-
Interactive Garlands
Interactive garlands include small cards, notes, or prompts inserted between the paper shapes. For example, you can add tiny questions, jokes, or mini challenges for kids to answer as they walk by the garland.
Educational benefit: This variation turns a decoration into a hands-on learning tool. Kids practice reading, counting, problem-solving, or creative writing while enjoying a simple spring craft. It also encourages engagement and curiosity, making the craft more than just a visual display.
-
Eco-Friendly Mix
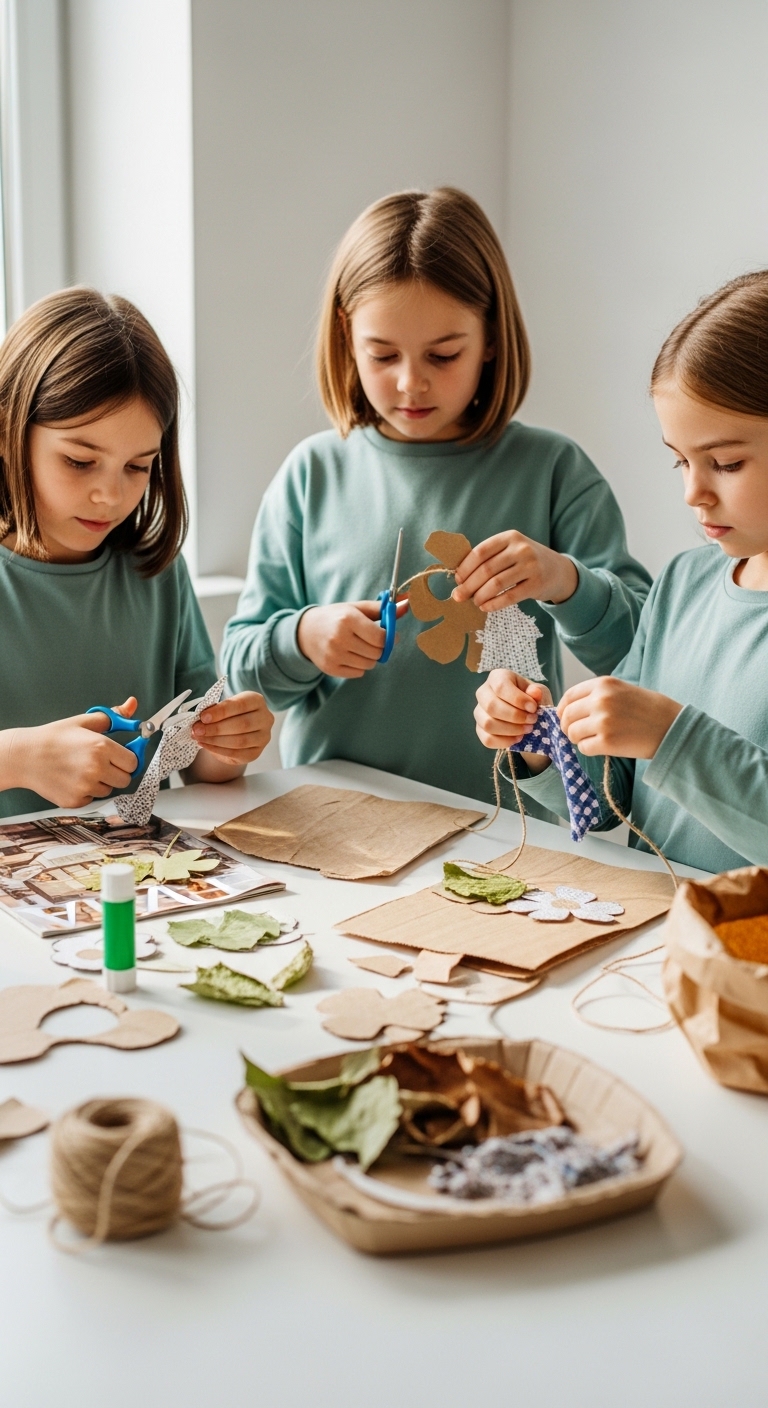
Eco-friendly garlands mix recycled paper, old magazines, or scrap tissue with new craft paper. This creates unique textures, patterns, and colors, giving the garland a one-of-a-kind look while promoting sustainability.
Educational benefit: Kids learn the value of recycling and reusing materials. They also explore textures, colors, and patterns in a tactile, hands-on way, which supports sensory development and creativity.
If you’re inspired by playful crafting, you might also like Valentine’s Day Boxes for Boys That Feel Creative, Playful, and Just Right for School, which shows friendly ways to make themed paper crafts feel meaningful.”
How DIY Paper Spring Garlands Teach Beyond Decor

Making DIY Paper Spring Garlands isn’t just about decorating your home, it’s a fun, hands-on way to learn and grow. Each step of the process supports skills that go beyond the visual appeal of your garland.
-
STEAM Skills
Cutting, arranging, and stringing shapes encourages kids to practice counting, measuring, and creating patterns. Even simple repetition, like alternating colors or shapes, introduces early math concepts while teaching problem-solving and sequencing.
2. Mindfulness
Crafting DIY Paper Spring Garlands slows the mind and encourages focus. Kids (and adults.) learn to concentrate on the task at hand, practice patience, and enjoy the calm satisfaction of creating something with their own hands.
3. Sensory Development
Working with different textures, shapes, and colors engages multiple senses. Handling smooth cardstock, soft tissue paper, or textured recycled paper helps children develop fine motor skills and a better awareness of touch and visual contrast.
4. Family Bonding
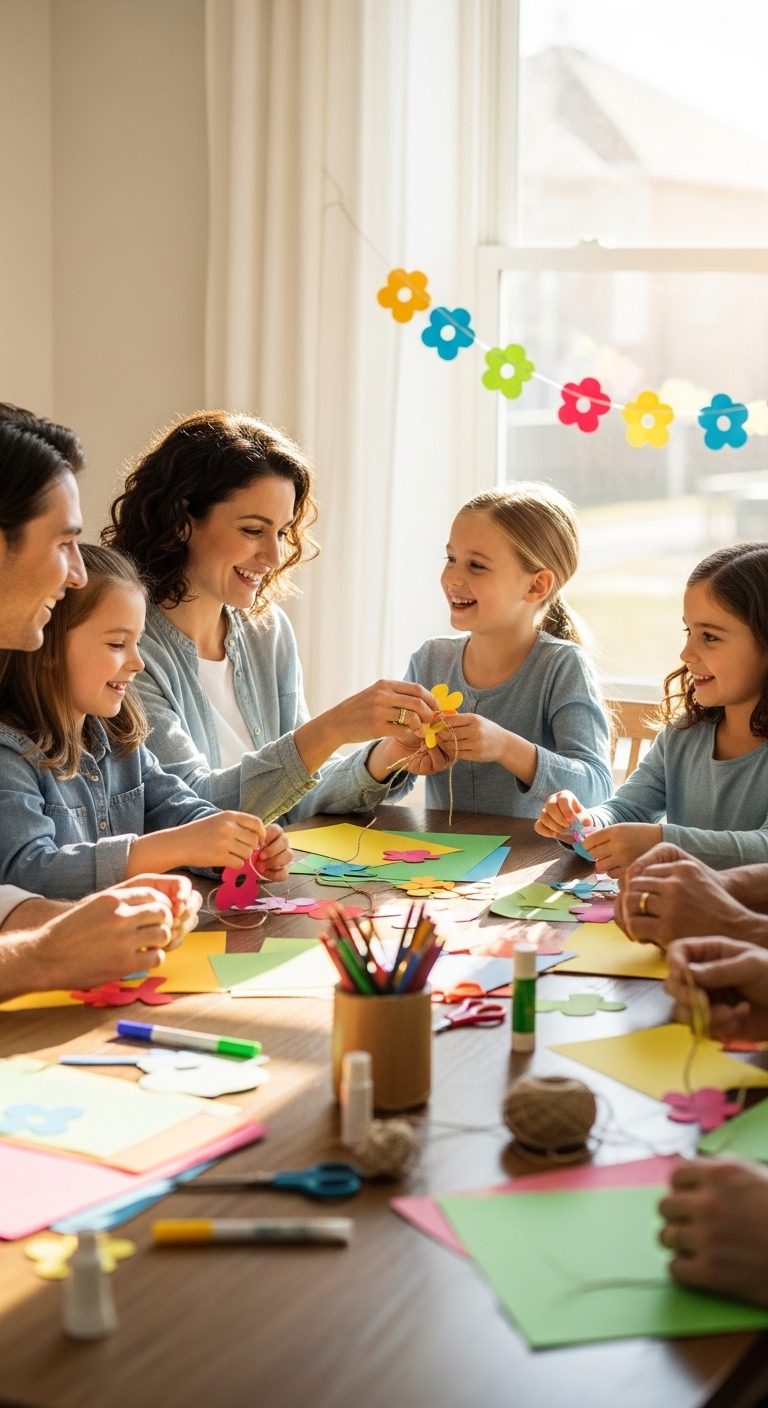
Making DIY Paper Spring Garlands can be a shared activity for kids, parents, or friends. It’s an opportunity to spend time together, communicate, and collaborate, turning a simple craft into a memorable experience that strengthens relationships.
Safety and Preparation Tips for DIY Paper Spring Garlands
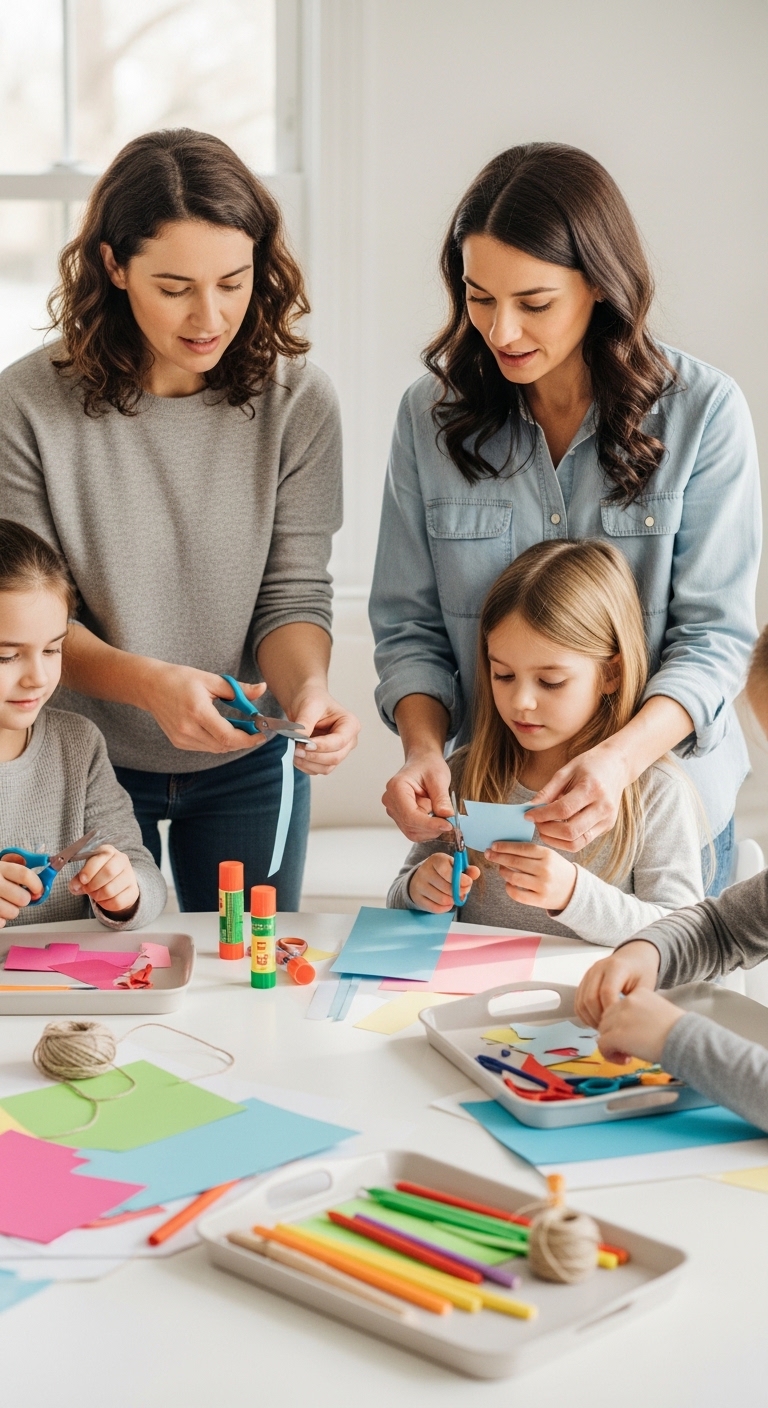
Before starting your DIY Paper Spring Garlands, a little preparation can make the process safer, smoother, and more enjoyable for everyone.
-
Use Kid-Safe Materials
Always choose kid-safe scissors and non-toxic glue. This ensures that little hands can craft freely without risk of cuts or exposure to harmful chemicals. Even adults benefit from using safe, easy-to-handle materials to keep the process stress-free.
-
Prep Materials Ahead of Time
Cutting paper, sorting shapes, and measuring string before the crafting session makes assembly easier. Having everything ready prevents frustration and allows kids to focus on creativity and learning, rather than waiting for supplies.
-
Adjust Complexity for Age
Not all garlands need to be complicated. For toddlers, stick to simple shapes and patterns they can handle. Older kids or adults can try layered designs or intricate patterns to challenge their skills. Adjusting difficulty keeps everyone engaged and ensures the craft is fun, not frustrating.
Bring Your Space to Life with DIY Paper Spring Garlands
Some of your DIY paper garlands could even become small gifts or home tokens, you can find more ideas on creative gifting in When a Small Birthday Basket Is the Perfect Gift Choice.
Making DIY Paper Spring Garlands isn’t just a craft, it’s a way to brighten your home, spark creativity, and enjoy meaningful time with kids.
Every step, from picking colors and cutting shapes to arranging and hanging your garlands, is an opportunity for learning, mindfulness, and family fun.
These cheerful decorations are simple, budget-friendly, and fully customizable, so you can add a soft seasonal charm anywhere, windows, mantels, doorways, or cozy corners.
I can’t wait for you to try your own DIY Paper Spring Garlands. Share your creations in the comments, I’d love to see your colorful ideas come to life.