Simple DIY baby shower centerpieces under $20 might sound impossible right now especially if this is your first time planning anything like this and your head is already full of worries.
One minute, you’re excited about celebrating your baby.
The next minute, you’re scrolling through Pinterest at midnight, looking at perfect tables, perfect flowers, perfect decorations… and thinking, “How am I supposed to do this with my small budget and zero crafting skills?”
If that sounds like you, take a deep breath. You are not alone.
Many first time moms feel this same pressure. You want your baby shower to be beautiful, you want your family and friends to feel welcome and you want to be proud of what you’ve created.
But at the same time, you’re trying to save money, manage pregnancy stress, and figure out a hundred other things.
It’s a lot.
Maybe you’ve already thought:
-
“What if I mess this up?”
-
“What if my decorations look cheap?”
-
“What if people compare my shower to others?”
Here’s the truth no one tells you:
Your baby shower does not need to look expensive to feel special.
It just needs love, thought, and a little guidance.
I remember helping a friend plan her first baby shower. She was almost in tears over centerpieces. She kept saying, “I just want it to look nice. I don’t need fancy.”
We went to the dollar store, bought a few jars, flowers, and ribbons, and put everything together in one afternoon.
When guests arrived, they kept saying, “Wow, this is so beautiful.” She couldn’t believe she made it herself.
That’s what I want for you.
In this post, I’ll show you simple, affordable, no stress centerpiece ideas you can actually make without special tools, without crafting experience, and without breaking your budget.
Every idea here is made for real moms with real lives, real worries, and real limits.
You don’t need to be “creative” or rich and you certainly don’t need to be perfect.
You just need a few good ideas and someone to walk you through them.
And that’s exactly what I’m here to do.
Table of Contents
- 1 Why DIY Centerpieces Are Perfect for First-Time Moms
- 2 What You’ll Need: Budget-Friendly Supply List (Under $20)
- 3 7 Simple DIY Baby Shower Centerpiece Ideas (Under $20 Each)
- 4 5. Time Saving Tips for Busy Moms
- 5 6. How to Match Your Centerpieces to Your Baby Shower Theme
- 6 7. Common DIY Mistakes First-Time Moms Should Avoid
- 7 8. Frequently Asked Questions (FAQs)
- 8 9. Pro Tips for Making Budget DIY Baby Shower Centerpieces Look Expensive
- 9 You’ve Got This, Mama
Why DIY Centerpieces Are Perfect for First-Time Moms
When you’re planning your first baby shower, it’s easy to think you need a professional decorator to make everything look nice.
Social media makes it seem like everyone else has endless money and perfect ideas.
But in real life, most moms don’t.
That’s why easy baby shower decor and simple DIY centerpieces are such a blessing. They help you create something beautiful without adding more pressure to your plate.
They Save You Real Money
Let’s start with the truth: baby expenses add up fast.
Between clothes, diapers, hospital bills, and baby gear, your budget is already stretched. Spending hundreds on decorations just doesn’t make sense.
DIY centerpieces help you stay in control.
With budget baby shower centerpieces like jars, flowers, and simple accents, you can decorate your tables for under $20 and still get compliments. You’re choosing where your money goes and that’s powerful.
They Reduce Stress, Not Add to It
Many first time moms avoid DIY because they think it will be stressful.
But simple DIY is actually the opposite.
When you follow clear steps and use basic supplies, decorating becomes calm and even enjoyable. It turns into a quiet moment where you focus on your baby and your celebration instead of worrying about prices and perfection.
These beginner DIY centerpieces are made to be simple on purpose no guessing, no confusion, no panic.
They Give You Control Over Your Day
When you buy ready made décor, you’re stuck with whatever the store gives you.
With DIY, you decide:
-
The colors
-
The size
-
The style
-
The mood
You can match your centerpieces to your theme, your venue, and your personality. Nothing feels random. Everything feels intentional.
And that makes your shower feel more “you.”
They Feel More Personal and Meaningful
There is something special about saying, “I made this.”
When guests notice your centerpieces and ask about them, you get to smile and say you created them yourself. That feeling stays with you.
Years later, when you look at photos, you won’t just see decorations. You’ll remember the love and effort you put into welcoming your baby.
That matters.
What You’ll Need: Budget-Friendly Supply List (Under $20)
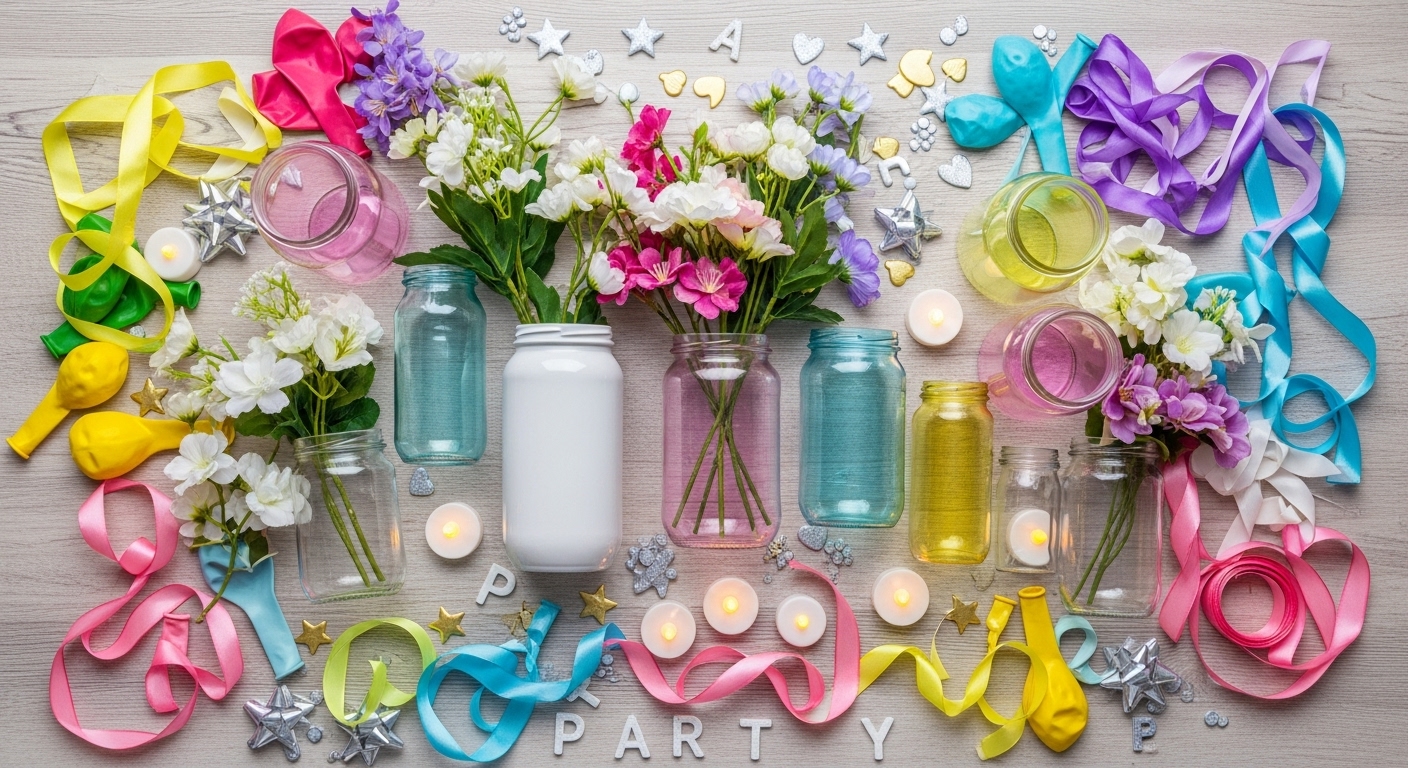
Most beautiful DIY centerpieces are made with simple, affordable items many of which you can find at the dollar store, in your home, or online for cheap.
The goal here is not “buy more” but “buy smart.”
Dollar Store Finds (Your Best Friend)
If you’re on a budget, the dollar store is your secret weapon.
You can find almost everything you need there.
Look for:
-
Glass jars or plastic vases
-
Artificial flowers
-
Balloons
-
Ribbon
-
Table scatters (stars, hearts, letters)
-
LED tea lights
These items are cheap, reusable, and easy to work with. One small trip can cover most of your supplies.
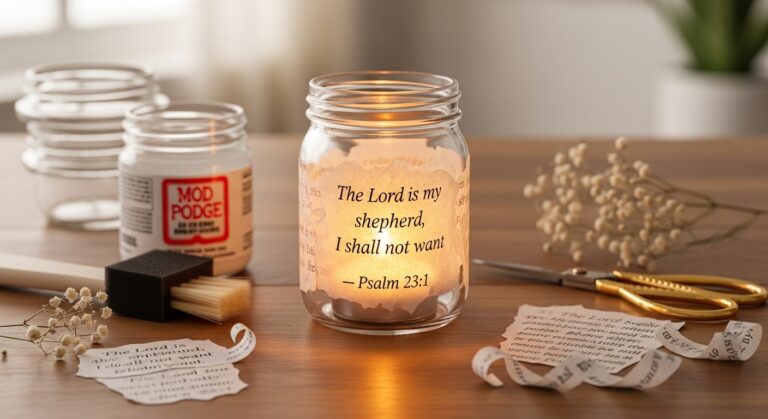
When picking your materials, pay attention to adhesives and how they behave this guide on what type of glue to use for paper crafts breaks down the best options for clean, stress‑free assembly.
Craft Store Basics (Only If Needed)
You don’t have to go to a craft store but sometimes they help if you want a specific color or style.
Only buy what fits your idea.
Useful basics include:
-
Cardstock
-
Glue dots (clean and easy)
-
Floral foam
-
Double-sided tape
Tip: Always check for coupons before you go. Never pay full price if you don’t have to.
Household Items You Already Have
Before spending money, look around your home.
You might already have:
-
Mason jars
-
Candle holders
-
Small baskets
-
Baby clothes for display
-
Empty bottles
-
Shoe boxes
With a little ribbon or paper, these can turn into beautiful centerpieces.
Sometimes the best décor is already in your house.
Printable Options (Fast & Stress Free)
If you don’t want to cut or glue much, printables can save you time.
You can use:
-
Baby name signs
-
Alphabet cards
-
Theme labels
-
Table numbers
Print them on thick paper, place them in frames or jars, and you’re done. Simple and clean.
If you’re building a basic toolkit for your shower centerpieces, checking out the must‑have crafts tools for DIY can help you choose supplies that make every project easier and more professional‑looking.
Think in Simple Groups (This Changes Everything)
Instead of buying randomly, think in three parts:
1. The Base (What Holds Everything)
-
Jar
-
Box
-
Basket
-
Vase
2. Focus (What People Notice First)
-
Flowers
-
Balloons
-
Teddy bear
-
Blocks
3. Detail (What Makes It Special)
-
Ribbon
-
Tag
-
Lights
-
Name card
When you have one from each group, you already have a centerpiece.
That’s the secret.
Example: How This Works in Real Life
Let’s say you find:
-
A jar for $2
-
Flowers for $4
-
Ribbon for $1
That’s $7.
You now have a beautiful DIY baby shower centerpiece.
No overthinking. Panic. No extra shopping.
Multiply that by your tables, and you’re still under budget.
When you keep things focused, you save money, time, and energy.
And that’s exactly what you deserve.
As you gather simple items for your baby shower centerpieces, make it a fun mini‑project. If you want even more easy craft ideas to pair with your décor, check out How to Host a Craft Night Party for Any Age, Any Season, Any Occasion.
7 Simple DIY Baby Shower Centerpiece Ideas (Under $20 Each)
This is where everything comes together.
You don’t need to be “creative” have extra skill or need expensive tools
Just clear steps and simple ideas that work.
These DIY baby shower centerpieces were chosen for one reason:
They are beautiful, affordable, and beginner friendly.
You can actually make them.
Before we start, a quick note:
All prices below are rough estimates based on typical Dollar Tree and discount store prices in 2025, and they may vary by location or store. Totals assume you already have basic tools like scissors, tape, and glue at home.
Let’s start.
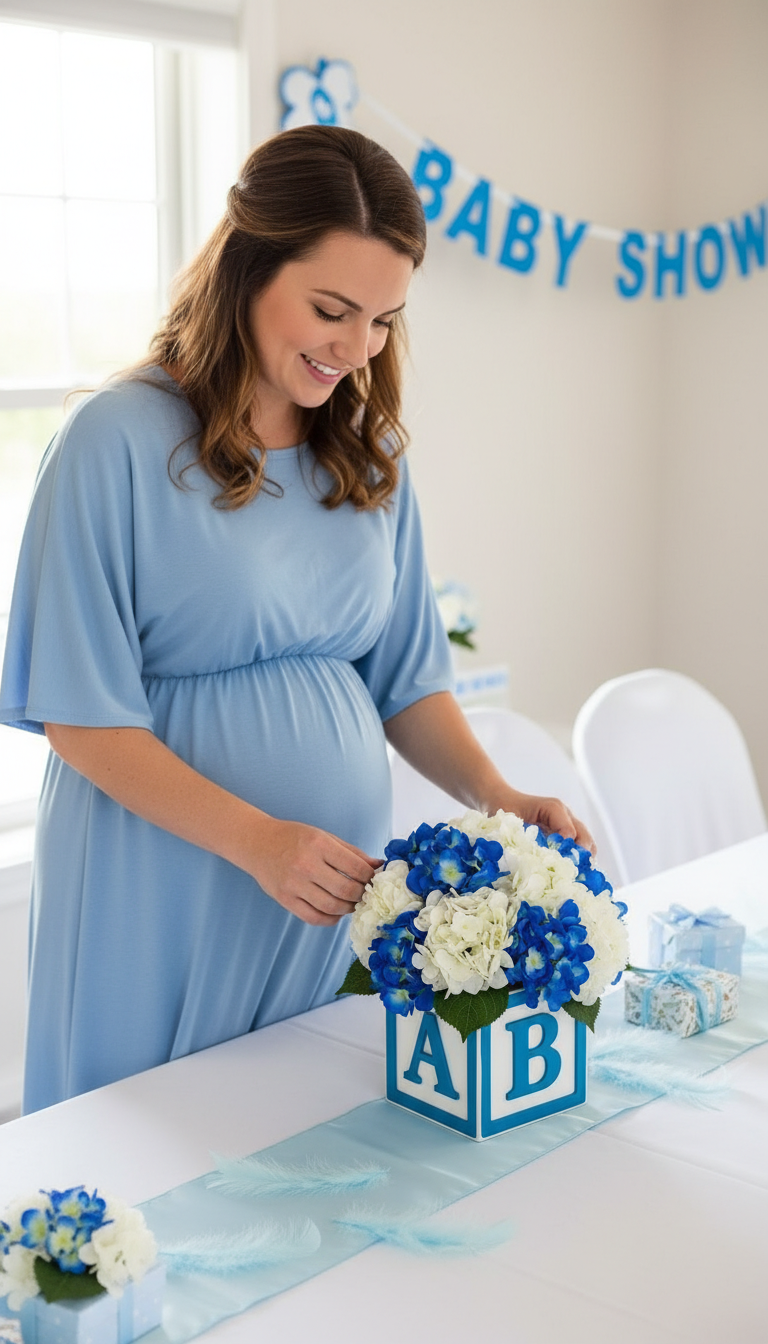
1. Baby Blocks Box Centerpiece (Under $12)

This is one of the easiest and most loved designs.
It feels playful, sweet, and perfect for first-time moms.
What You’ll Need
-
Small box or cube (about $3)
-
Cardstock paper (about $2)
-
Printed letters (B, A, B, Y)
-
Ribbon (about $1)
-
Artificial flowers (about $4)
How to Make It
-
Cover the box with cardstock.
-
Glue one letter on each side.
-
Place flowers on top.
-
Tie ribbon around the box.
Cost Example
-
Box: about $3
-
Paper + Letters: about $2
-
Flowers: about $4
-
Ribbon: about $1
-
Total: around $10–$12
Best For
-
Classic baby showers
-
Teddy bear themes
-
Gender-neutral décor
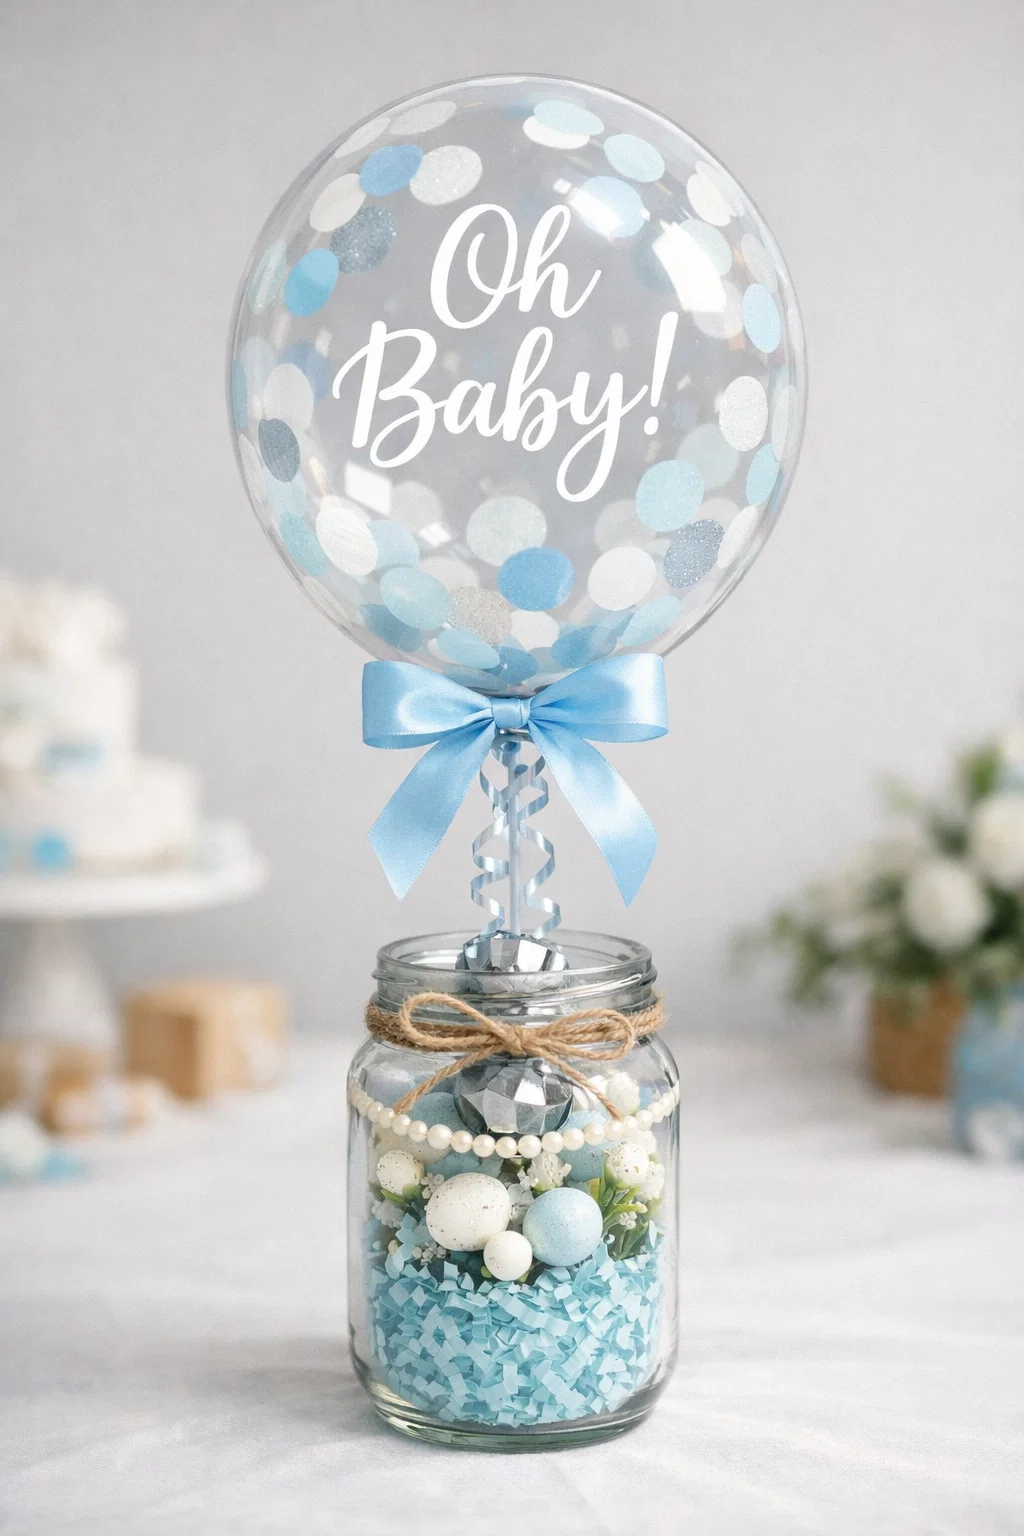
2. Floral Mason Jar Arrangement (Under $8)
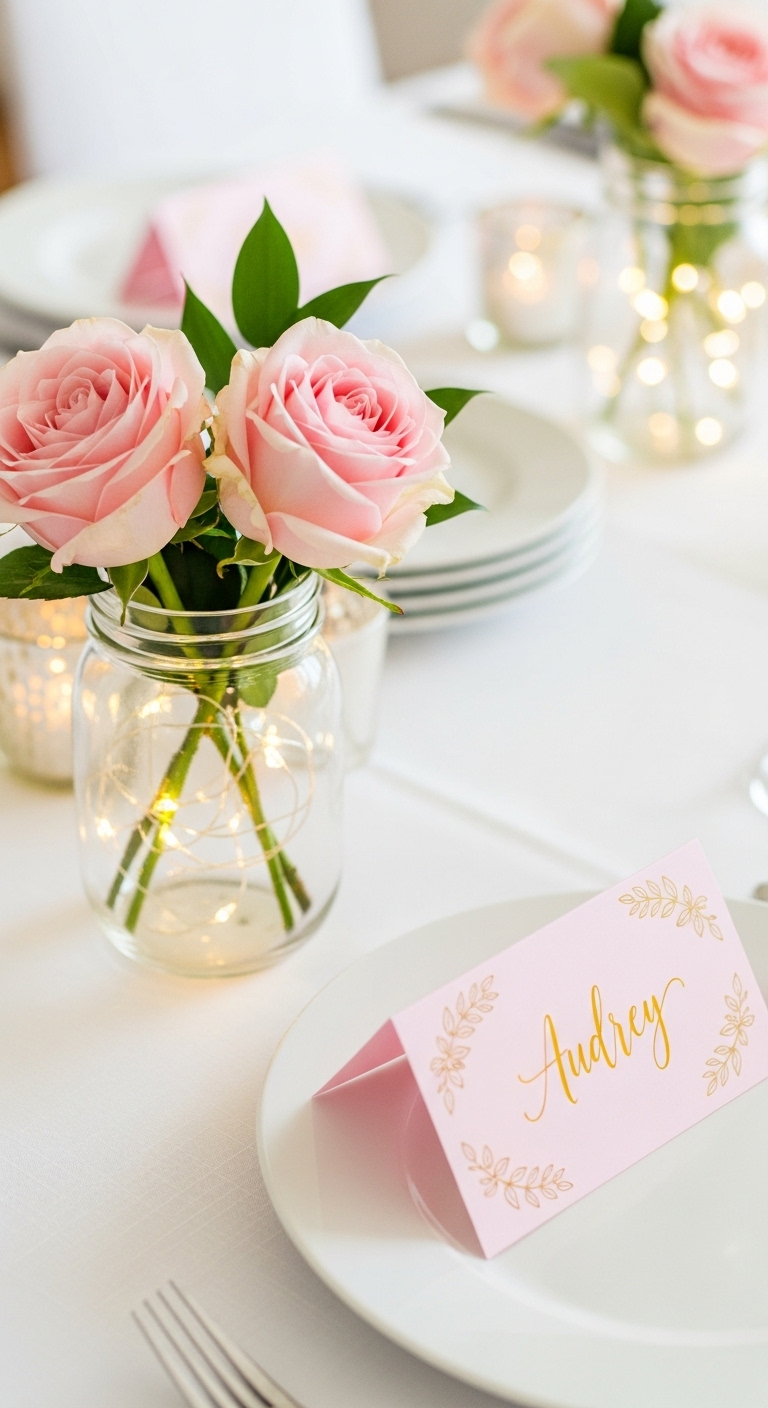
This is perfect if you want something soft and elegant.
It works for almost any color scheme.
What You’ll Need
-
Mason jar (about $2)
-
Artificial or fresh flowers (about $4)
-
Twine or ribbon (about $1)
-
LED light (optional) (about $1)
How to Make It
-
Wash and dry the jar.
-
Place flowers inside.
-
Wrap twine around the neck.
-
Add a small light if desired.
Cost Example
-
Jar: about $2
-
Flowers: about $4
-
Ribbon/Twine: about $1
-
Light: about $1
-
Total: around $7–$8
Best For
-
Elegant themes
-
Garden-style showers
-
Blush and neutral colors
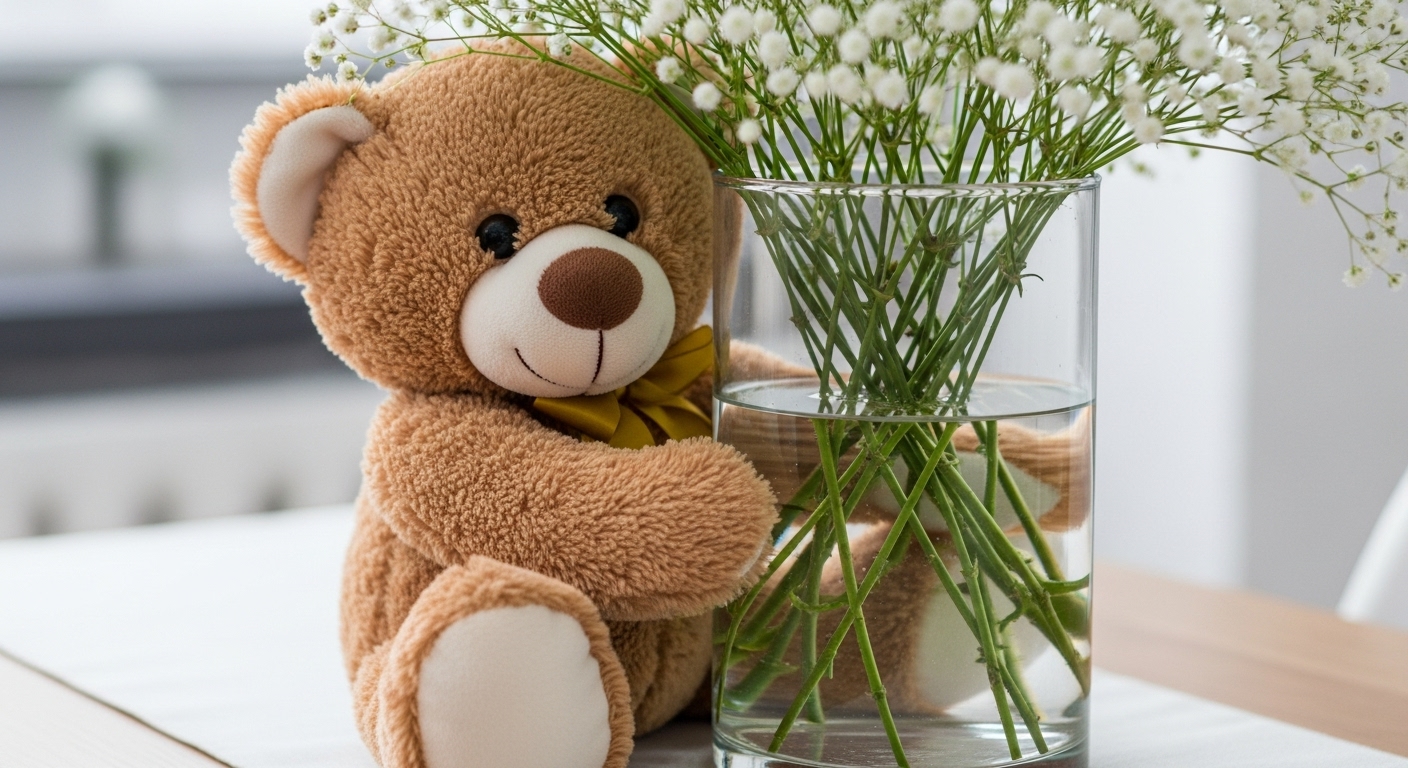
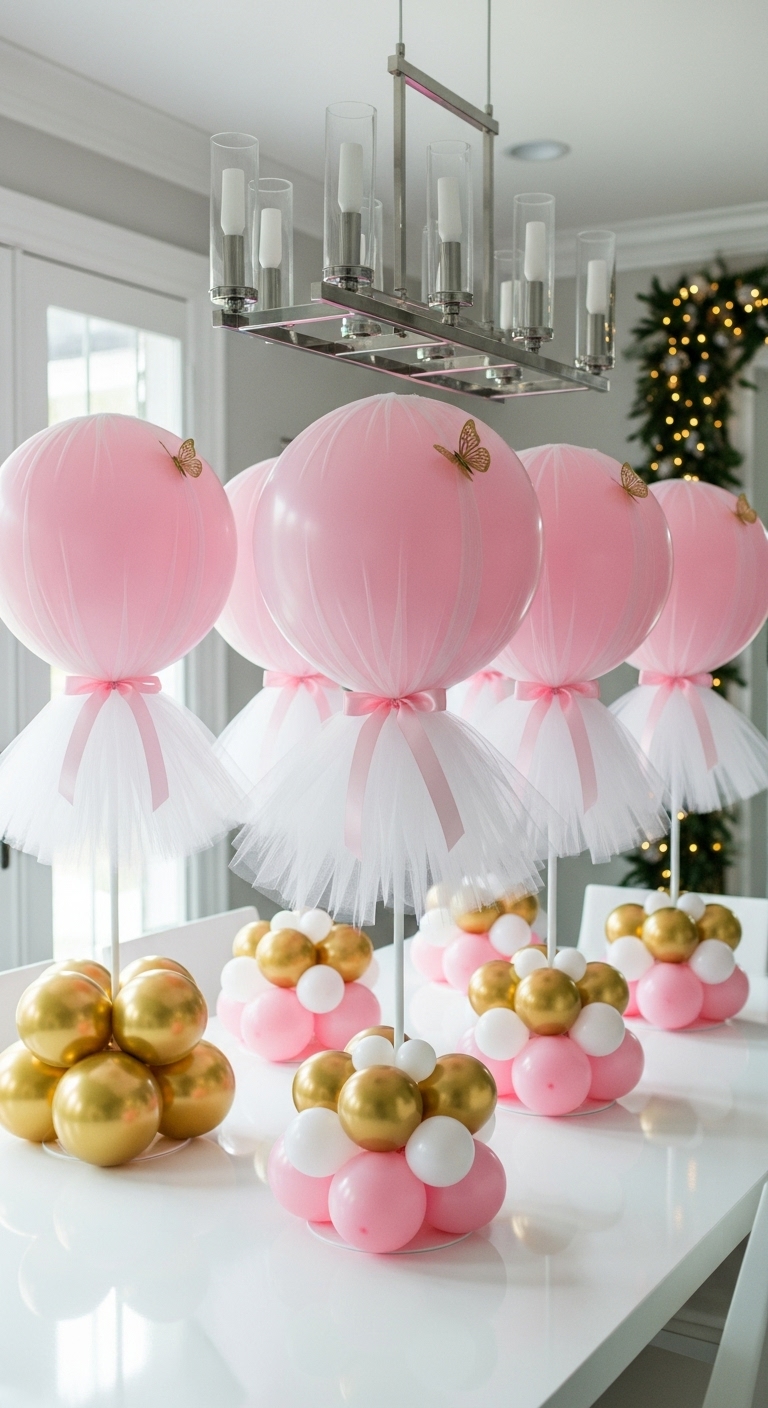
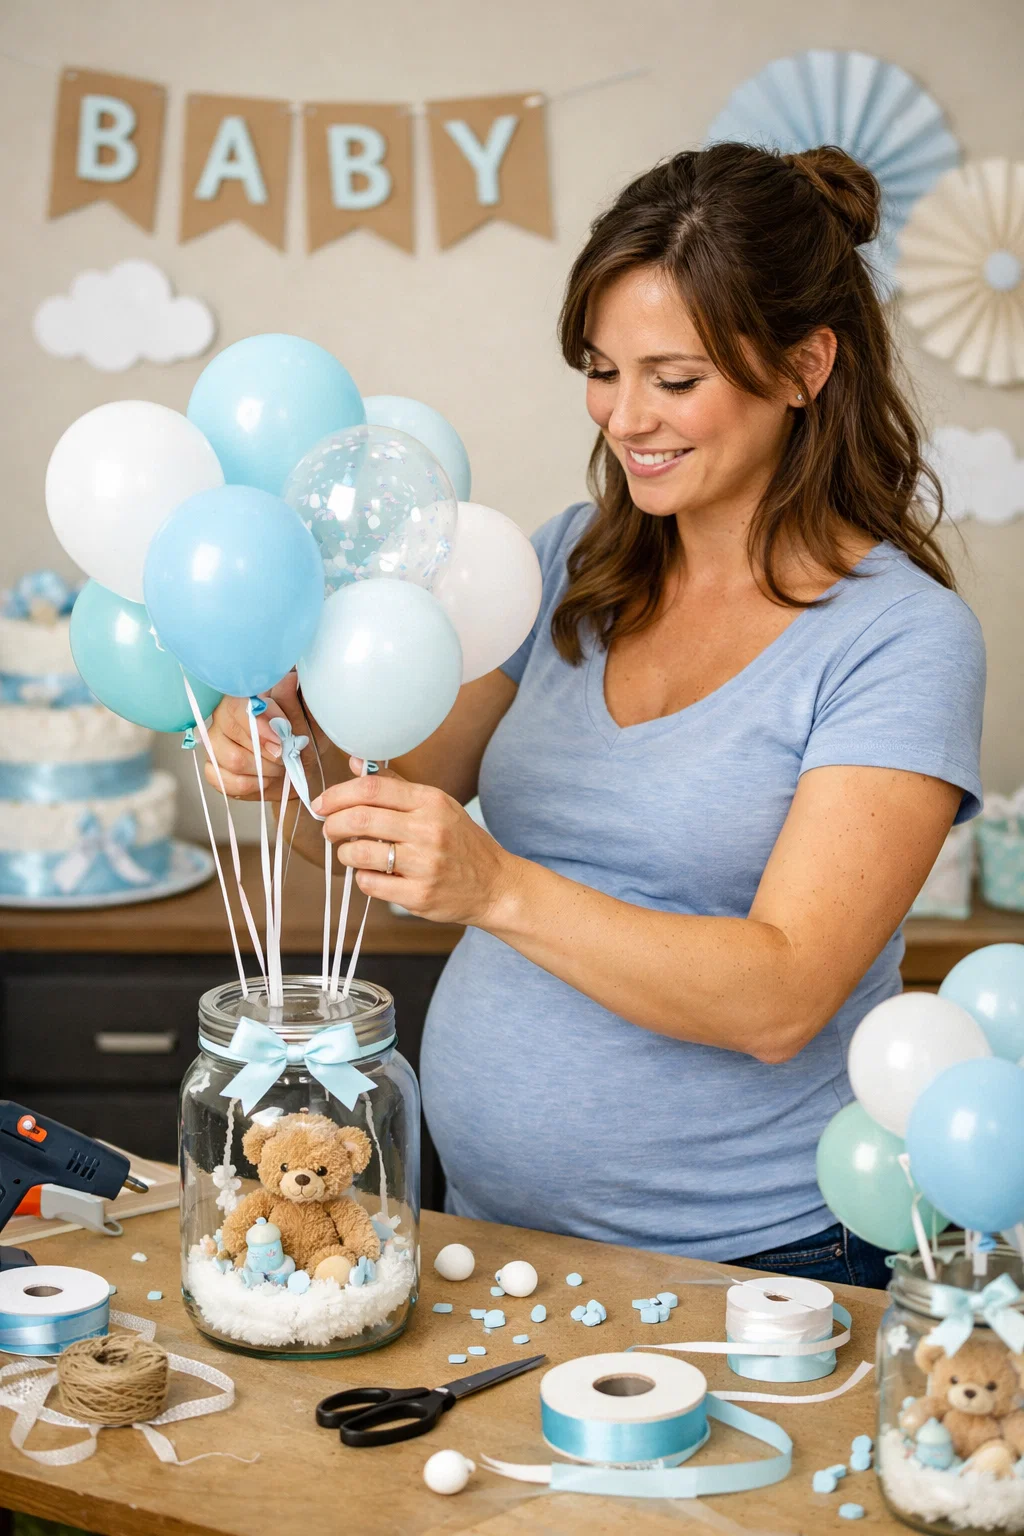
3. Teddy Bear Balloon Stand (Under $15)
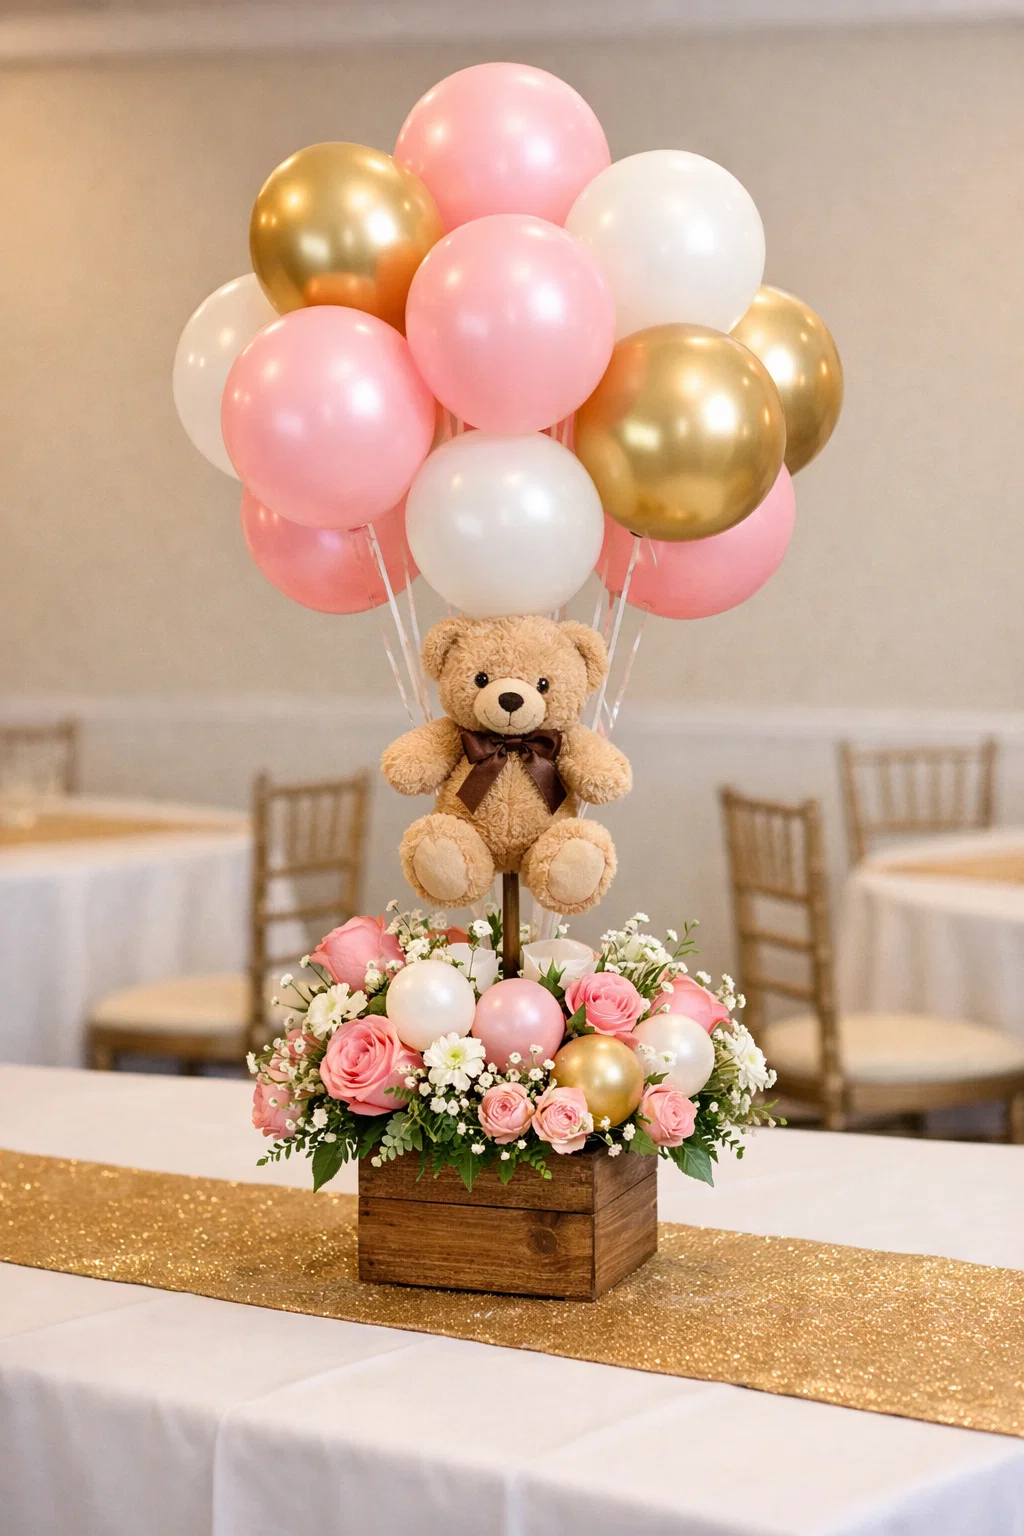
These DIY baby shower centerpieces one creates an instant “aww” moment.
Kids love it.
Adults take pictures with it.
If young guests will be part of the celebration or you want easy activities to complement your centerpieces, Farm Animal Crafts for Kids offers playful, stress‑free ideas.
What You’ll Need
-
Small teddy bear (around $5–$8)
-
Balloon (about $2)
-
Balloon stick (about $1)
-
Weighted base (about $4)
-
Ribbon (about $1)
How to Make It
-
Inflate the balloon.
-
Attach it to the stick.
-
Secure the stick in the base.
-
Place the teddy at the bottom.
-
Tie ribbon around everything.
Cost Example
-
Bear: about $5–$8
-
Balloon + Stick: about $3
-
Base: about $4
-
Ribbon: about $1
-
Total: around $13–$16
Best For
-
Boy showers
-
Cute themes
-
Whimsical décor
4. Cloud & Moon Table Decor (Under $14)

This is for moms who love calm, modern designs.
Soft colors.
Peaceful feeling.
Very Instagram friendly.
What You’ll Need
-
Cotton balls (about $2)
-
Cardboard (about $1–$2 or free)
-
Printed moon/cloud shapes
-
Jar or stand (about $4)
-
Glue dots or craft glue (about $2)
-
Ribbon (about $1)
How to Make It
-
Cut cloud shapes from cardboard.
-
Glue cotton on top.
-
Attach moon cutouts.
-
Place on jar or stand.
-
Add ribbon.
Cost Example
-
Supplies: about $8–$10
-
Stand or jar: about $4
-
Extras: about $2
-
Total: around $12–$14
Best For
-
Gender-neutral
-
Minimalist themes
-
Moon and stars décor
5. Diaper Roll Display (Under $10)
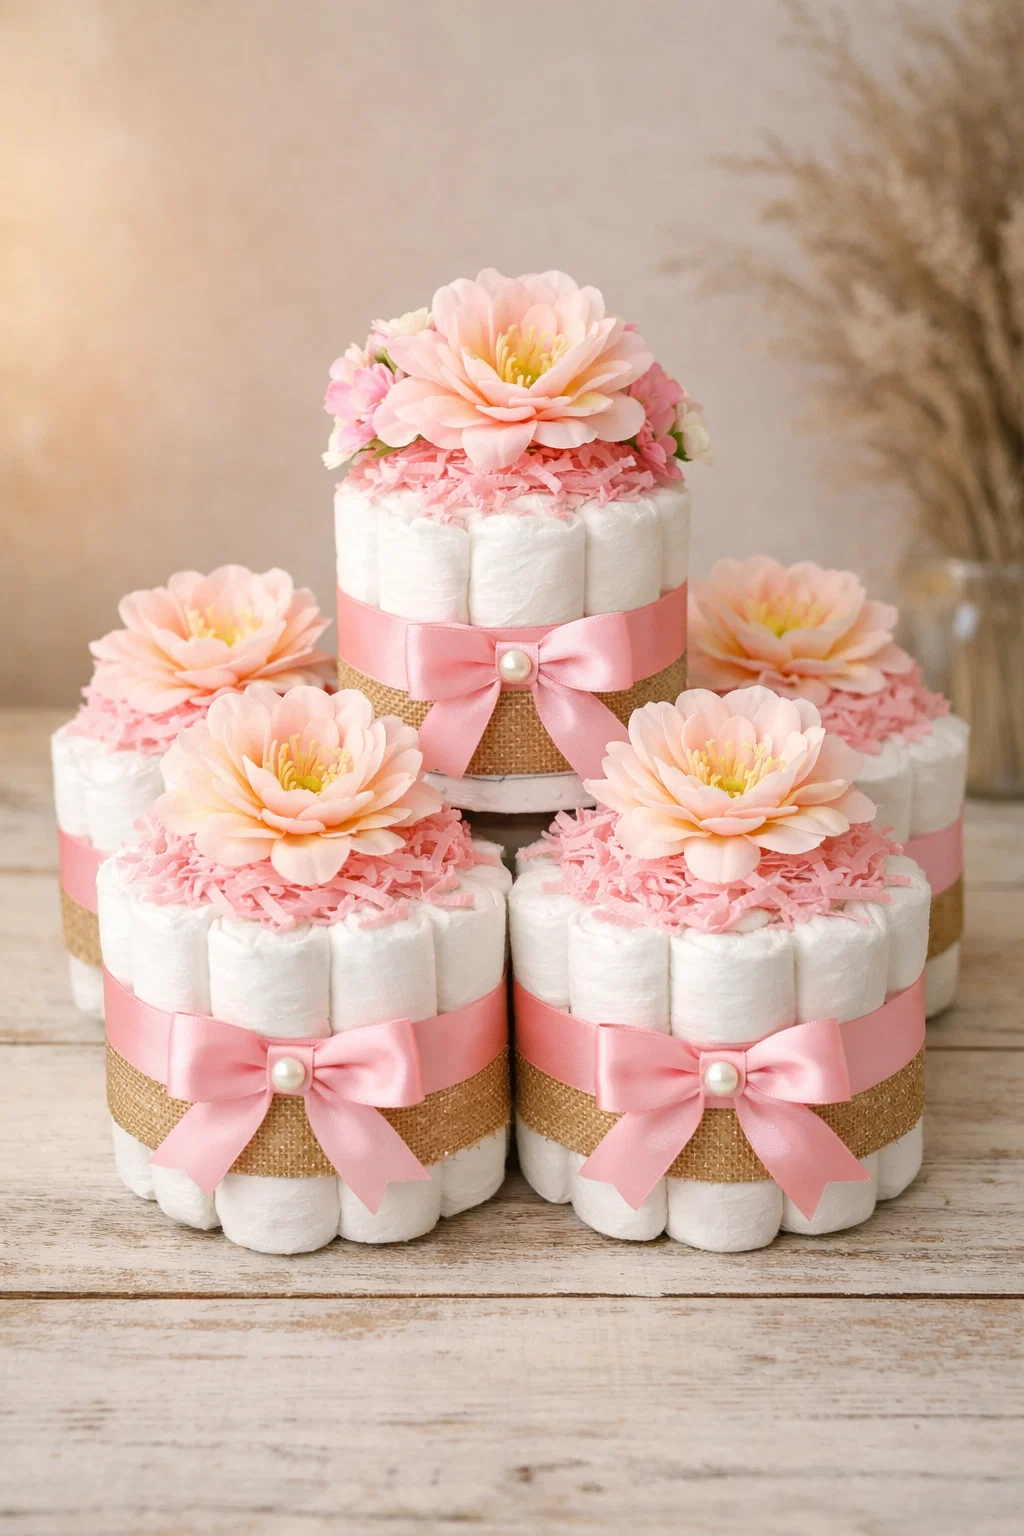
This particular DIY baby shower centerpieces are beautiful and useful.
Guests love this one.
What You’ll Need
-
Diapers (about $6)
-
Ribbon (about $2)
-
Cardboard tube (about $1 or free)
-
Flowers (about $1)
How to Make It
-
Roll each diaper tightly.
-
Stack around the tube.
-
Secure with ribbon.
-
Add flowers on top.
Cost Example
-
Diapers: about $6
-
Ribbon + Decor: about $3
-
Tube: about $1 or free
-
Total: around $9–$10
Best For
-
Practical moms
-
Small gatherings
-
Budget showers
6. Mini Baby Clothes Line (Under $9)
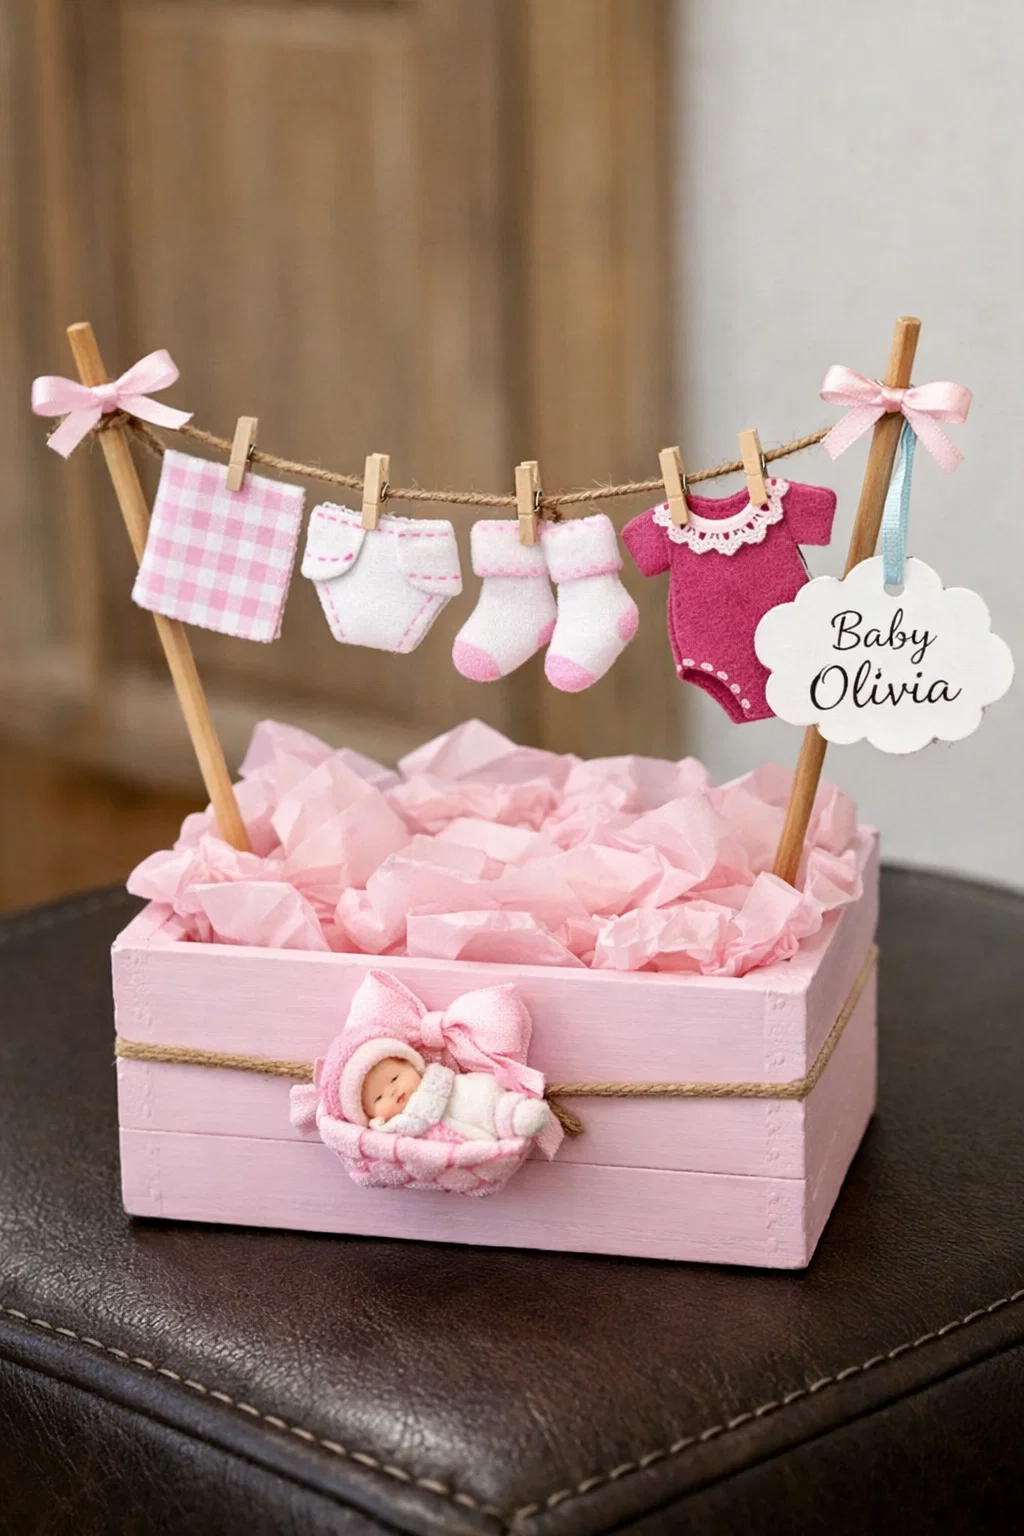
This one feels emotional.
Many moms get teary seeing it.
What You’ll Need
-
Baby socks/clothes (around $5)
-
Twine (about $1)
-
Mini clips (about $2)
-
Two sticks/skewers (about $1)
How to Make It
-
Tie twine between sticks.
-
Clip clothes onto the line.
-
Place in jar or base.
-
Add a small tag.
Cost Example
-
Clothes: about $5
-
Supplies: about $4
-
Total: around $8–$9
Best For
-
Family-style showers
-
First baby celebrations
-
Intimate events
7. Floating Balloon Jar (Under $7)
When you’re tired and short on time use this.
It’s fast.
It works.
It looks clean.
What You’ll Need
-
Clear jar (about $2)
-
Helium balloon (about $3)
-
Ribbon (about $1)
-
Weight (about $1)
How to Make It
-
Fill balloon with helium.
-
Tie ribbon to weight.
-
Place weight in jar.
-
Let balloon float.
Cost Example
-
Jar: about $2
-
Balloon: about $3
-
Ribbon + Weight: about $2
-
Total: around $6–$7
Best For
-
Last-minute prep
-
Modern themes
-
Small venues
5. Time Saving Tips for Busy Moms
If you feel tired just thinking about DIY projects, you are not alone.
Between doctor visits, work, family, and pregnancy fatigue, time feels very limited.
That’s why these tips matter.
They will save your energy not just your minutes.
Assemble in Batches
Instead of making one centerpiece at a time, do things in groups.
For example:
Cut all ribbons first.
Prepare all jars first.
Arrange all flowers at once.
This keeps you focused and faster.
Prep Two Days Before
Don’t wait until the night before.
Two days before the shower is the sweet spot.
You’re calm.
>You’re alert.
>You’re not rushing.
If something goes wrong, you still have time to fix it.
Keep All Supplies in One Box
Use one big box or basket for everything.
Put your:
-
Glue
-
Scissors
-
Ribbon
-
Flowers
-
Tape
inside it.
No running around the house looking for tools.
Everything stays in one place.
Practice One Sample First
Before making all your centerpieces, try just one.
This helps you:
-
See how long it takes
-
Fix small mistakes
-
Build confidence
After that, the rest feels easy.
Delegate to Friends and Family
You don’t have to do this alone.
Ask for help.
A sister can cut ribbons.
A friend can arrange flowers.
Your partner can set up tables.
Let people support you.
They want to.
6. How to Match Your Centerpieces to Your Baby Shower Theme
One big fear many moms have is this:
“What if nothing matches?”
Let’s fix that.
You don’t need design skills.
You just need simple rules.
Boy, Girl, or Neutral Themes
Boy Themes
-
Blue, white, gray
-
Teddy bears
-
Stars and clouds
Best match:
Blue jars + white flowers + silver ribbon
Girl Themes
-
Pink, blush, peach
-
Floral designs
-
Butterflies
Best match:
Blush jars + roses + gold ribbon
Neutral Themes
-
Beige, cream, sage
-
Animals
-
Rainbows
Best match:
Clear jars + greenery + twine
For additional beginner‑friendly craft ideas that feel personal and creative, you might enjoy 6 Simple Flower Crafts for Kids That Encourage Creativity Over Perfection
Choosing Your Colors
Stick to two main colors and one soft extra.
Example:
-
White + Gold + Blush
-
Beige + Green + Cream
-
Blue + Silver + White
More than three colors can feel messy.
Simple looks expensive.
Seasonal Touches (If You Want)
This is optional not required.
Spring → soft flowers
Summer → bright balloons
Fall → warm tones
Winter → white and silver
Only add this if it fits your vision.
Consider Your Venue Size
Small room → low centerpieces
Big hall → tall or layered designs
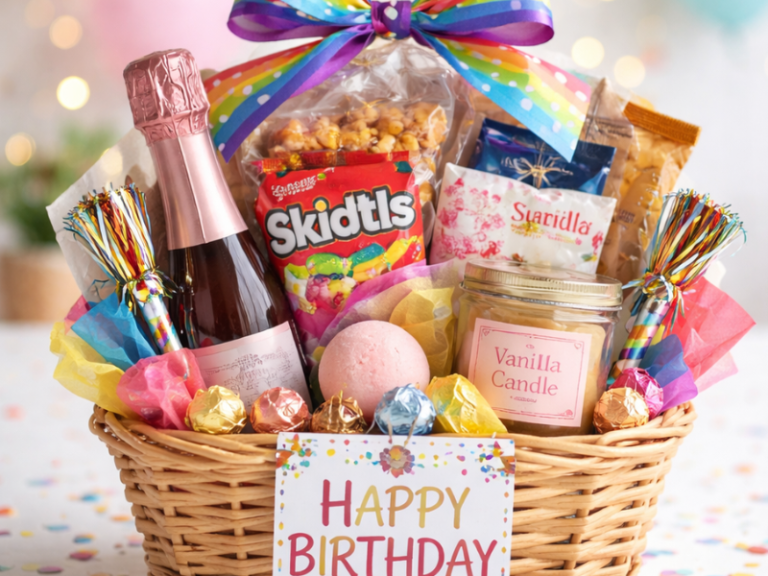
Always make sure guests can see each other across the table.Adding thoughtful elements to your baby shower can make all the difference. This idea works similarly to suggestions in When a Small Birthday Basket Is the Perfect Gift Choice.
7. Common DIY Mistakes First-Time Moms Should Avoid
Let me save you from stress here.
These are mistakes many moms make and regret.
You don’t have to.
Buying Too Much
More supplies does not mean better décor.
It usually means wasted money.
Start small.
Buy more only if needed.
Choosing Complicated Designs
If it looks hard online, it will feel harder in real life.
Choose simple designs first.
Simple = peaceful.
Waiting Until the Last Minute
Rushing kills confidence.
You deserve calm.
Start early.
Ignoring Table Size
Big centerpieces on small tables look crowded.
Small centerpieces on big tables look lost.
Measure first.
Not Testing First
Always make one sample.
Always.
It saves frustration later.
8. Frequently Asked Questions (FAQs)
How many centerpieces do I need?
One per table is enough.
For long tables, use two or three spaced out.
Can I make these without glue?
Yes.
Use tape, twine, clips, or ribbon instead.
How early should I start?
One week before is perfect.
Finish most work two days before.
What if I’m not creative?
You don’t need to be.
Follow steps.
Repeat designs.
That’s creativity too.
Can I reuse them later?
Yes.
Many moms reuse jars, ribbons, and stands for birthdays and home décor.
9. Pro Tips for Making Budget DIY Baby Shower Centerpieces Look Expensive
These small tricks change everything.
Stick to Two Colors
Too many colors look cheap.
Two colors look classy.
Use Different Heights
Mix tall and short DIY baby shower centerpieces.
This makes tables look styled, not flat.
Add Soft Lighting
LED lights instantly upgrade décor.
They cost little.
They look rich.
Avoid Clutter
Empty space is good.
Not every inch needs decoration.
Let your centerpieces breathe.
Repeat Key Elements
Use the same ribbon, flower, or jar everywhere.
Repetition looks professional.
You’ve Got This, Mama
Let me remind you of something important.
You don’t need a big budget, a crafting skill or perfection.
You just need love and intention.
And you already have that.
By choosing simple DIY centerpieces, you are:
-
Saving money
-
Reducing stress
-
Creating something meaningful
-
Showing up for your baby
That matters.
Your shower will be beautiful.
Not because of decorations.
But because of you.
If this guide helped you, save it on Pinterest so you can come back anytime you need it.