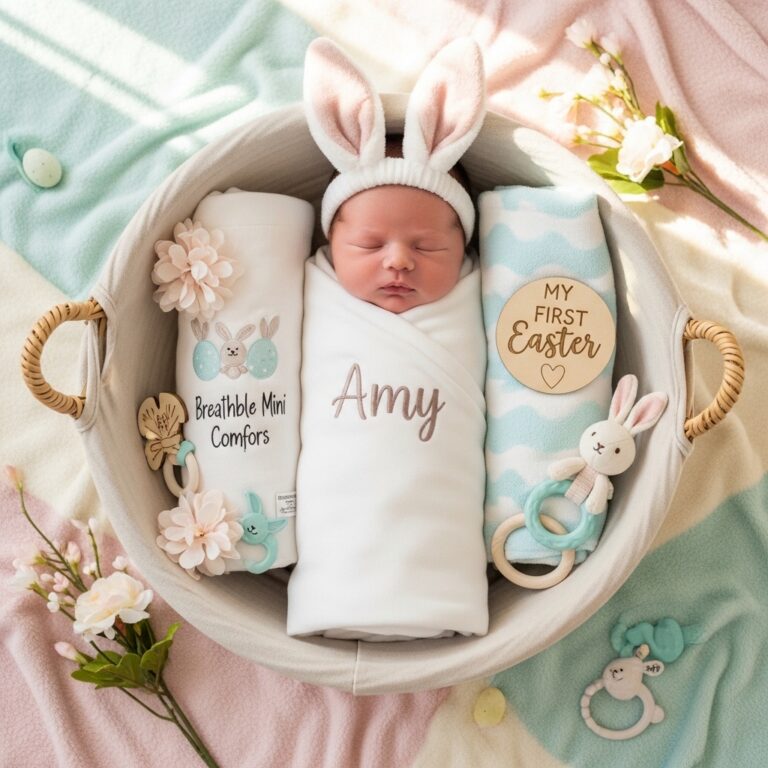
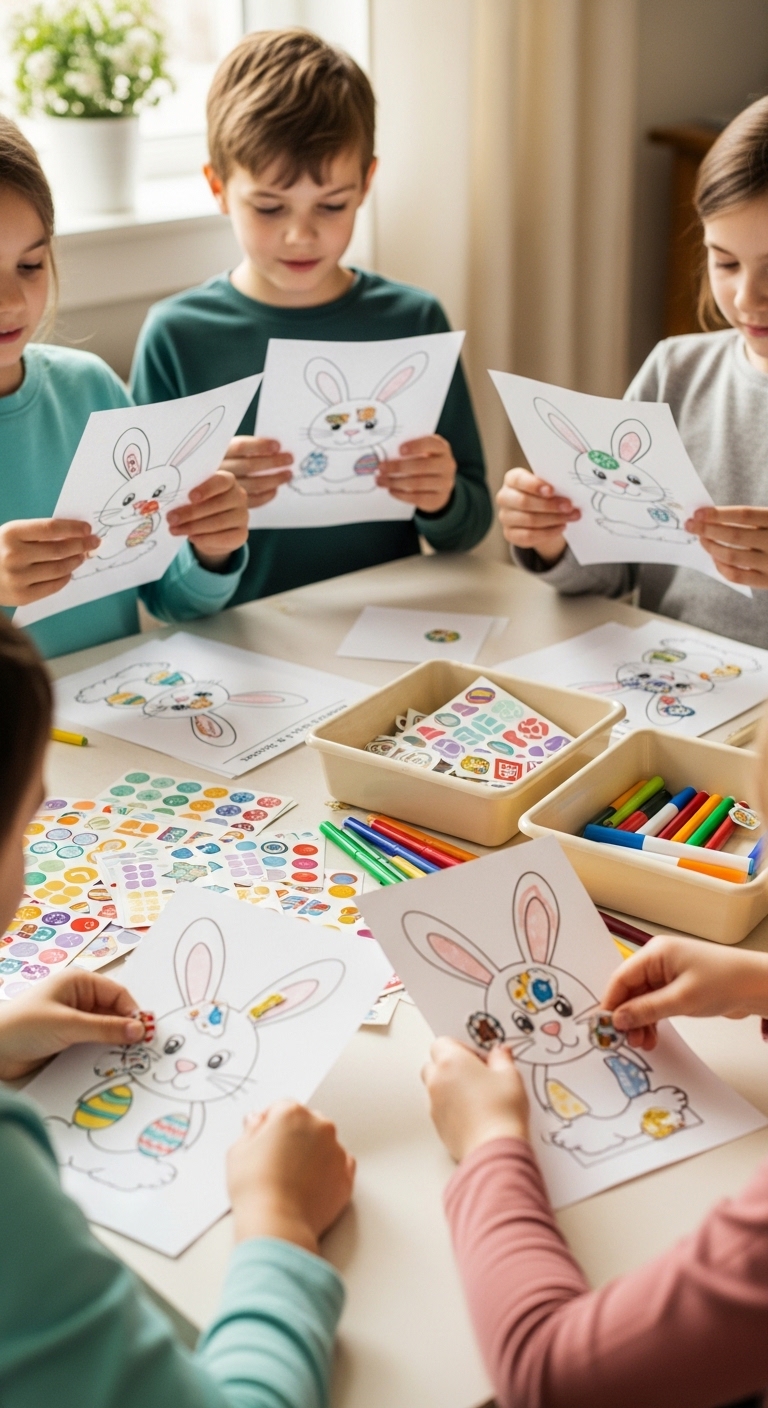
Short on time and worried about a messy craft? These easter bunny crafts for kids that take less than 30 minutes are simple, festive, and fun to make together.
Most Easter crafts don’t actually fail because kids don’t like crafting.
They fail because the excitement runs out before the bunny even appears.
You set everything up, the child is happy for about three minutes, then suddenly:
“Can you cut this for me?”
“This glue is not working.”
“It doesn’t look like a bunny.”
Five minutes later you’re the one finishing the craft while they wander off.
The truth is, kids don’t need complicated Easter projects, they need fast success.
> If they can see a bunny shape quickly, they stay interested. If they have to wait, measure, or fix mistakes, they mentally quit even if they’re still sitting at the table.
If your little ones love creative play, you’ll also enjoy our Friendship-Themed Spring Preschool Crafts For Kids, perfect for extending craft time after these easy Easter bunny projects.
So this guide isn’t just a list of Easter bunny crafts.
Every idea here is designed around short attention spans, minimal setup, and almost no waiting, the kind kids can actually finish in under 30 minutes without you taking over.
Before we get to the crafts, it helps to understand why most Easter crafts fall apart halfway, because once you know that, everything becomes easier.
Table of Contents
- 1 The 30-Minute Craft Rule
- 2 Before You Start — Set Up That Prevents Chaos
- 3 Easter Bunny Crafts (Under 30 Minutes)
- 3.1 1. Paper Plate Bunny Faces
- 3.2 Materials:
- 3.3 Step-by-step:
- 3.4 2. Pom-Pom Bunny Pals
- 3.5 Materials:
- 3.6 Step-by-step:
- 3.7 3. Handprint Bunny Garden
- 3.8 Materials:
- 3.9 Step-by-step:
- 3.10 4. Egg Carton Bunny Critters
- 3.11 Materials:
- 3.12 Step-by-step:
- 3.13 5. Bunny Sock Puppets
- 3.14 Materials:
- 3.15 Step-by-step:
- 4 How to Handle Kids Who Finish Early
- 5 Cleanup Strategy That Takes 3 Minutes
- 6 Conclusion
The 30-Minute Craft Rule

After doing enough kids crafts, you start noticing a pattern.
The crafts that finish in 20–30 minutes are not the easiest ones.
They’re the ones where the child never has a reason to leave.
No sighing.
> No “help me.”
> No wandering away halfway.
The difference isn’t skill level or age, it’s what the craft asks from them in the first few minutes.
Some crafts delay the reward.
Others give the reward immediately.
And children only stay with the second kind.
F — First Shape Appears Fast
If the bunny doesn’t look like a bunny early, interest drops fast.
Children don’t work toward an image they can’t see yet.
They work to improve an image they already recognise.
The moment ears or a face appear, they lean in.
Now they’re decorating, not waiting.
That small shift is what keeps them seated.
A — Almost No Waiting
You’ll notice most abandoned crafts hold off somewhere:
glue drying
paint drying
waiting for help
That pause feels small to us, but to a child it’s the end of the activity.
Once nothing is happening, they mentally move on.
And as long as their hands keep moving, they stay.
S — Self-Correcting Steps
The second a child thinks they did it “wrong,” they stop owning the craft.
They don’t want to ruin it, so they hand it to you.
But when crooked ears still look funny and oversized eyes still look cute, they keep making choices.
No fixing stage. No takeover stage.
The craft keeps belonging to them.
T — Trash-Friendly Materials
Preparation changes behaviour before the craft even starts.
If materials feel precious, you supervise closely.
If you supervise closely, the child asks before acting.
Once they keep asking, the pace slows and the activity becomes yours.
Using simple, replaceable materials removes that pressure.
They try more, decide more, and continue longer without waiting for approval.
And that independence is exactly what keeps the whole activity under thirty minutes.
Looking for more simple DIY projects? Check out Simple DIY Baby Shower Centerpieces Under $20 for First Time Moms, easy, budget‑friendly ideas for any occasion.
Before You Start — Set Up That Prevents Chaos
Here’s the thing, even the best easter bunny crafts for kids can fall apart before they start if the environment isn’t ready.
This isn’t about decoration or making a cute table. It’s about quietly keeping the kids on track so the craft actually gets finished.
The Table Boundary Trick
Give each child a “craft zone” with a simple placemat or a sheet of paper.
It’s not about being strict, it’s about giving them a space that’s theirs.
When kids have a defined zone, they stay focused. They don’t roam around grabbing everything on the table or touching a sibling’s project.
A small boundary keeps hands on their own work and frustration off yours.
If you’re looking for more creative experiences for kids beyond easter bunny crafts for kids, check out my 6 Simple Flower Crafts for Kids That Encourage Creativity Over Perfection which is great for keeping little hands busy with open‑ended fun.
Pre-Torn, Not Pre-Cut
Torn paper is magic. Seriously.
For easter bunny crafts for kids, pre-torn pieces make a huge difference.
Kids can grab what they need instantly and stick it down without waiting for help.
If you give them scissors for every tiny piece, they stop to ask for help, lose patience, or hand the craft to you.
Torn pieces = faster success + less adult intervention + happy kids.
The Two-Tool Limit
It sounds small, but more tools = more chaos.
Limit each child to just two tools at a time, a glue stick and a crayon, or scissors and markers.
Anything more, and they start juggling, dropping, or losing focus.
For easter bunny crafts for kids, the rule is simple: fewer tools = longer attention + finished projects.
This setup alone will save you more headaches than any instructions on the craft itself.
When the environment supports focus, kids stay in control, and that’s exactly how these 30-minute easter bunny crafts for kids actually get finished.
If you want to turn easter bunny crafts for kids into a creative gathering, try these tips from How to Host a Craft Night Party for Any Age, Any Season, Any Occasion.
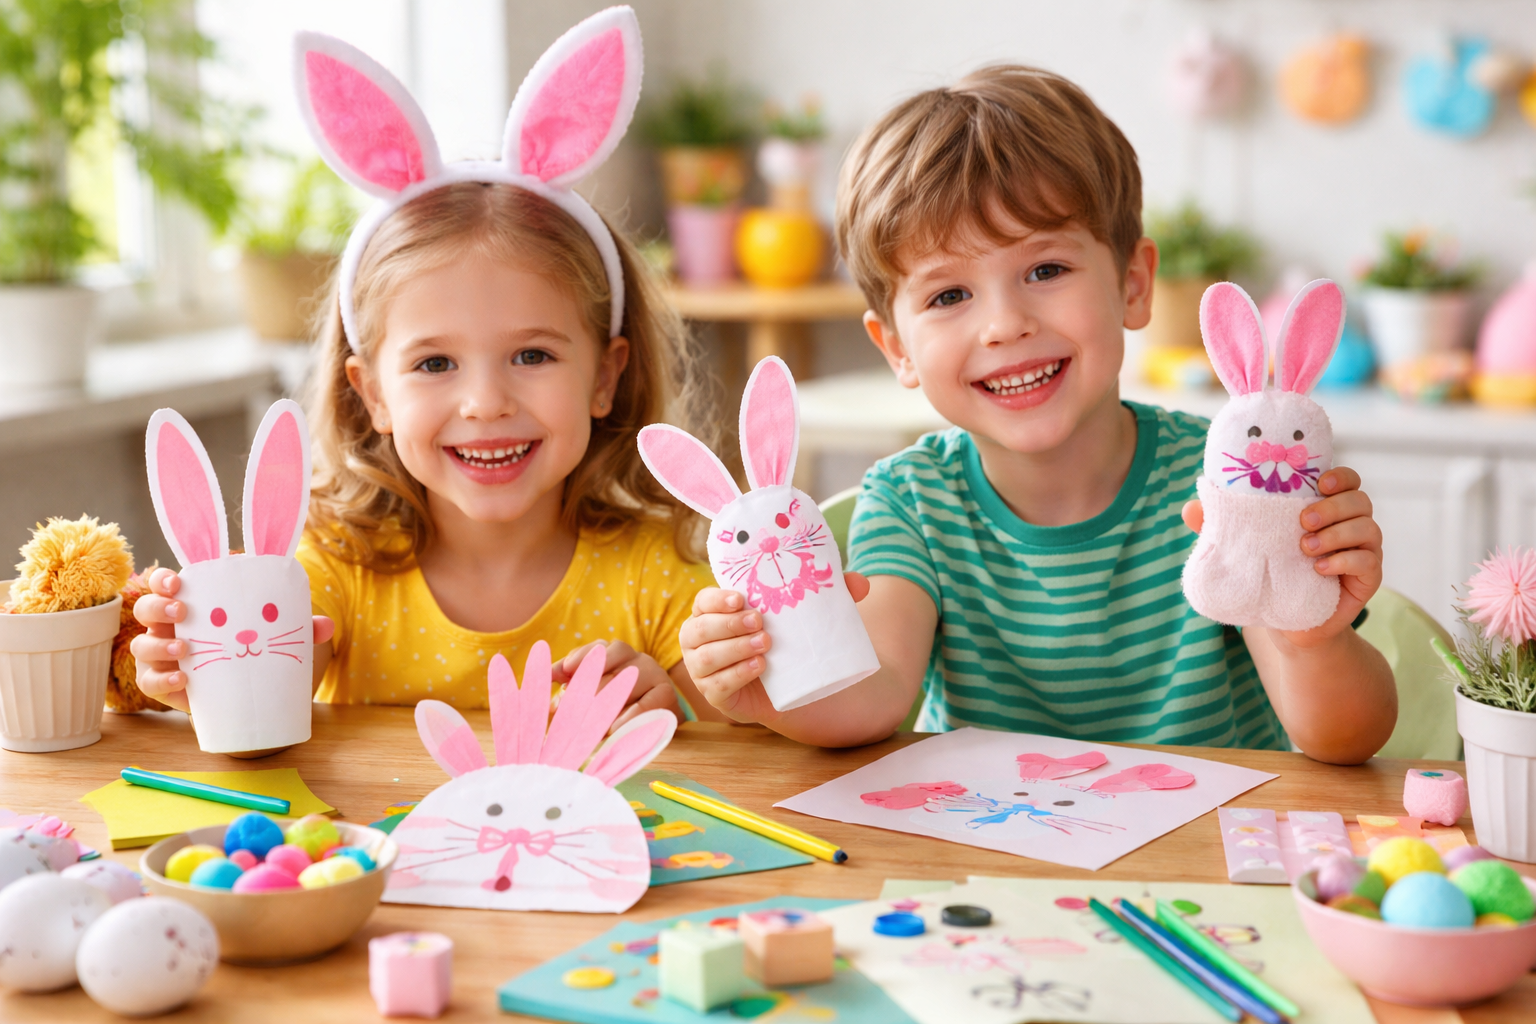
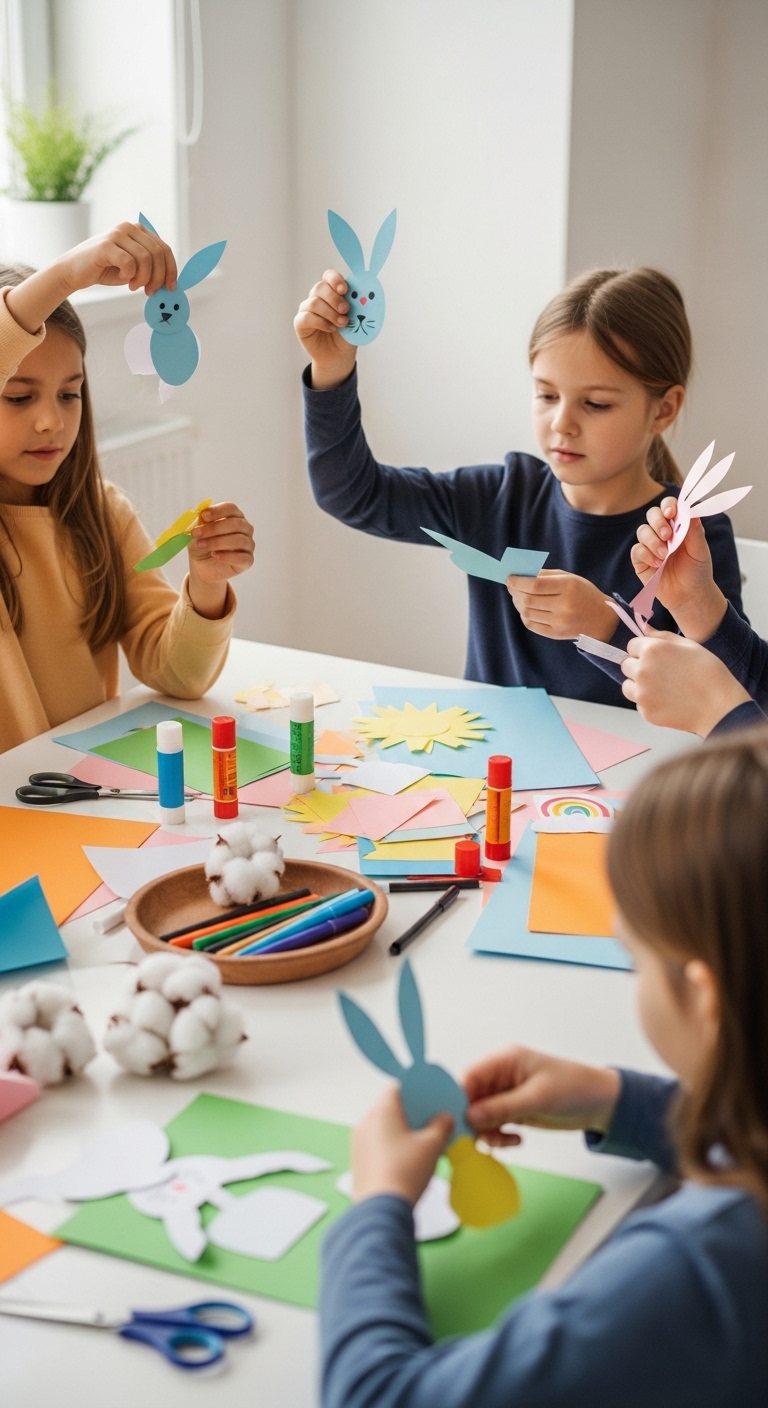
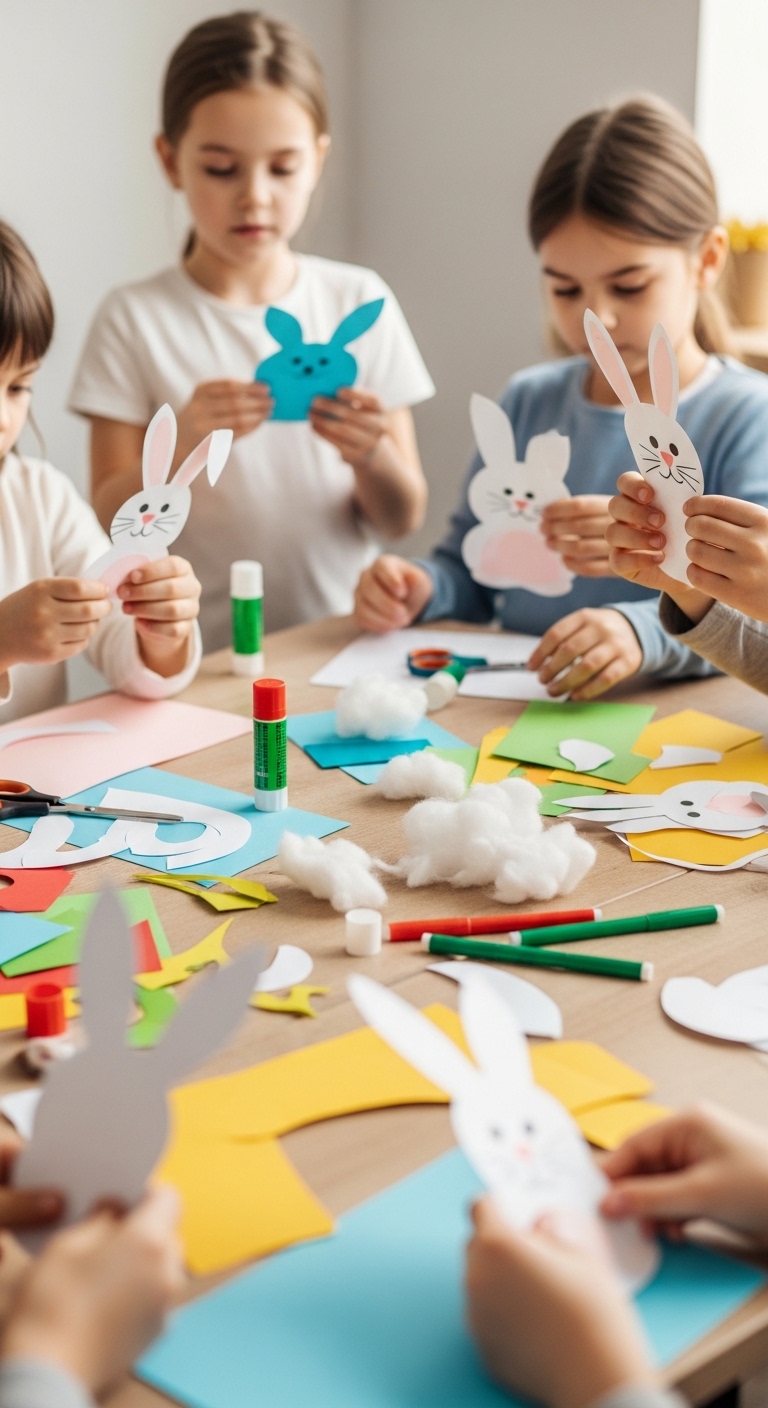
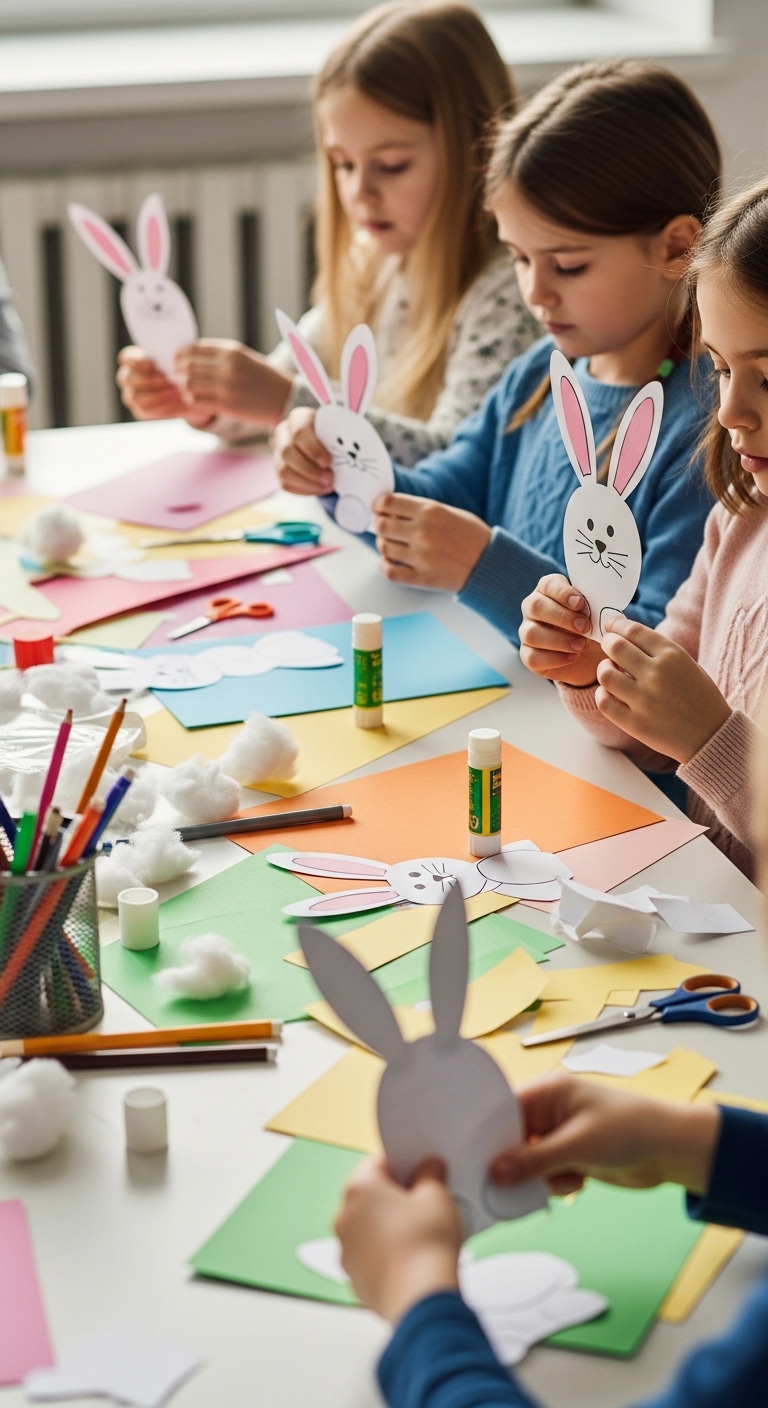
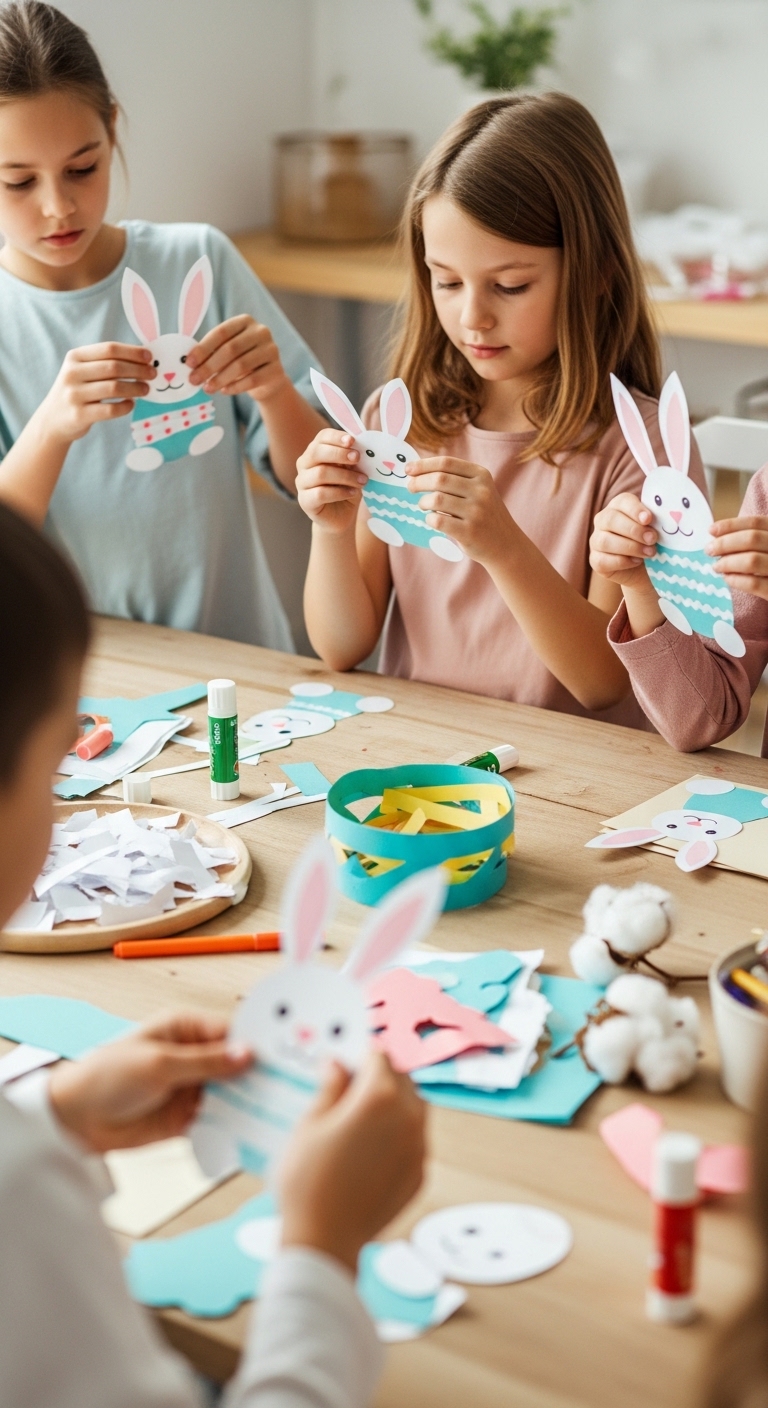
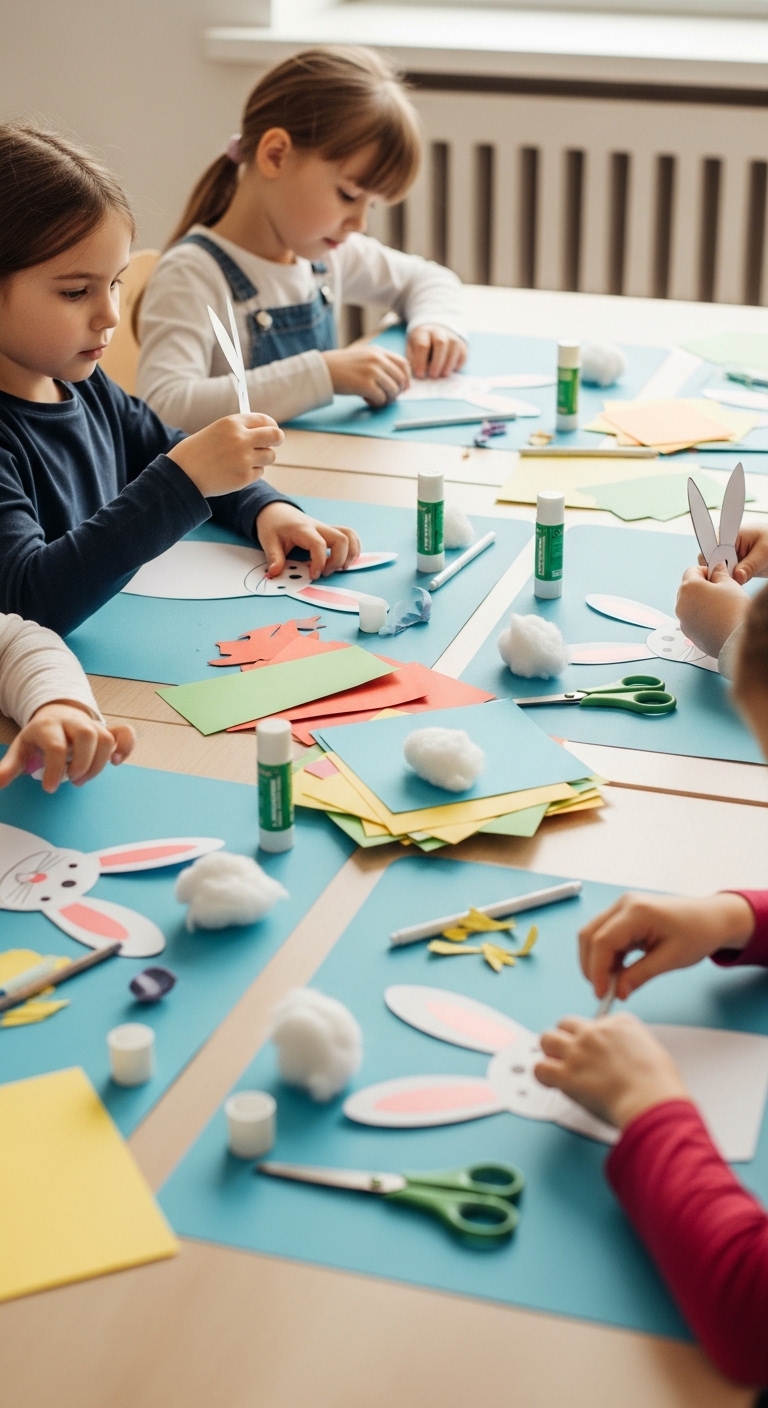
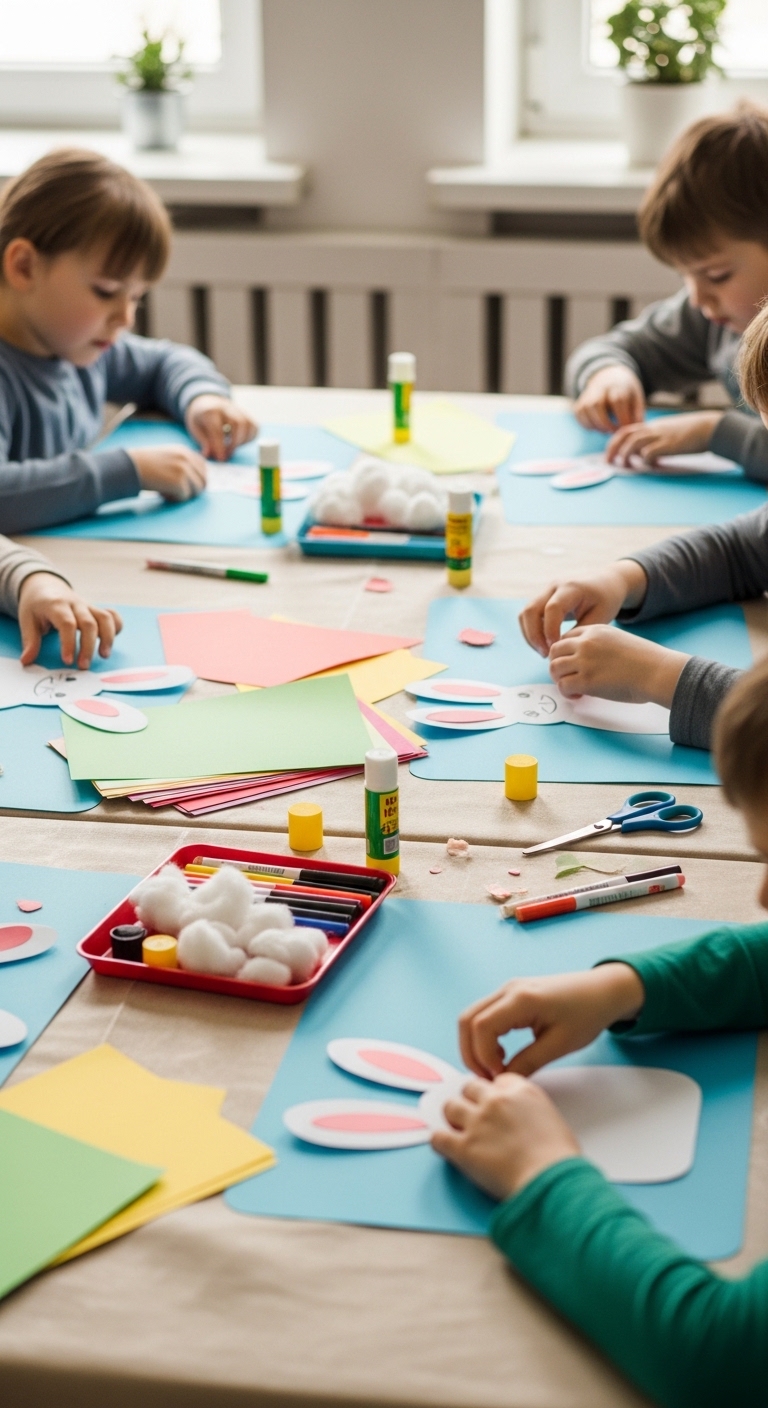
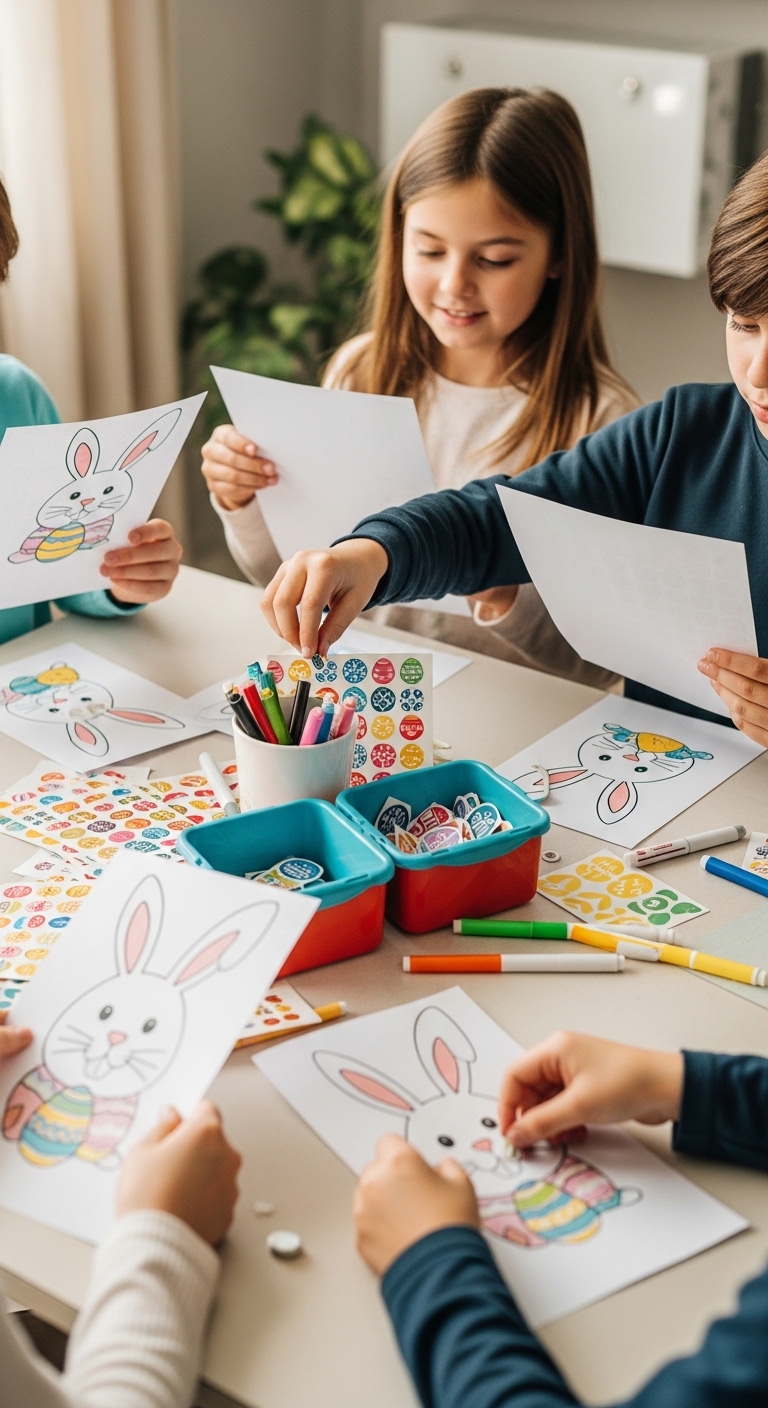
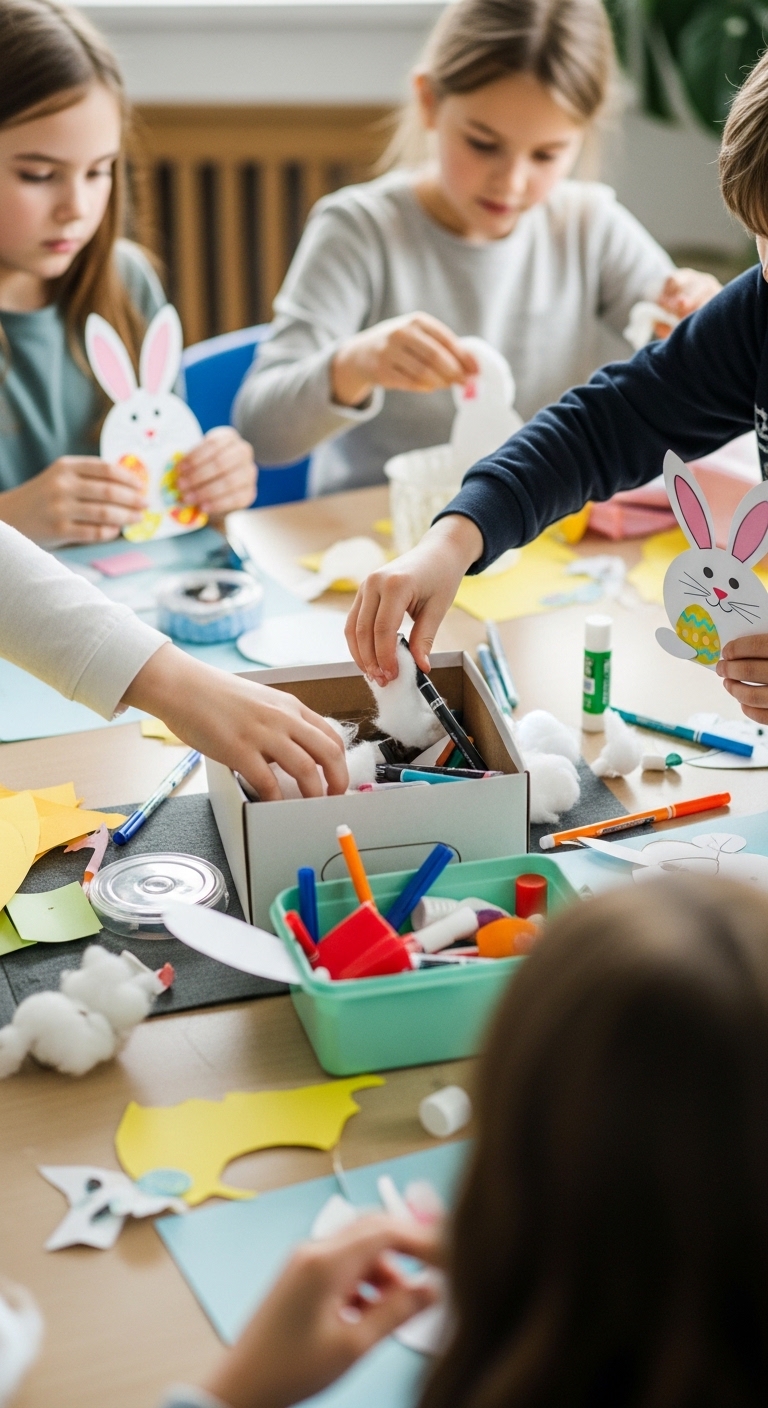
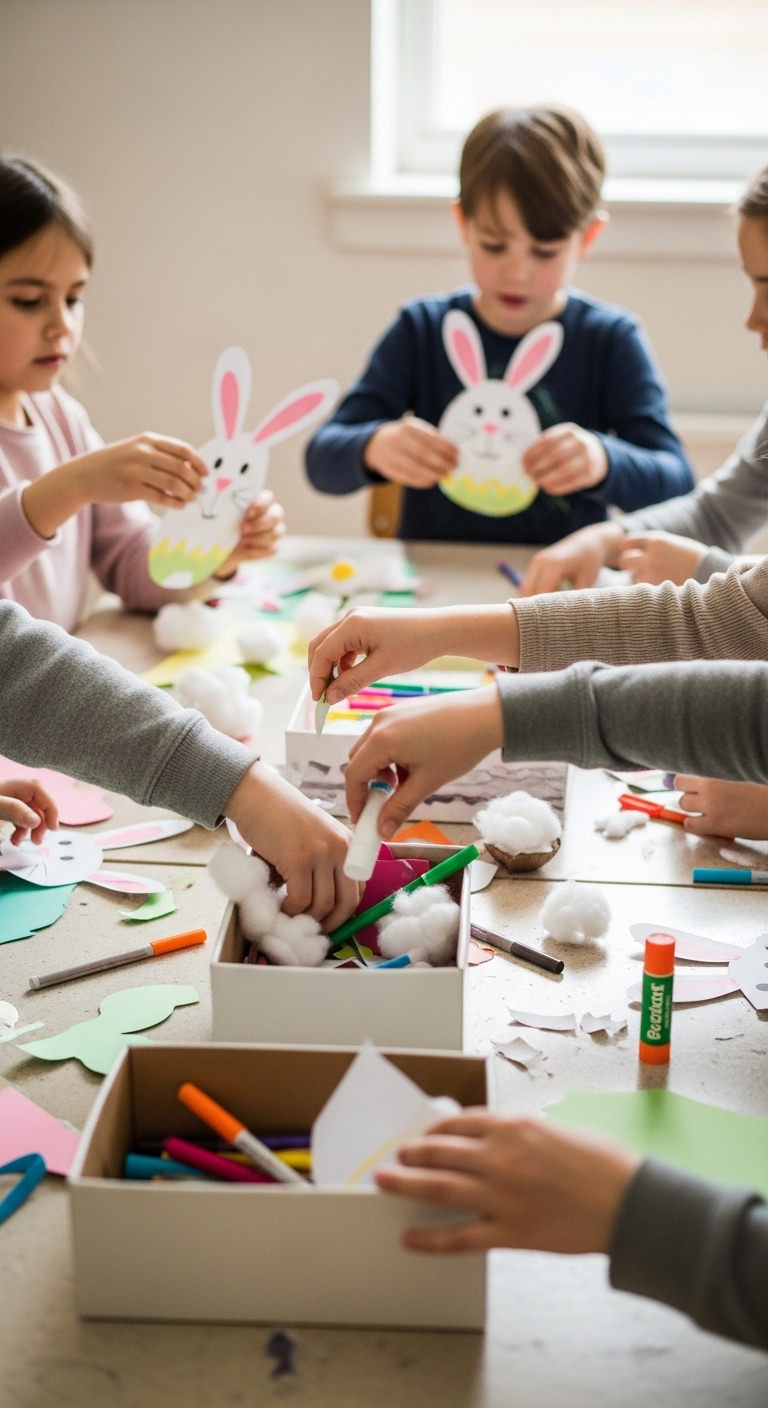
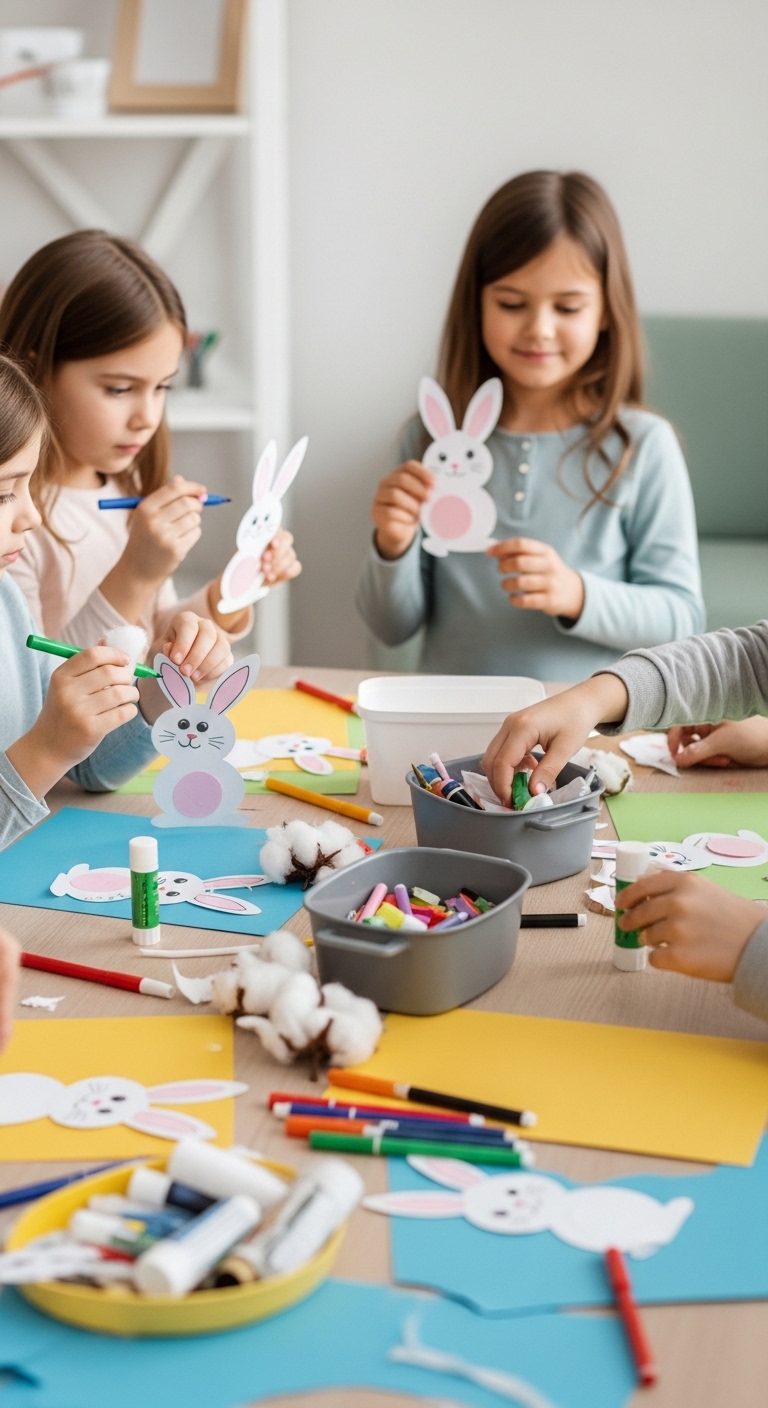
Easter Bunny Crafts (Under 30 Minutes)
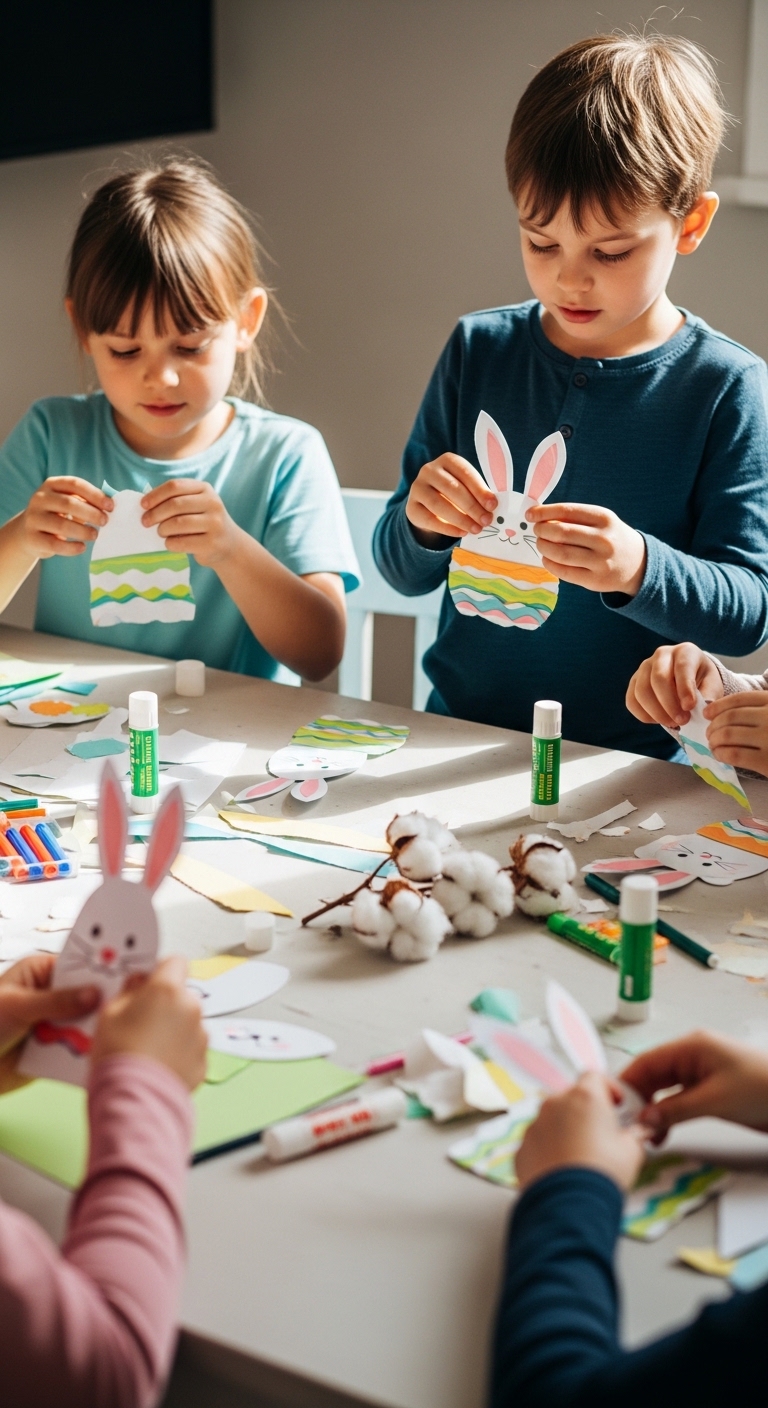
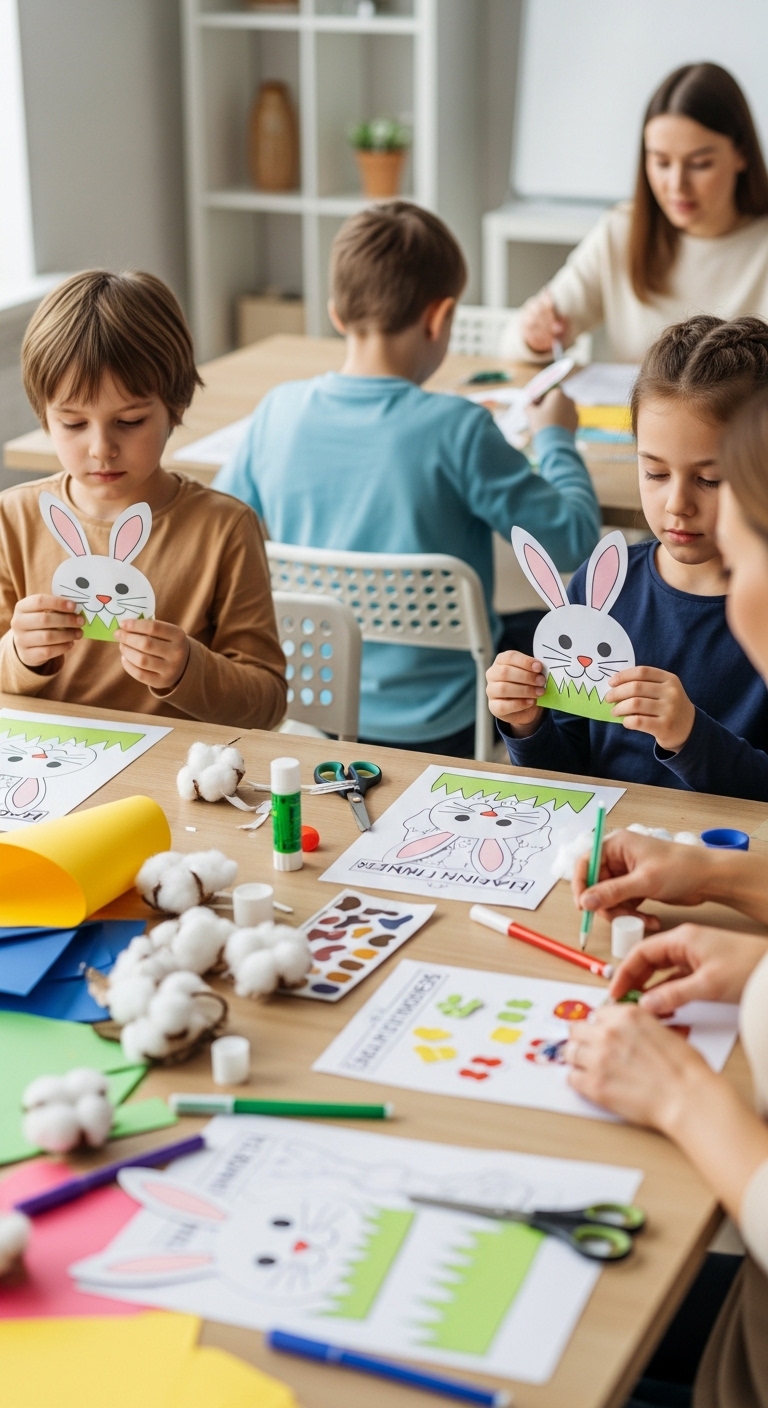
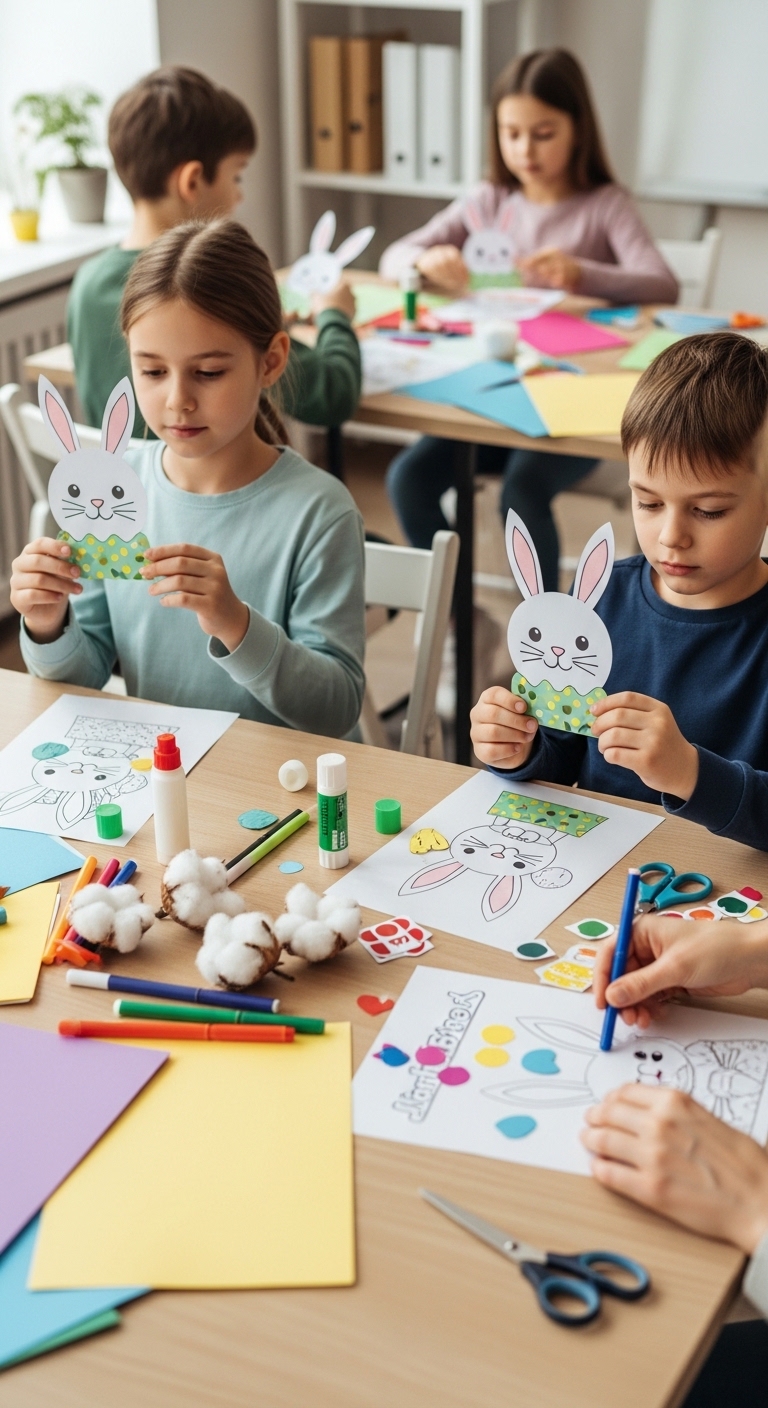
1. Paper Plate Bunny Faces
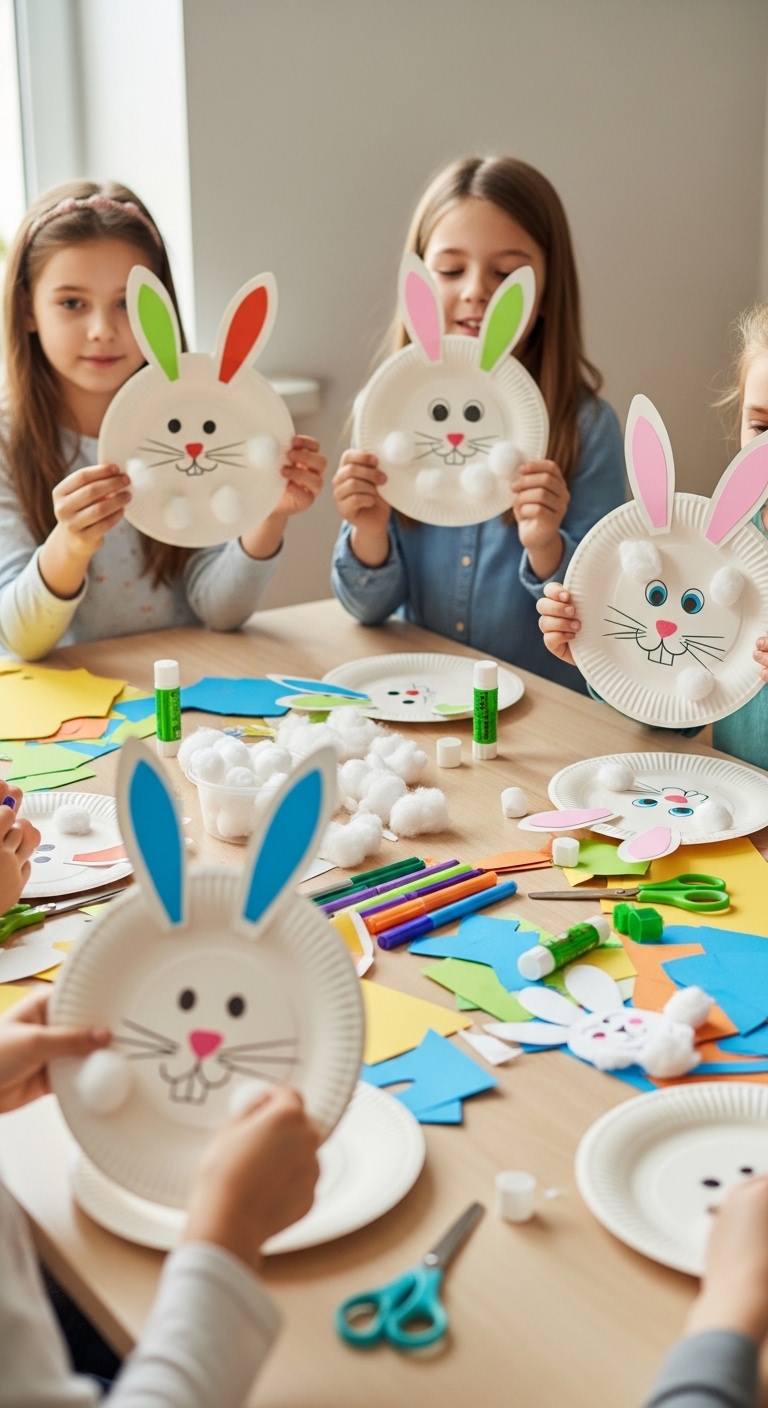
This craft is perfect for kids who get bored fast. The moment they attach the ears and nose, they instantly recognize a bunny, that “first shape appears fast” moment keeps them focused. It’s hands-on, gives them a visible reward right away, and even toddlers can see success without feeling frustrated.
Materials:
- Paper plates
- Construction paper (pink, white)
- Cotton balls
- Glue stick
- Scissors
- Markers or crayons
Step-by-step:
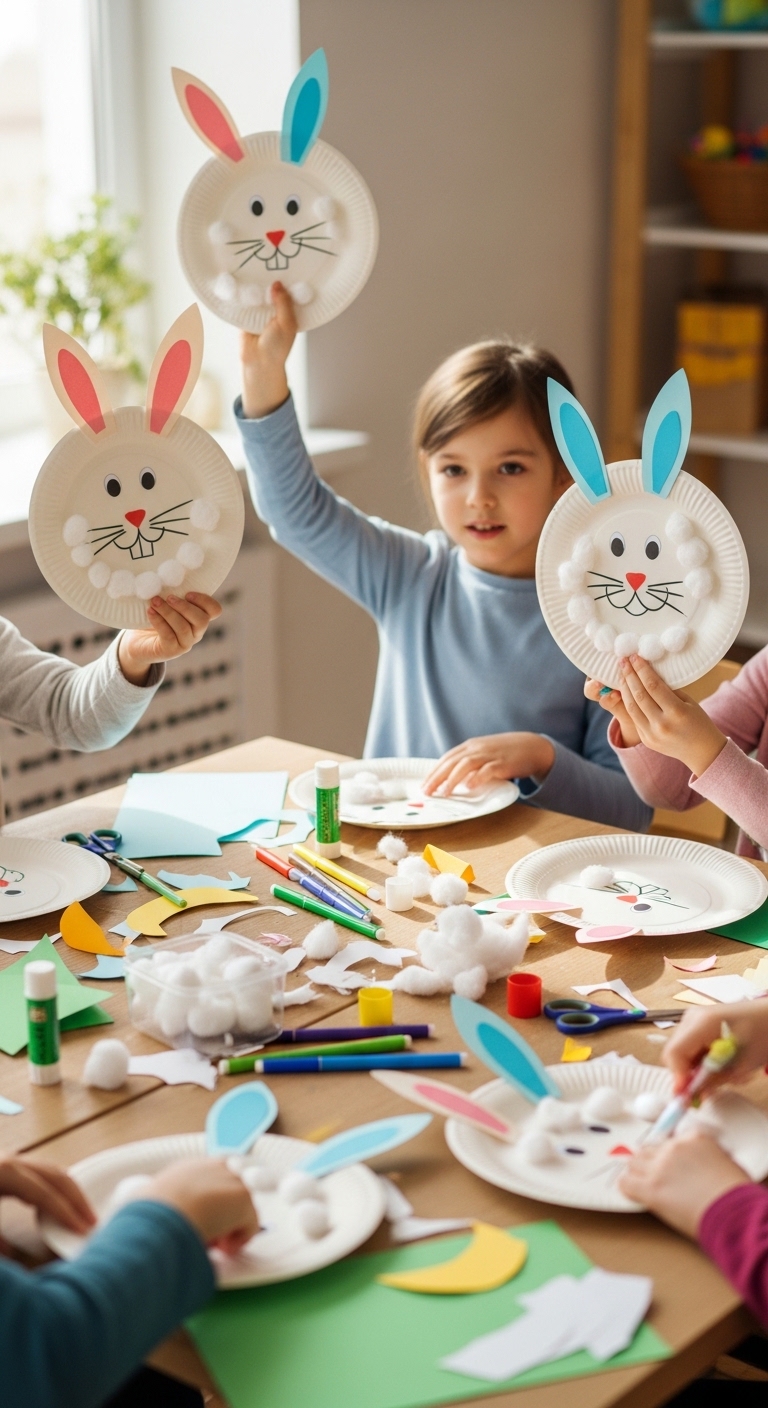
- Fold the paper plate slightly to give the bunny’s head a gentle 3D shape.
- Cut two long ear shapes from white construction paper. Cut smaller pink pieces for the inner ear.
- Glue the pink inner ear onto the white ear, then attach the ears to the top of the plate.
- Glue a cotton ball in the center as the nose.
- Draw eyes, mouth, and whiskers with markers or crayons.
What kids struggle with: Cutting ears evenly and aligning them.
Quick fix: Crooked ears are cute — let them overlap.
Speed version (under 10 min): Skip cutting ears and draw them directly on the plate.
Calm extension: Decorate with stickers, patterns, or add a small bow under the nose.
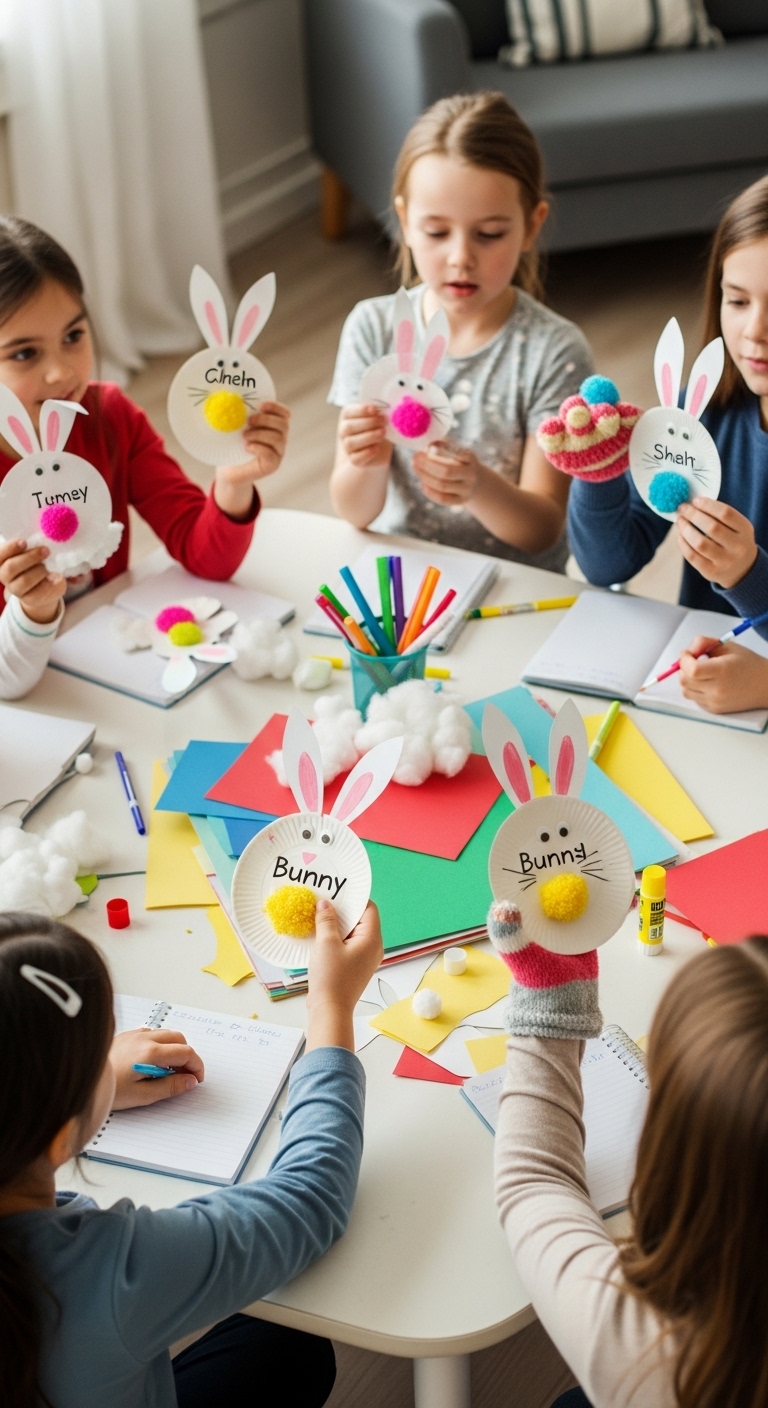
2. Pom-Pom Bunny Pals
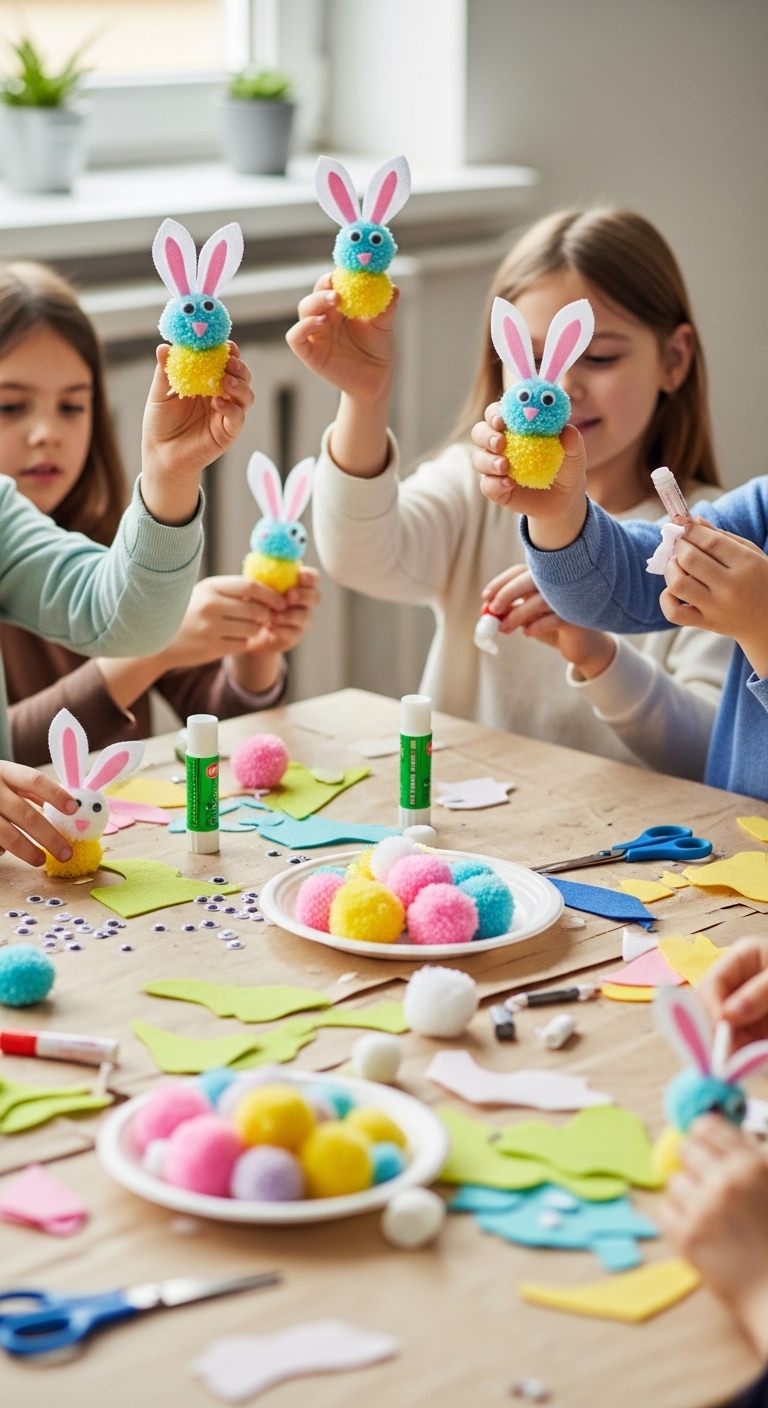
Kids love anything squishy or tactile, and pom-poms are perfect. Making the bunny in layers (body → head → ears) gives repeated small victories, so even impatient kids stay engaged. Mistakes are forgiving , if the pom-poms roll or the ears are crooked, it still looks adorable.
Materials:
- White and pink pom-poms (various sizes)
- Glue (or double-sided tape)
- Googly eyes
- Small pieces of felt (for ears)
- Pipe cleaners for whiskers
To make easter bunny crafts for kids go smoother, check out What Type of Glue To Use For Paper Crafts for simple guidance on choosing the best adhesive.
Step-by-step:
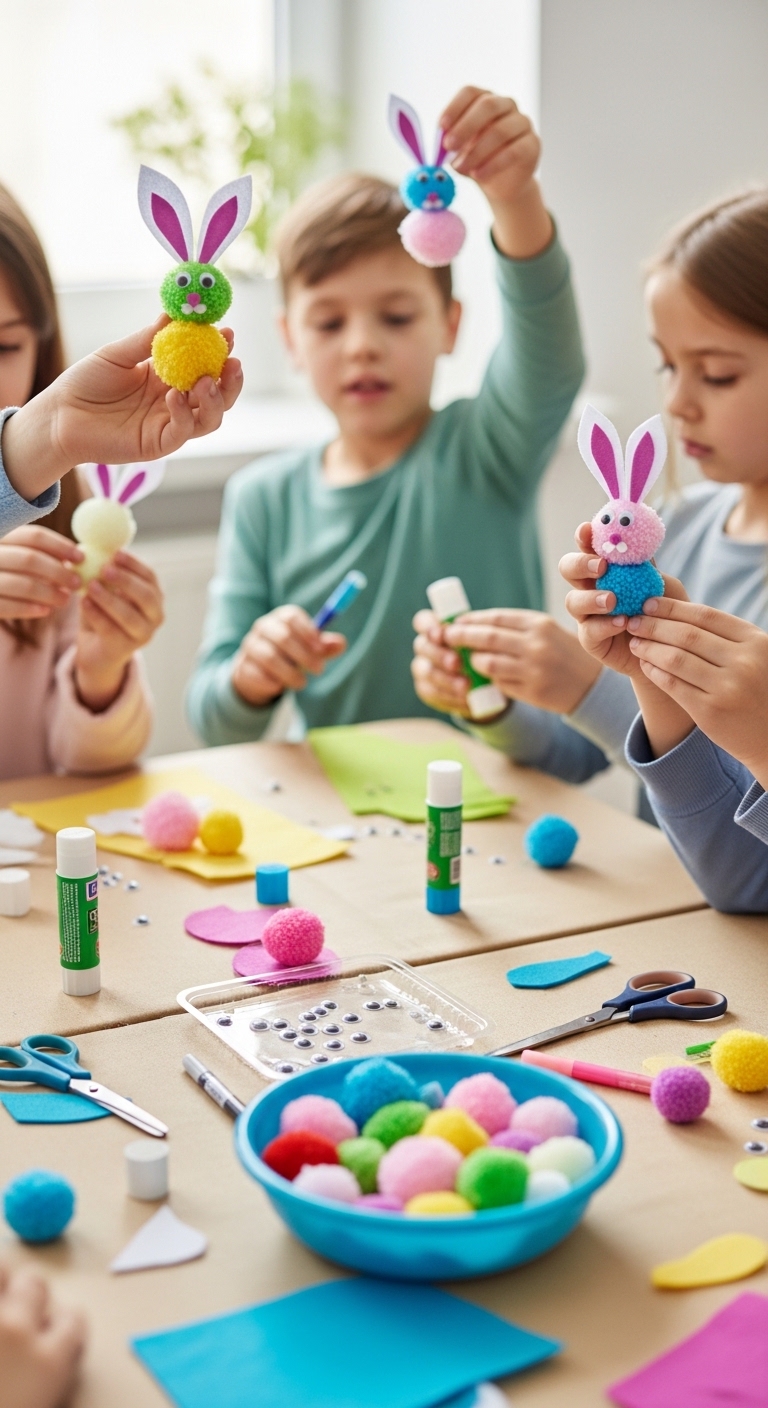
- Use a large white pom-pom as the body.
- Glue a smaller white pom-pom on top as the head.
- Cut two small felt triangles and glue them as ears.
- Attach googly eyes and a small pink pom-pom for the nose.
- Cut short pipe cleaners and glue as whiskers.
What kids struggle with: Pom-poms rolling away.
Quick fix: Use double-sided tape instead of glue for instant stick.
Speed version (under 10 min): Make one large bunny instead of a group.
Calm extension: Add patterns, bows, or create a mini bunny family.
3. Handprint Bunny Garden
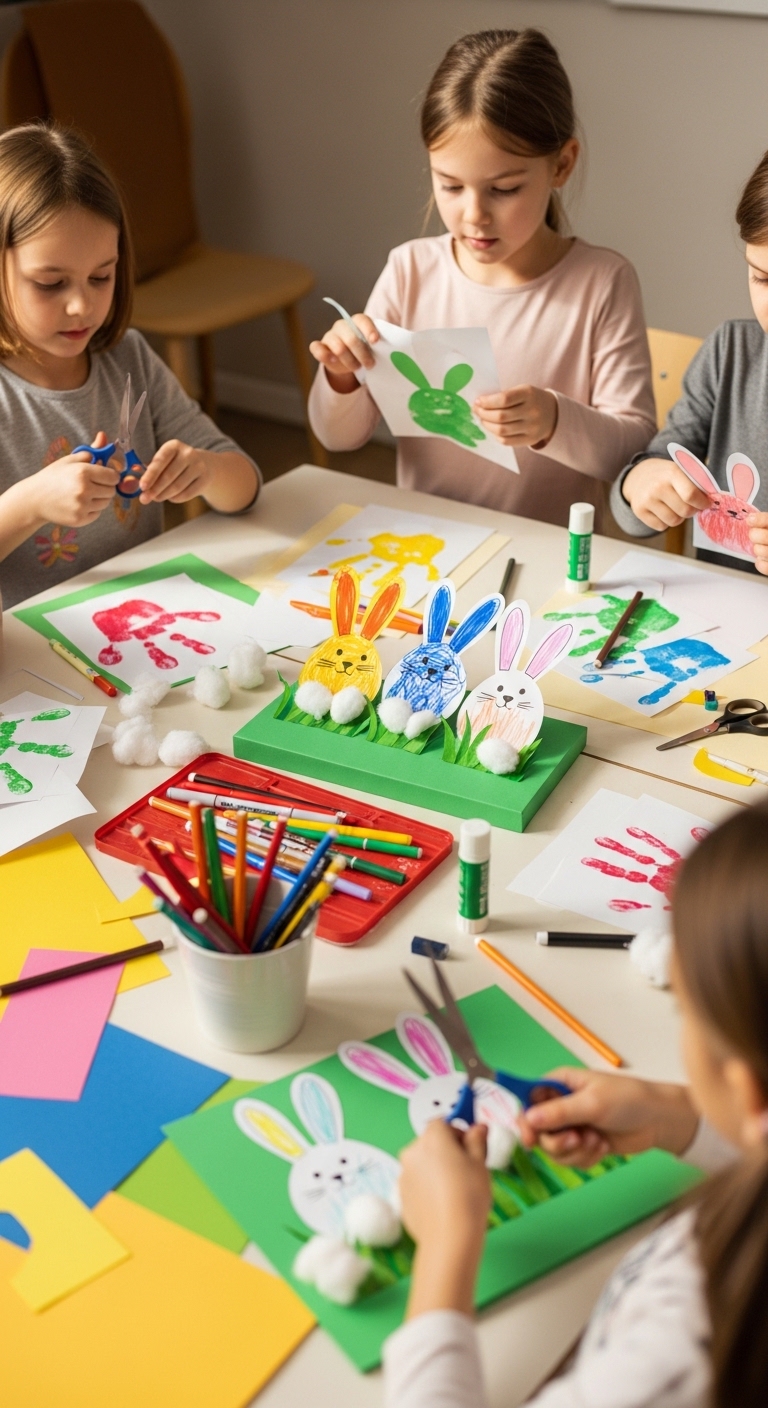
This craft is more than a bunny, it’s a keepsake. Children instantly love seeing their own hand turned into a bunny.
It combines creative expression and memory-making, which keeps them interested longer. Even messy handprints still look cute, so mistakes never stop the fun.
Materials:
- White paper or cardstock
- Paint (white, optional pink for paws)
- Paintbrush
- Markers or crayons
Step-by-step:
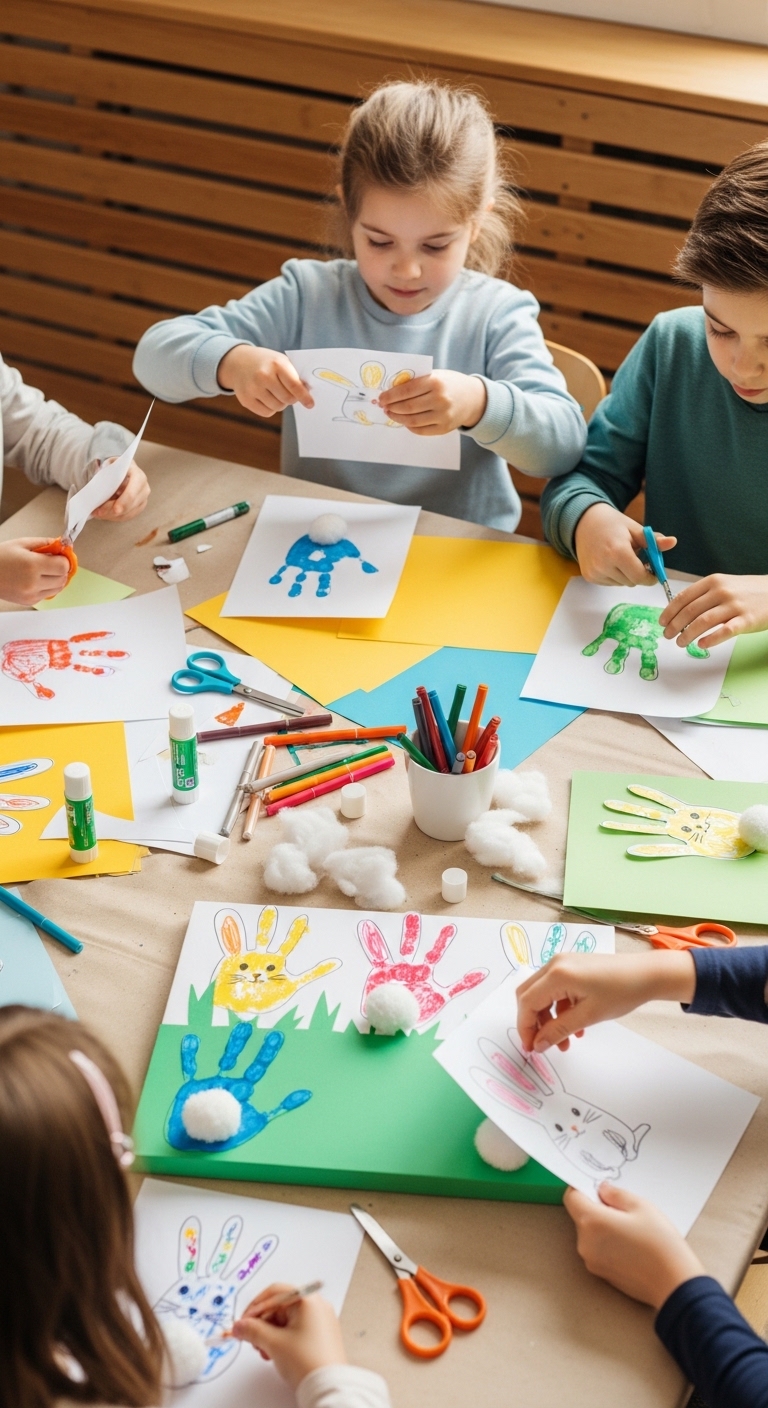
- Paint your child’s hand with white paint (or lightly trace for beginners).
- Press the hand onto the paper, fingers spread wide to create the bunny shape.
- Let it dry.
- Draw eyes, nose, mouth, and whiskers.
- Decorate with grass, flowers, or a sun.
What kids struggle with: Clean handprints without smudges.
Quick fix: Trace hands with pencil and color instead of painting.
Speed version (under 10 min): One handprint per bunny; skip background details.
Calm extension: Add a garden of bunnies or mini accessories like paper flowers.
4. Egg Carton Bunny Critters
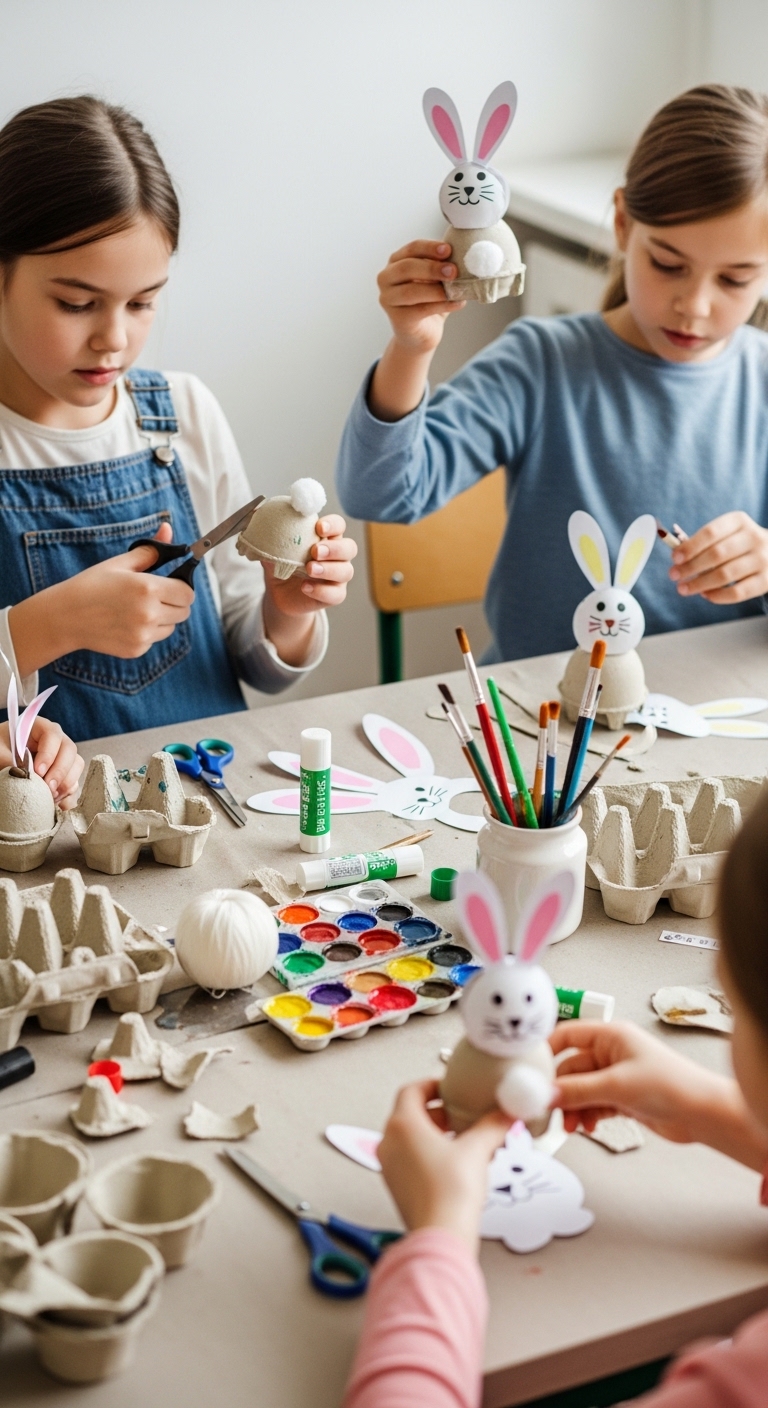
Kids love manipulating real objects, and egg cartons are sturdy and forgiving. Each section becomes a bunny body, which gives instant results. Mistakes are invisible, if an ear is crooked or the tail slips, the bunny still looks adorable. This craft is tactile, quick, and visually rewarding.
Materials:
- Egg carton sections
- White paper or cotton balls for tails
- Construction paper for ears
- Glue
- Markers or crayons
- Small pom-poms for noses
Step-by-step:
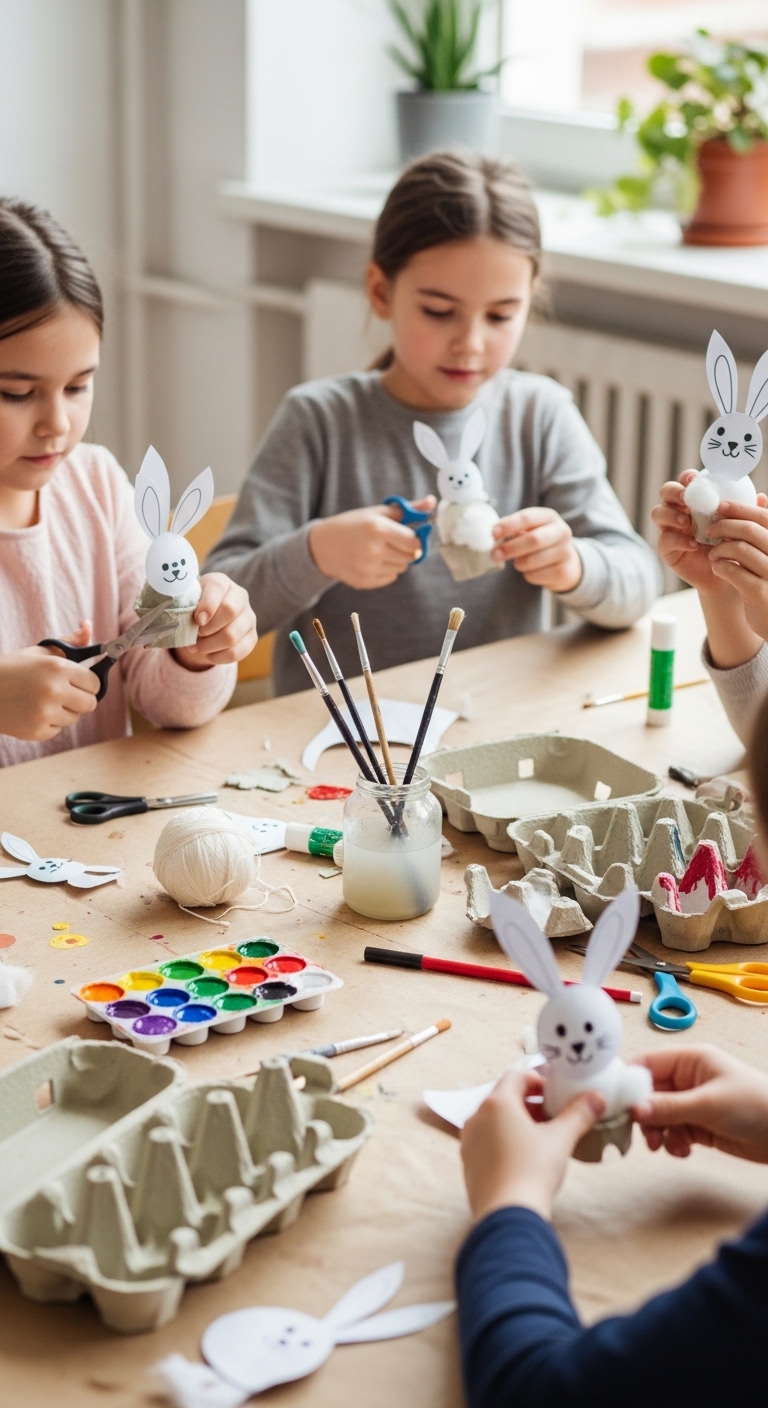
- Cut individual egg sections from the carton.
- Glue cotton balls or paper scraps on the back as tails.
- Cut two ear shapes from construction paper and attach to the top.
- Draw eyes and a mouth.
- Glue a small pom-pom as the nose.
What kids struggle with: Popping out sections cleanly and attaching ears.
Quick fix: Pre-cut sections; twist-tie ears if glue is slow.
Speed version (under 10 min): Use one egg section per bunny; skip extra decoration.
Calm extension: Create a bunny village or paint patterns on the carton.
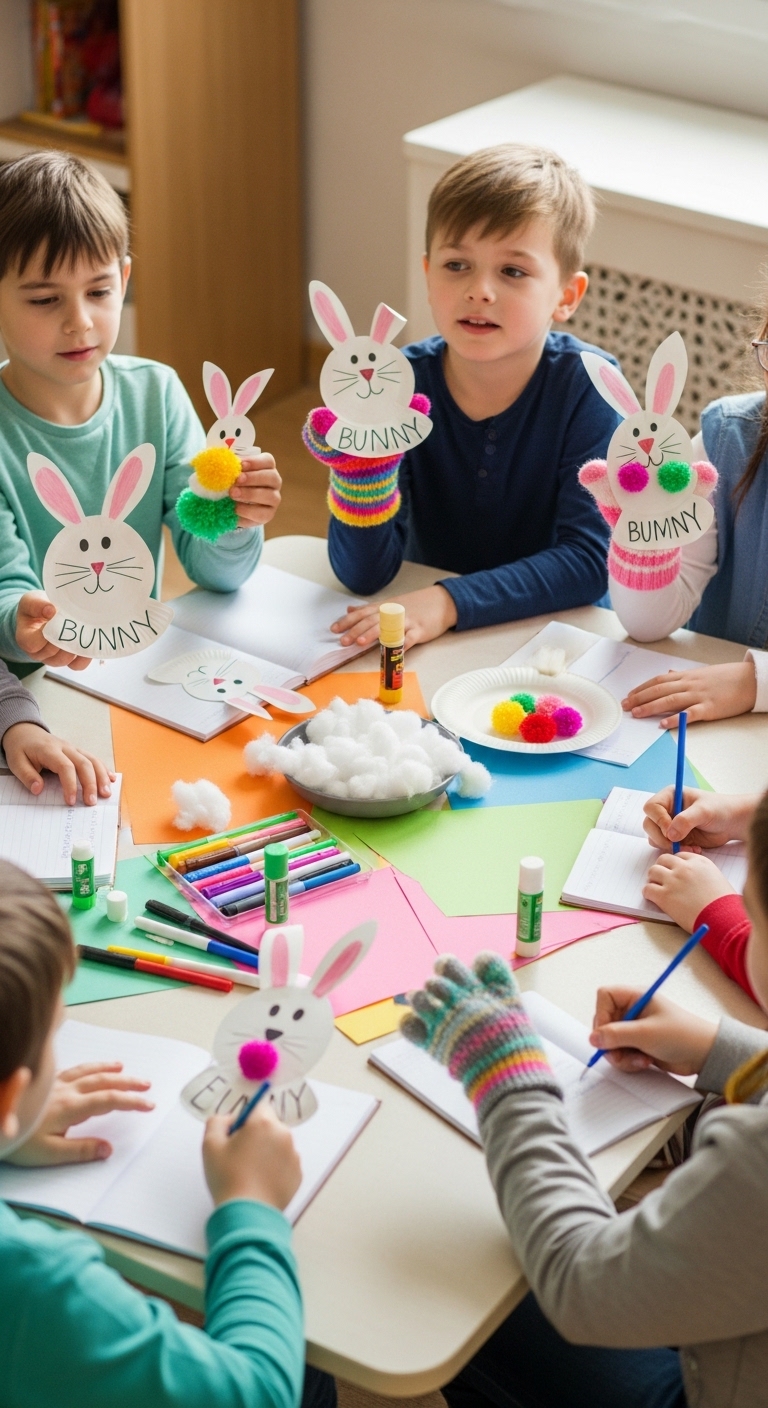
5. Bunny Sock Puppets
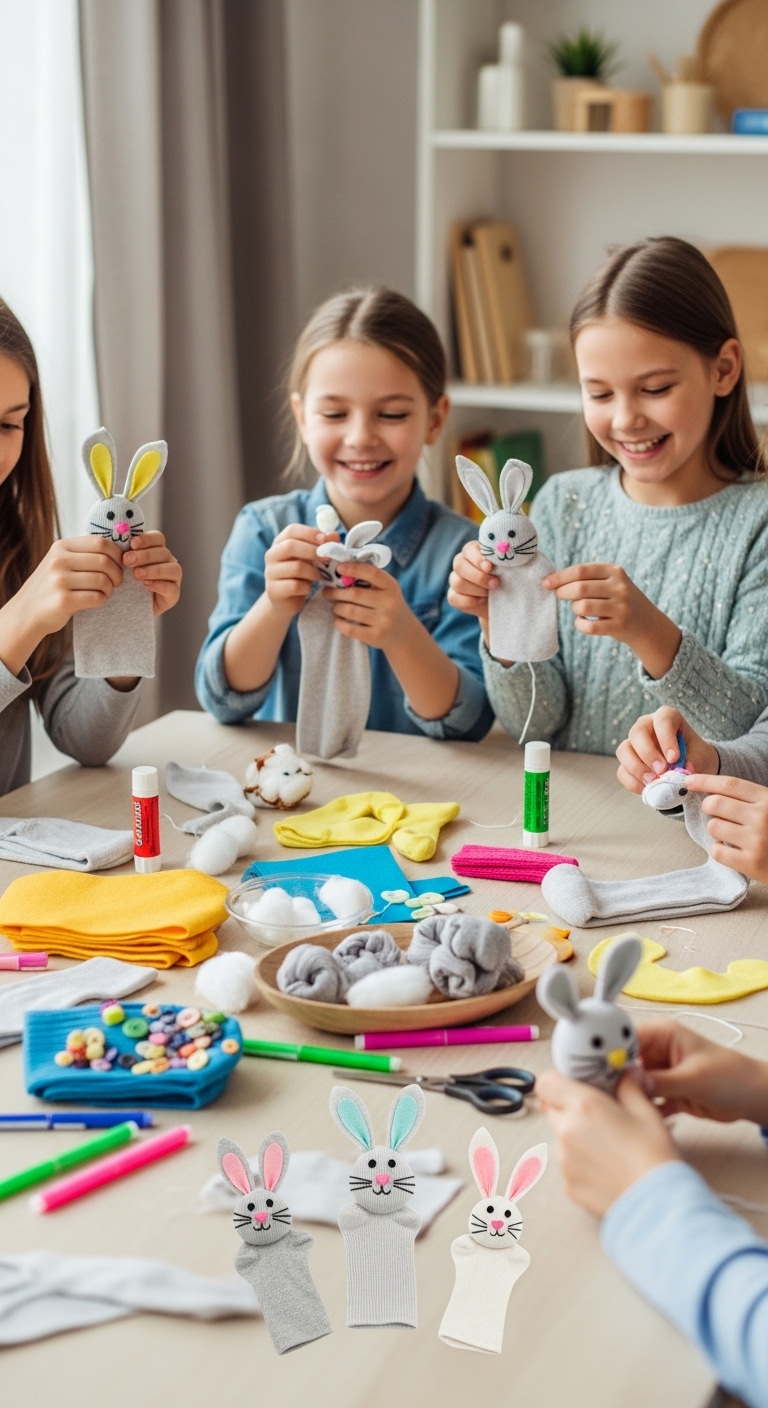
This is one of my favorite easter bunny crafts for kids because it instantly turns ordinary socks into playful bunnies. Kids love puppets, they can play while they make them, so even if a step is tricky, they stay engaged.
The first sock-to-bunny transformation happens fast, giving that early “I made it!” satisfaction that keeps them at the table. Plus, mistakes are invisible, crooked ears or mismatched eyes just make the bunny more unique.
Materials:
- Clean, white socks
- Cotton balls or fabric scraps for stuffing
- Felt or paper for ears and nose
- Googly eyes or markers
- Glue or hot glue (parent-supervised)
- Pipe cleaners for whiskers (optional)
Step-by-step:
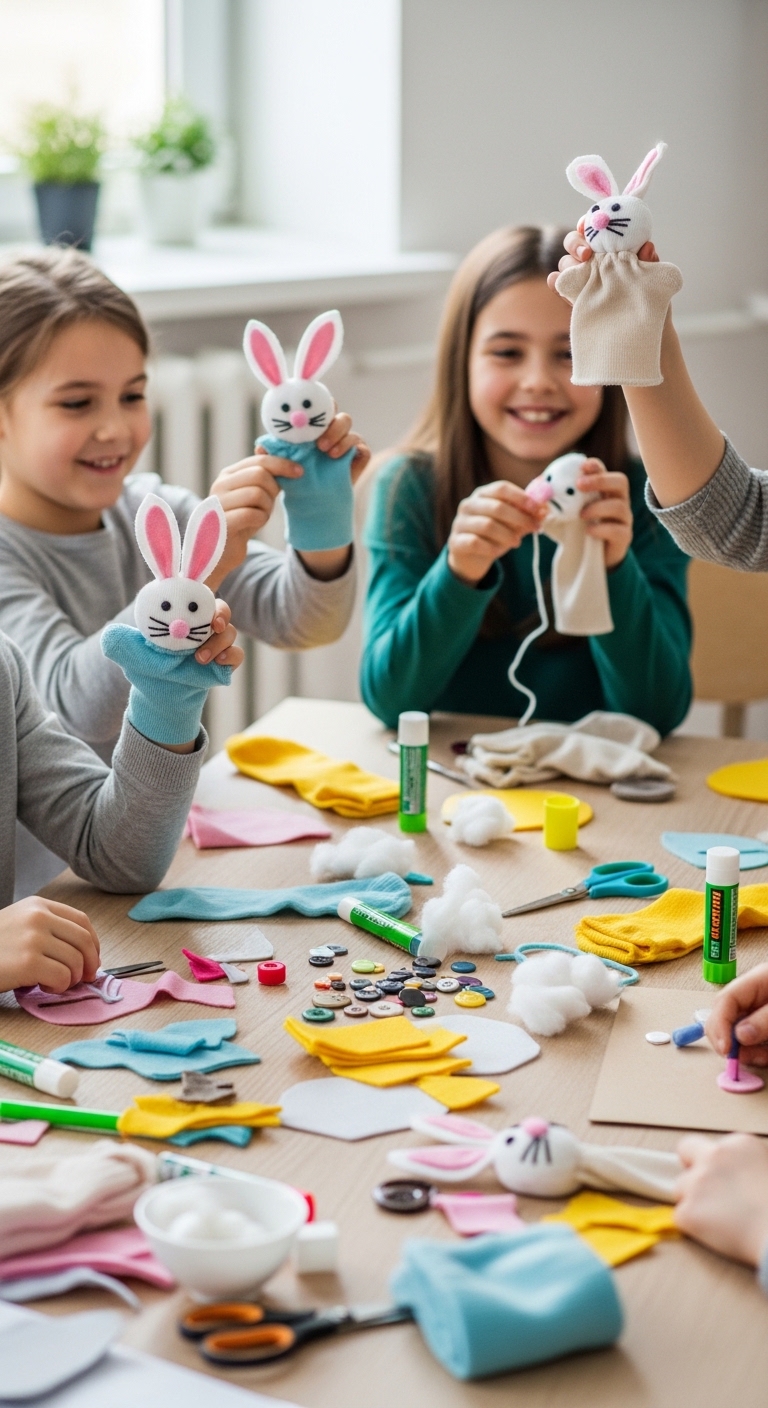
- Stuff the sock with cotton balls or fabric scraps to create a soft bunny body.
- Fold the top of the sock down slightly to form the head.
- Cut two ears from felt or paper and attach them to the head with glue.
- Glue on googly eyes (or draw them with markers).
- Add a small pom-pom or felt piece for the nose.
- Optional: twist short pipe cleaners into whiskers and glue them on.
What kids struggle with: Keeping the stuffing inside and attaching small pieces like ears or whiskers.
Quick fix: Let the child stuff loosely, the bunny still looks soft and cute. Pre-cut ears make attachment faster.
Speed version (under 10 min): Use one sock, skip whiskers, and draw the face with markers instead of gluing extra pieces.
Calm extension: Kids can decorate the bunny with small clothes, bows, or a tiny scarf, then use it for puppet play afterward.
After the easter bunny crafts, try these 7 Spring Baking Ideas for Kids That Feel Playful, Calm, and Mess-Friendly ,perfect for extending your spring fun into the kitchen.
How to Handle Kids Who Finish Early
This is the moment where most chaos starts. You’ve set up the craft, they’ve done it, and suddenly…they’re done.
Sometimes, boredom hits faster than you expect. Instead of panic or shushing, have a few simple tricks ready, ways to keep them engaged, calm, and even proud of their work.
-
Turn the Bunny Into a Puppet
Once the craft is done, give the child a chance to play with it. A paper plate bunny or sock puppet can suddenly become a character in their own little story. Puppets give them an immediate sense of purpose, and it keeps their hands busy instead of roaming around touching other crafts.
Ask them to put on a short “show” for you or siblings, even 5 minutes of storytelling will keep them engaged.
-
Storytelling Game
Encourage your child to make up a story about their bunny. Who is it? Where does it live? What adventures does it go on? This turns a finished craft into an imaginative activity.
Kids who finish early often have lots of energy and ideas, giving them a narrative outlet channels it productively.
-
Name the Bunny + Personality
Give the craft a name and a little personality quiz: Is it shy, playful, or brave? Does it like carrots or flowers? Naming and imagining personality adds ownership and excitement.
Quick trick: Let them draw or write a “bunny profile” on a small piece of paper. This keeps them at the table, happily engaged, without you needing to manage anything.
-
Sticker Reward Station
Set up a small sticker area nearby. Kids who finish early can pick a few stickers to decorate their craft or a scrap piece of paper. This gives instant positive reinforcement and helps them feel rewarded without interrupting others still crafting.
Use it sparingly, a few stickers per finished craft keeps it special and prevents hoarding.
Cleanup Strategy That Takes 3 Minutes
One of the biggest frustrations with easter bunny crafts for kids isn’t the craft itself, it’s the cleanup afterward. But what if cleaning up could be part of the activity instead of an extra chore? With a few simple tricks, kids will cooperate almost automatically.
The Drop Box Method
Place a small trash bowl or container in the middle of the table.
Kids can immediately drop scraps, cotton balls, or paper cuttings as they go.
This makes cleanup feel like part of crafting instead of a separate job.
The Last Minute Rule
Give kids a simple choice in the final 60 seconds: they can either finish decorating their bunny or help tidy up.
Hand them small tasks like gathering scraps or placing used materials in the trash bowl.
Giving them a choice makes them feel in control, and surprisingly cooperative.
By combining the Drop Box Method with the Last Minute Rule, even the messiest easter bunny crafts for kids can be wrapped up in under three minutes.
Cleanup becomes part of the fun, not a battle.
Conclusion
For more playful projects where kids build confidence through making, see my Farm Animal Crafts for Kids: Building Confidence and Creativity Beyond the Tutorial.
Here’s the truth about easter bunny crafts for kids: it’s not the perfect ears, the straight lines, or the flawless paint that sticks in memory.
Kids remember finishing. They remember holding up their bunny and saying, “I made this!” That sense of accomplishment, the giggles, the proud grin, the hands covered in glue, lasts far longer than any perfectly symmetrical craft.
And parents? You don’t remember how photogenic the project was, but the calm moments, the ones where the kids were focused, engaged, and even independent. You remember being able to sit, or take a deep breath while the craft happened without stress.
Fast crafts give both sides that gift: children get the joy of completion, and parents get a peaceful, happy memory instead of a frantic cleanup.
So, the next time you choose a craft, remember: it’s not about perfection, it’s about finishing, playing, and making a moment that you’ll both remember with a smile.