Make your child’s Valentine’s Day unforgettable by learning how to make a Valentine box for school that stands out in class.
Making a Valentine box for school is one of those small but meaningful projects that gets kids excited for Valentine’s Day. The box becomes the center of the class exchange, where all those tiny cards, candies, and notes go.
If you’ve ever wondered how to make a valentine box for school without stress, confusion, or last-minute panic, this guide will walk you through the process step by step.
You may have tried crafting before and ended up with glue everywhere, paper that kept lifting, or decorations falling off. It happens to almost everyone, especially beginners.
The good news is that once you understand the right materials, simple techniques, and small tips people rarely share, making a beautiful Valentine box becomes easy and enjoyable.
This guide gives you that extra support so you feel confident, prepared, and fully in control of the project. You should read this too: No Sew Fabric Options for DIY Projects
Why Making a Valentine Box Is Worth It
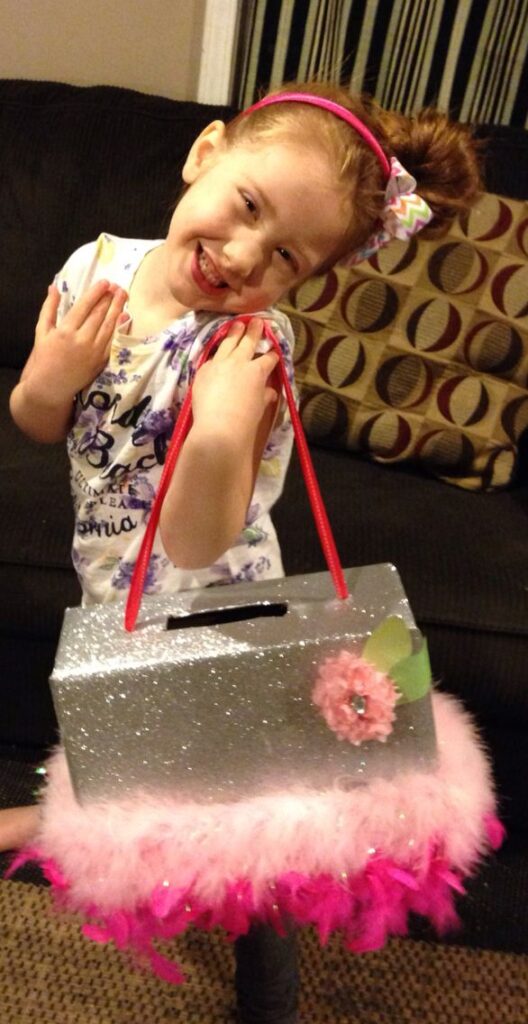
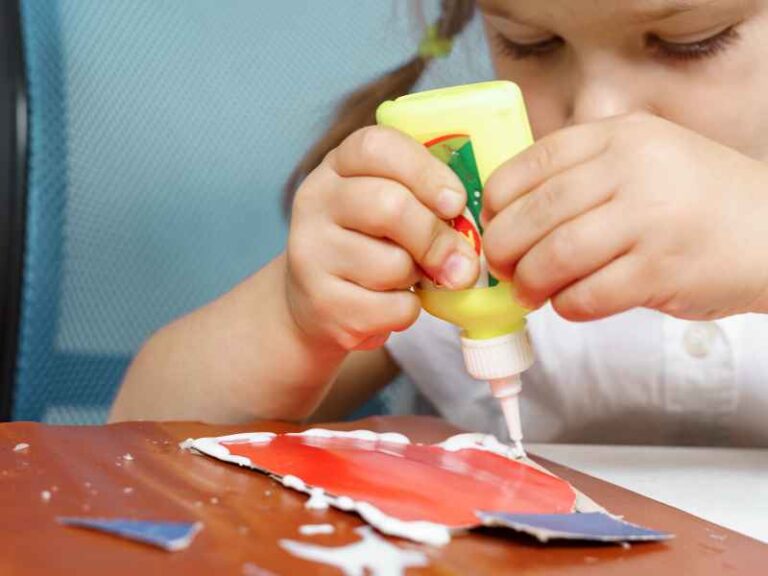
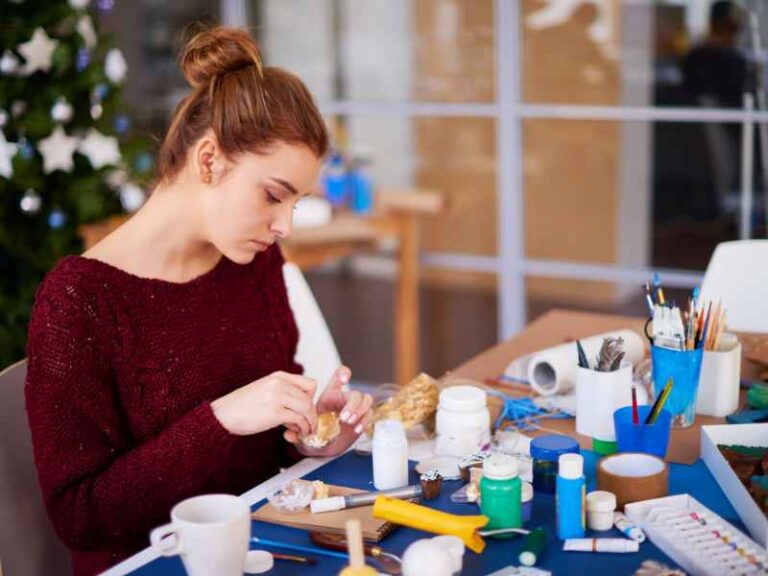
Photo credit: @ Silver glittery
This craft isn’t just about creating something cute for school, it’s also a moment of connection and creativity.
Kids get to express their personality, whether they want something sparkly, funny, themed, or just simple and neat. They also learn small skills like cutting, building, and arranging pieces to create something meaningful.
For parents, this project is a gentle way to bond without pressure. It’s simple, inexpensive, and doesn’t require advanced crafting skills. Even if you’re not naturally “crafty,” the steps in this guide make everything doable.
And most important: the look on a child’s face when they walk into class holding a box they made themselves? That alone makes the whole thing worth it. I wrote this post for my Crafters: The Best Sealant For Crafts
Supplies You’ll Need for Valentine Boxes
Base Boxes (choose one):
-
Tissue box – Easiest for beginners since it already has an opening; great for simple card collection.
-
Shoebox – Larger size allows for more decorations and bigger card exchanges.
-
Cereal box – Lightweight and perfect for themed or character-based designs.
-
Small carton box – Ideal for older kids who prefer minimalist or simpler designs.
Covering Materials:
-
Construction paper – Adheres easily and adds vibrant color.
-
Wrapping paper – Gives a smooth, clean finish and looks polished.
-
Scrapbooking paper – Adds texture and patterns for a more decorative effect.
-
Old gift bags – A budget-friendly alternative that can add color or designs.
Construction paper sticks better, wrapping paper looks cleaner, and scrapbooking paper adds extra texture.
Adhesives:
-
Glue stick – Perfect for lightweight paper and simple layers.
-
White glue – Stronger option for heavier decorations like foam or felt.
-
Double-sided tape – Provides a neat and strong bond without visible glue marks.
-
Clear tape – Useful for reinforcing edges or holding pieces temporarily.
Decorations:
-
Stickers – Easy way to add fun shapes, letters, or characters.
-
Ribbons – Adds color, texture, and a festive touch.
-
Foam sheets – Can be cut into shapes for a 3D effect.
-
Felt sheets – Soft, colorful material for creative designs.
-
Pipe cleaners – Flexible and can be shaped into hearts or other decorations.
-
Googly eyes – Fun addition for characters or playful designs.
-
Glitter – Adds sparkle; optional because it can be messy.
-
Sequins or confetti – Provides extra shine and texture.
-
Pre-cut foam hearts – Quick decorative option for Valentine’s theme.
Tools:
-
Scissors – Essential for cutting paper, ribbon, or decorations.
-
Craft knife (adults only) – For precise cutting of thicker boxes or detailed designs.
-
Ruler – Helps measure and create straight lines.
-
Pencil – Useful for marking measurements and outlines.
-
Marker – For labeling boxes or adding final details.
How to Make a Valentine Box for School (Step-by-Step)
This guide teaches beginners exactly how to make a Valentine box for school that is clean, and cute enough for classroom Valentine exchanges.
1. Choose and Prepare the Box
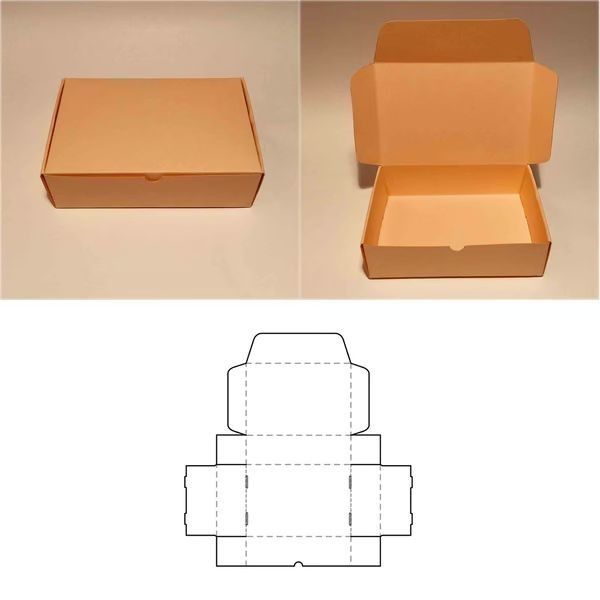
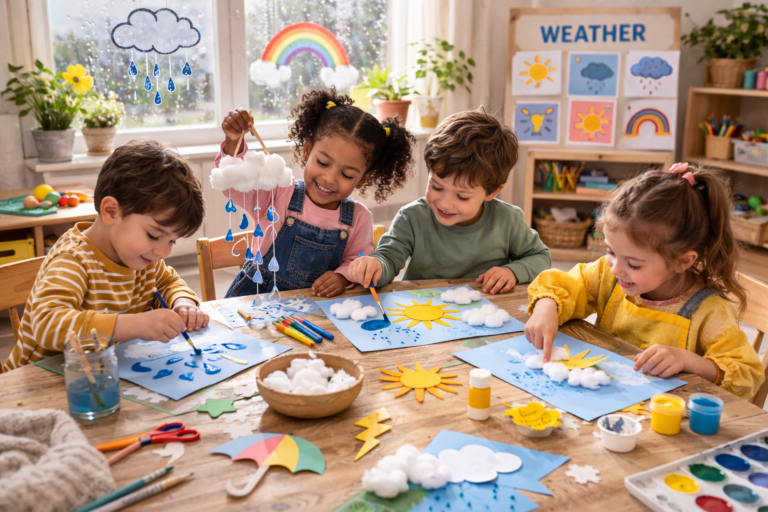
Photo credit: @ AnaisONE
Before decorating, choose a strong base that can hold all the Valentine cards your child will receive at school.
Best box types for beginners:
- Shoebox: roomy and strong, perfect for kids who expect a lot of cards
- Tissue box: great for simple designs (slot already included)
- Cereal box: lightweight and easy to cover
- Small shipping box: durable and holds shape well
How to prepare the box properly:
- Remove loose flaps, old tape, or uneven edges.
- Wipe off dust so glue and paper stick properly.
- If using a shoebox with a separate lid, you can glue the lid shut or leave it functional depending on your design.
- Reinforce weak corners with clear tape inside the box (not outside). It makes your Valentine box last longer through class handling.
If you are unsure how to make a Valentine box for school that can hold a lot, always choose a shoebox. They fit candies, chocolates, and cards without overflowing.
-
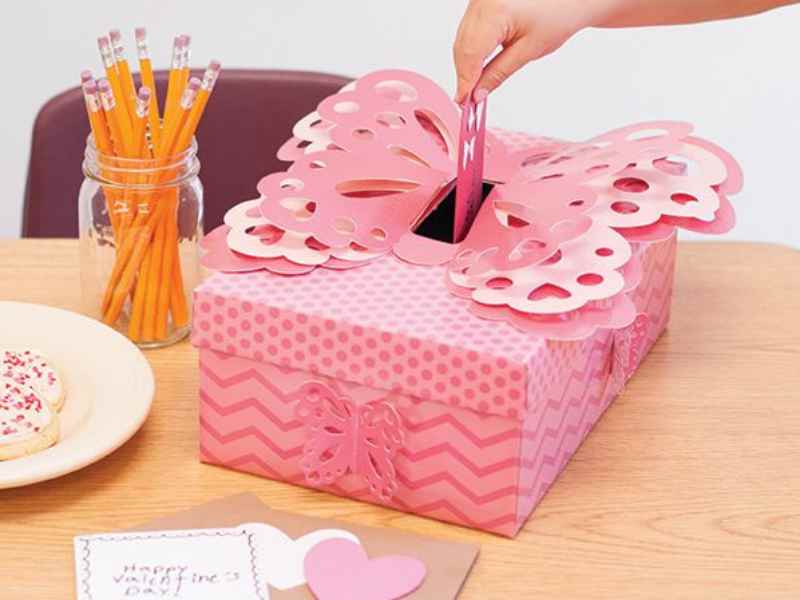
Wrap or Cover the Box
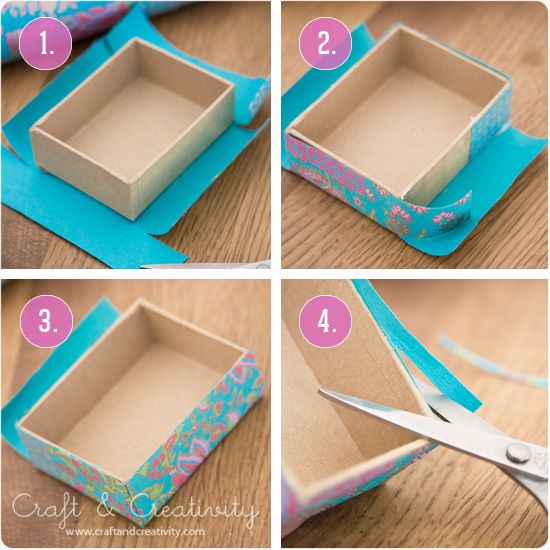
Photo credit: @ Craft & Creativity
This step gives your Valentine box a clean, smooth base before adding decorations.
Cover the entire box using construction paper, wrapping paper, scrapbook paper, or even leftover gift bags.
How to cover the box neatly:
- Place the box upside down on your paper. This helps you see how much you need.
- Cut paper for each side, this avoids wrinkling and bubbling.
- Fold all edges sharply with your fingers or a ruler for clean corners.
- Use double-sided tape inside the edges so the outside looks neat and smooth.
Beginner Mistake to Avoid:
Using too much white glue.
It soaks the paper, causes wrinkles, and makes the box look messy.
Use glue sticks or double-sided tape, they are cleaner and more beginner-friendly
If you want your Valentine box to look “store-bought neat,” wrap the lid and bottom separately (just like a gift box). It gives a polished finish.
-
Create the Card Opening
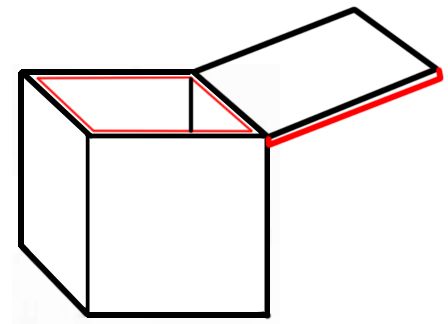
Photo credit: @Drawing How To Draw
This is one of the most important steps when learning how to make a Valentine box for school because the slot must be wide enough for candy but not so big that cards fall out.
How to cut a clean slot:
- Draw a rectangle on toparound 1 inch wide and 4–5 inches long.
- Adults should use a craft knife for safety. Younger kids can help mark the lines.
- Make small corner cuts first to avoid bending the cardboard.
- Push the rectangle inward gently or remove it fully.
- Reinforce the edges with paper strips or tape inside so the slot doesn’t tear during card drops.
If using a tissue box:
The opening already exists, simply reshape it into a cleaner rectangle using scissors.
If you plan to decorate around the slot, cut the opening before decorating. Cutting after decorating usually damages the design.
-
Decorate the Box
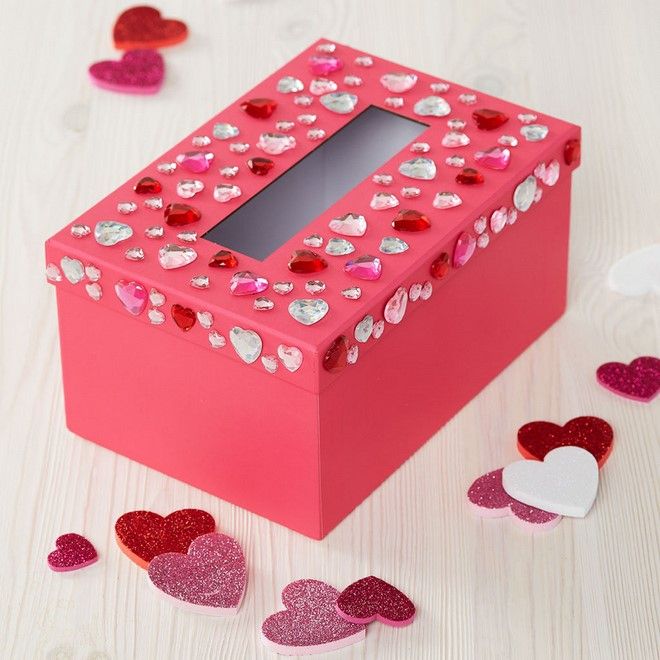
Photo credit: @ DIY Enthusiasts Blog
Now it’s time to turn the plain box into a fun Valentine masterpiece.
Most beginners randomly stick items everywhere, but using a simple design formula makes the box look neat and intentional.
Use This Decoration Formula For Perfect Results:
Step 1: Add the largest elements first.
These can be:
- Large paper hearts
- Foam shapes
- Printed character cut-outs
- A big bow or ribbon panel
Step 2: Add medium decorations.
These help frame the big pieces:
- Borders
- Stripes
- Polka dots
- Letter shapes
- Pattern accents
Step 3: Add small details last.
These make the design pop:
- Stickers
- Sequins
- Confetti
- Dots made with markers
- Light glitter
Popular Decoration Ideas:
- Fold paper hearts to create 3D shapes
- Add a ribbon border around the lid
- Attach stickers around the mail slot
- Layer different textures (matte + shiny)
- Create a theme: animals, superheroes, unicorns, love mail, favorite colors
Kids often place decorations randomly.
Guide them by saying:
“Let’s start with the center and work outward.”
It helps them learn balance and symmetry, making the Valentine box cleaner and more beautiful.
5. Personalize It
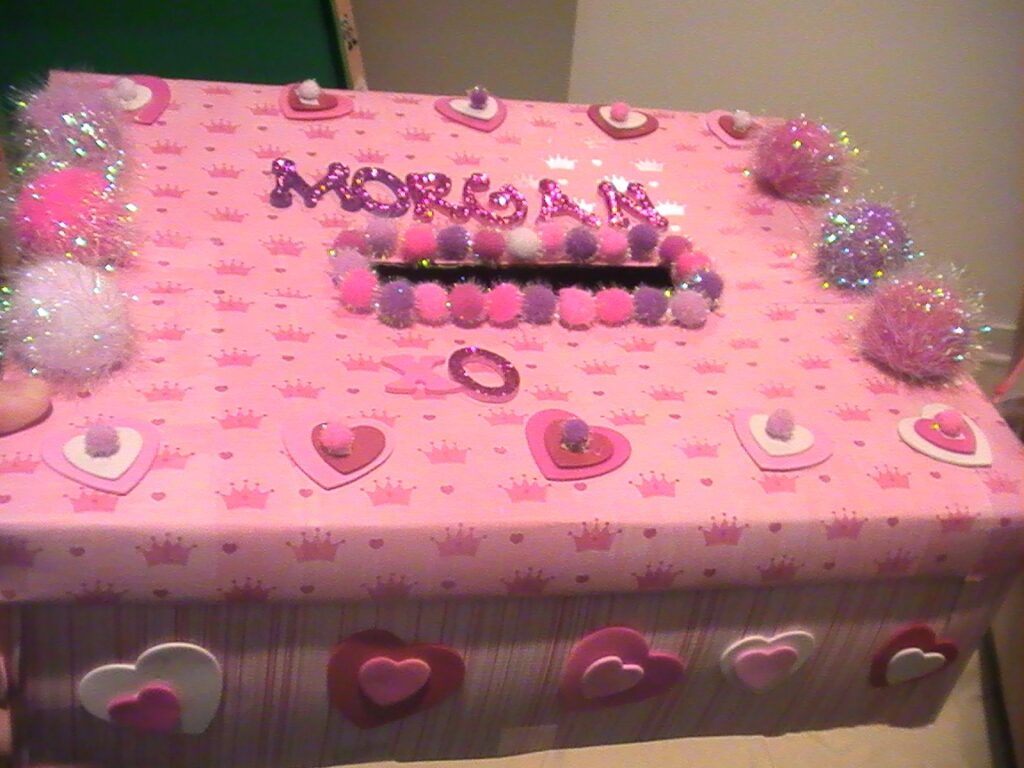
Photo credit: @ Nikki Greer
Every Valentine box needs a clear name on the front so teachers and classmates know who it belongs to.
Why this matters:
During class Valentine exchanges, kids often run around dropping cards quickly.
A bold, visible name prevents mix-ups.
How to personalize the box beautifully:
- Use alphabet stickers for crisp lettering
- Cut out foam or paper letters
- Write the name on a decorated label
- Use glitter pens or markers for older kids
- Make a name plate using a different color paper for contrast
Appearance tip:
Place the name near the top front of the box so classmates see it when dropping cards.
Next Up in Crafting:
DIY Vision Board Crafts for New Year Goals
Last Minute Christmas Craft In 30 Minutes
DIY Christmas Crafts From Recycled Materials
Easy DIY New Year’s Eve Hat Craft
DIY Christmas Crafts to Make This Holiday Bright
Simple Solutions for Common Crafting Issues
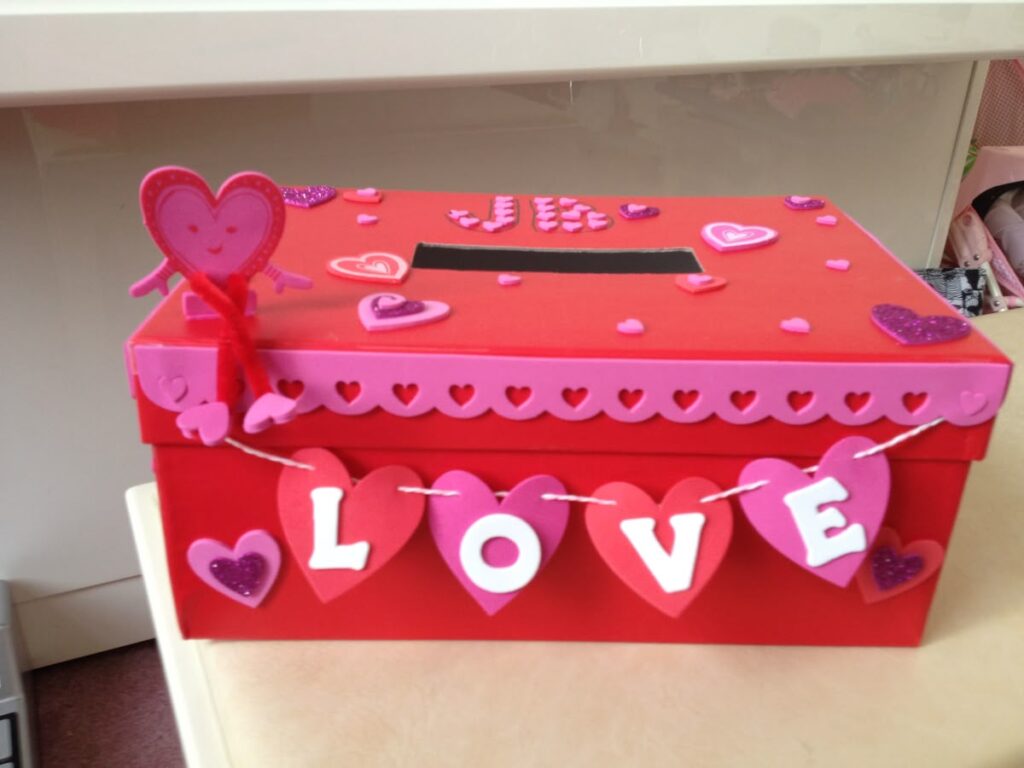
Photo credit: @ Valentine box
- Paper peeling off
If the paper starts to lift or wrinkle, it usually means the glue wasn’t strong enough or the paper was stretched during wrapping. The easiest fix is double-sided tape along all edges and corners. It keeps the box looking crisp and polished, even with little hands handling it at school. - Strengthen the box
Some boxes bend or wobble when filled with cards. You can make them sturdier by lining the inside with an extra layer of cardboard. This simple step keeps the box upright and durable without changing its outside design. - Heavy decorations won’t stick
Stickers and paper shapes usually stick fine with glue sticks, but heavier items, like foam hearts, googly eyes, or ribbon bows, need white craft glue or hot glue (for adults). This ensures your decorations stay in place all day. - Mail slot too wide
Accidentally cutting the slot a bit too big happens to everyone. Cover the edges with a decorative frame made of cardstock or foam. It hides the cut, reinforces the opening, and makes your box look like it was meant to be that way. - Box looks plain
A few simple touches can make a basic box shine. Try layering paper hearts, adding a ribbon border, or placing a small themed character on the front. These little details take your Valentine box from simple to special, and make how to make a Valentine box for school feel totally achievable.
Fun Variations and Design Ideas
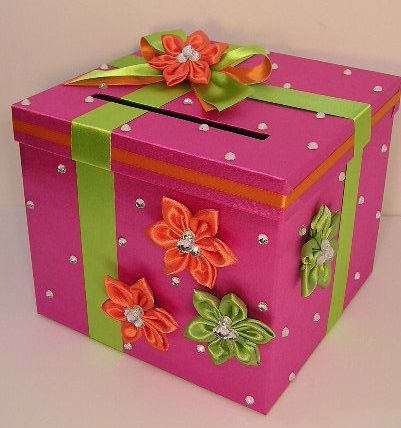
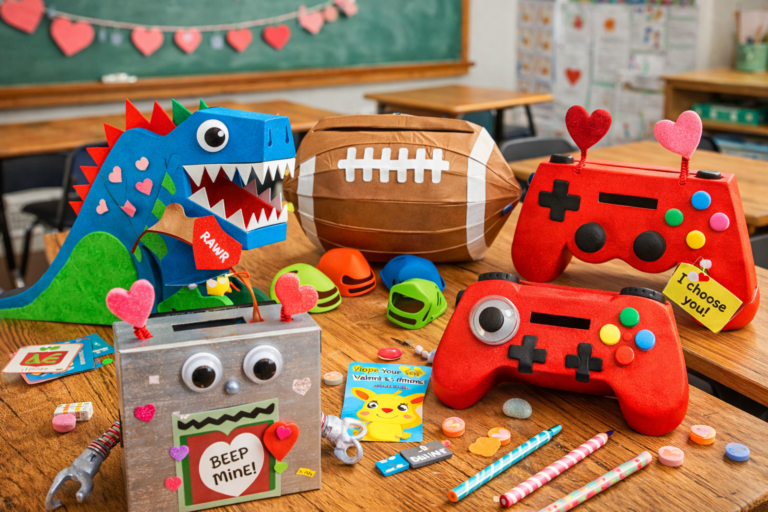
Photo credit: @ C. B.
1. Monster Box
Kids adore this because it’s silly, colorful, and full of personality.
Add:
- Big googly eyes (one eye for a cyclops look or many for a silly monster)
- Foam or cardboard teeth sticking out around the mail slot
- Pipe cleaner arms or antennae
- Bright neon colors for a playful vibe
Great for kids who want something bold and fun.
2. Love Mailbox
Perfect for a classic Valentine’s Day theme.
Create a rounded top using curved cardboard, then cover it in red and white paper for that postal look. Add:
- A tiny mail flag
- Letter-style decorations
This version looks like a mini post office drop box and fits plenty of cards.
3. Animal-Themed Box
Very popular for younger kids and animal lovers.
Choose from:
- Bear (round ears, soft colors)
- Puppy (floppy ears, a cute nose)
- Unicorn (horn, pastel colors, sparkles)
- Cat (pointed ears, whiskers)
Use foam, felt, or cardstock to build features. This type of Valentine box always gets compliments in school.
4. Candy-Themed Box
Sweet and colorful without being complicated.
Use bright patterns:
- Stripes
- Polka dots
- Paper “candy wrappers”
Add oversized heart “candies” to the front. Cute and cheerful, perfect for kids who want something simple but eye-catching.
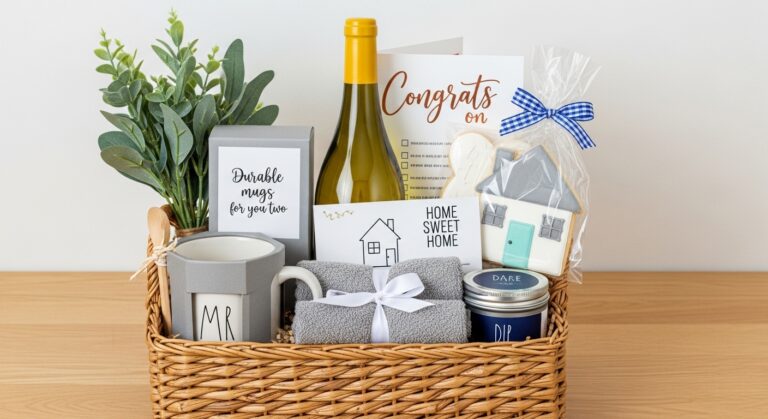
5. Simple & Minimal Box
Older kids often prefer a clean, stylish look.
Try:
- Solid-color wrapping
- One neat heart cutout
- A clean name tag
- A ribbon border or a minimalist sticker
This gives a mature, modern feel while still capturing Valentine’s Day warmth.
FAQs
How long does it take to make one box?
Most Valentine boxes take 30–60 minutes, depending on how layered or decorated the design is. More detailed themes (unicorns, monsters, animals) may take a bit longer.
Do I need expensive supplies?
Not at all. The beauty of learning how to make a Valentine box for school is that you can use what you already have:
- A box
- Paper
- Tape or glue
- Markers
Anything beyond that like ribbons, stickers, foam, is optional.
Can younger kids help?
Yes! Younger kids can decorate, place stickers, choose colors, and add hearts. Adults or older siblings should handle cutting, shaping cardboard, and using hot glue.
What if I’m not crafty?
Keep it simple:
- Stickers
- Cut-out hearts
- A clean paper wrap
- A few borders
Simplicity often looks the neatest. No crafting experience needed.
What type of box works best?
It depends on your goal:
- Shoeboxes → hold the most cards
- Tissue boxes → the easiest to decorate
- Small gift boxes → cute but fill up quickly
Shoeboxes are the most reliable for classroom exchanges.
Conclusion
Learning how to make a Valentine box for school doesn’t need to be complicated, stressful, or costly. With a little creativity, simple materials, and a few smart tips, you and your child can create something they’ll proudly show off in class.
Supposedly you’re making a monster box, an animal-themed design, a classic love mailbox, or something minimal and chic, the real beauty is in the fun time spent crafting together.