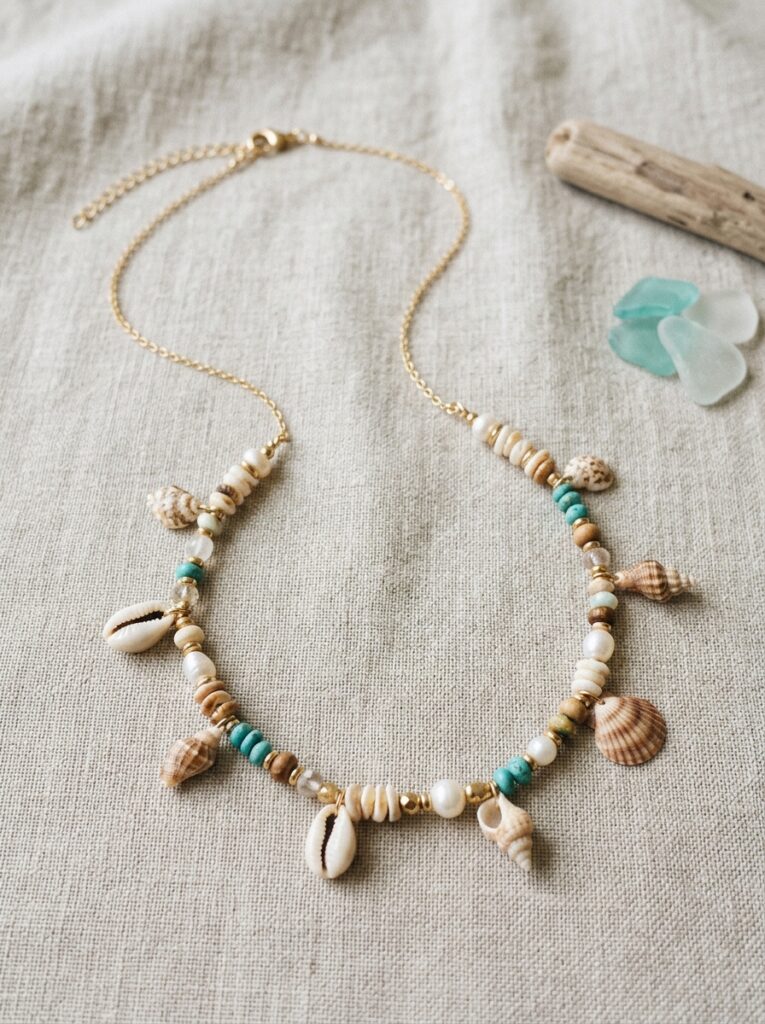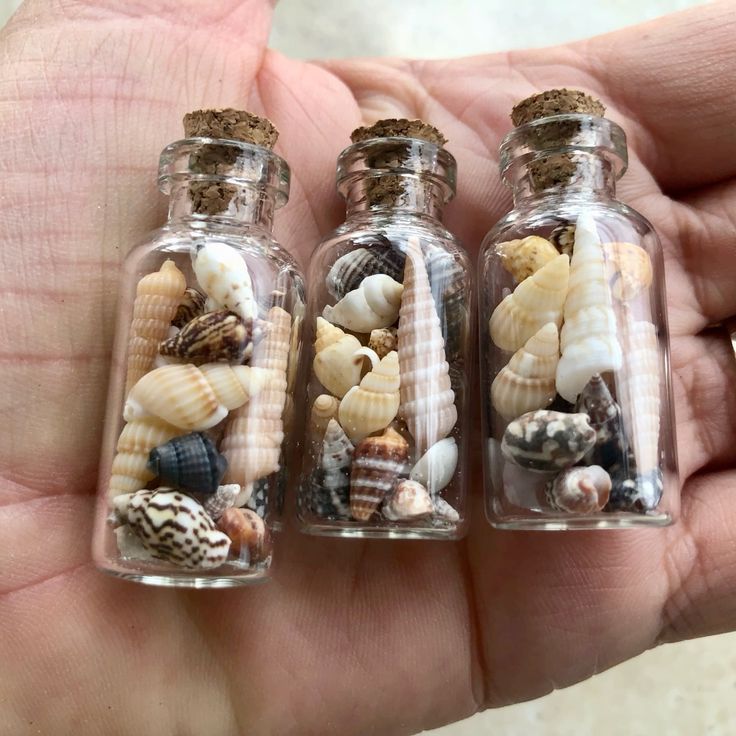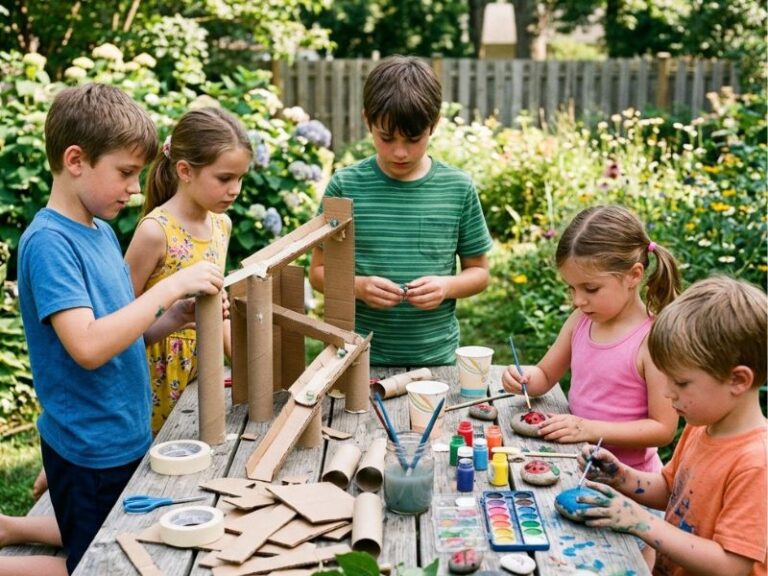
Choosing Safe & Durable Seashells
Many seashell crafts fail before the project even starts because the shells were not properly prepared.
The type, condition, and cleanliness of shells directly affect how durable and polished the final craft will look.
What you should know before you start making the Seashell Crafts:
-
Cleaned and Dried Shells Matter for Hygiene and Durability
Shells collected from beaches often contain trapped salt, sand, moisture, or organic residue. If not cleaned properly, they can develop unpleasant odors over time, especially in warm or humid spaces. Moisture left inside shells may also encourage mold or bacteria growth.
-
Dry Shells Hold Paint and Glue Better
Damp shells can prevent adhesives and paint from bonding correctly. Fully dried shells create a more stable surface for crafting and help projects last longer without peeling or separating.
-
Thin Shells Break More Easily During Crafting
Delicate shells may crack when drilled, painted, or pressed into heavier designs. Larger or thicker shells are usually safer for structural crafts because they can handle pressure more effectively.
-
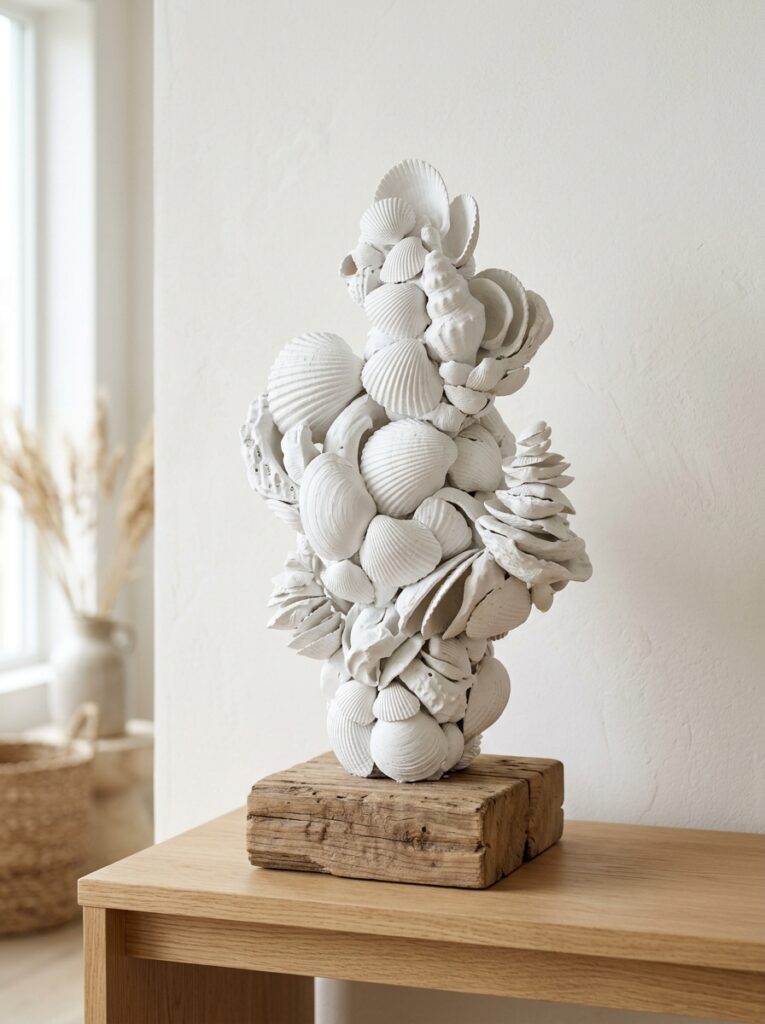
Craft-Friendly Shells Are Stronger and Easier to Work With
Clam shells, oyster shells, and thicker coastal shells tend to hold up better during painting, gluing, and hanging projects compared to brittle decorative shells.
-
Drilling Creates Stress Fractures in Weak Shells
Many collected shells crack because pressure concentrates around natural weak points. Drilling too fast or using excessive force increases the chance of breaking.
-
Shell Surfaces Can Reject Paint if Not Prepared Properly
Some shells have glossy or salt-coated surfaces that make acrylic paint peel or streak. Light sanding or priming helps paint adhere more evenly.
-
Understanding Shell Quality Prevents Frustrating Craft Failures
Choosing durable, properly prepared shells helps projects look cleaner, last longer, and feel more polished instead of fragile or messy.
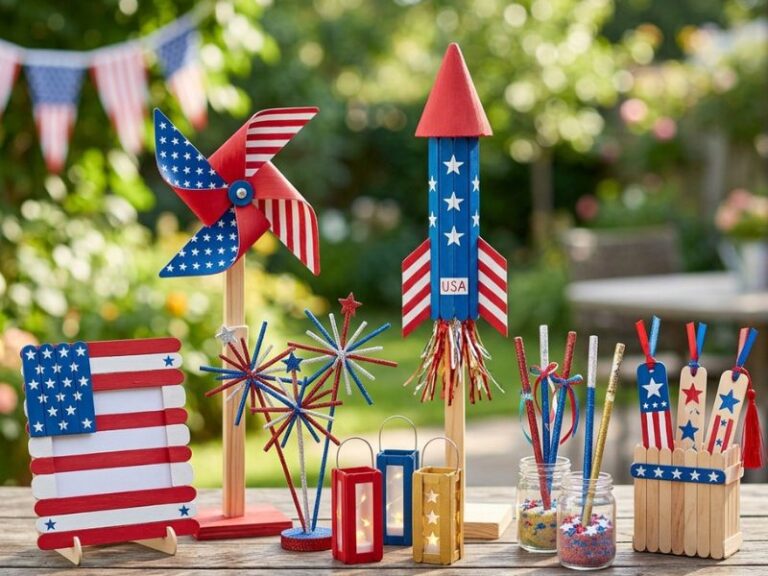
For quick and festive crafting, 25 Easy 4th of July Popsicle Stick Crafts for Kids That Are Fun and Festive offers easy hands-on projects perfect for summer break activities.
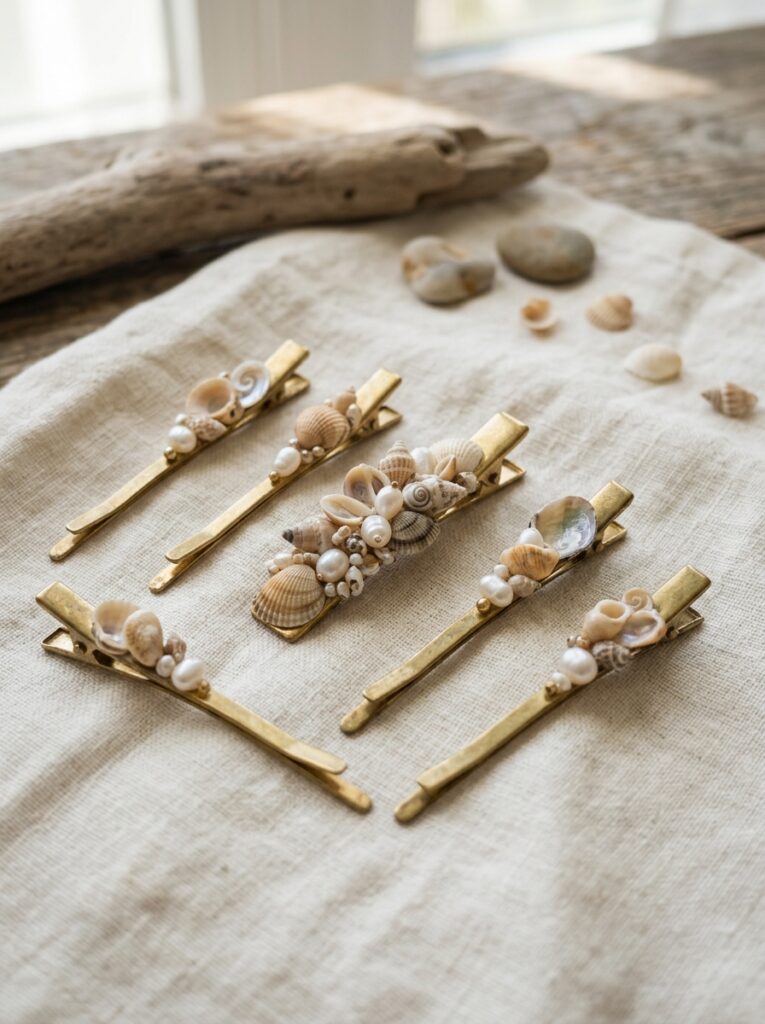
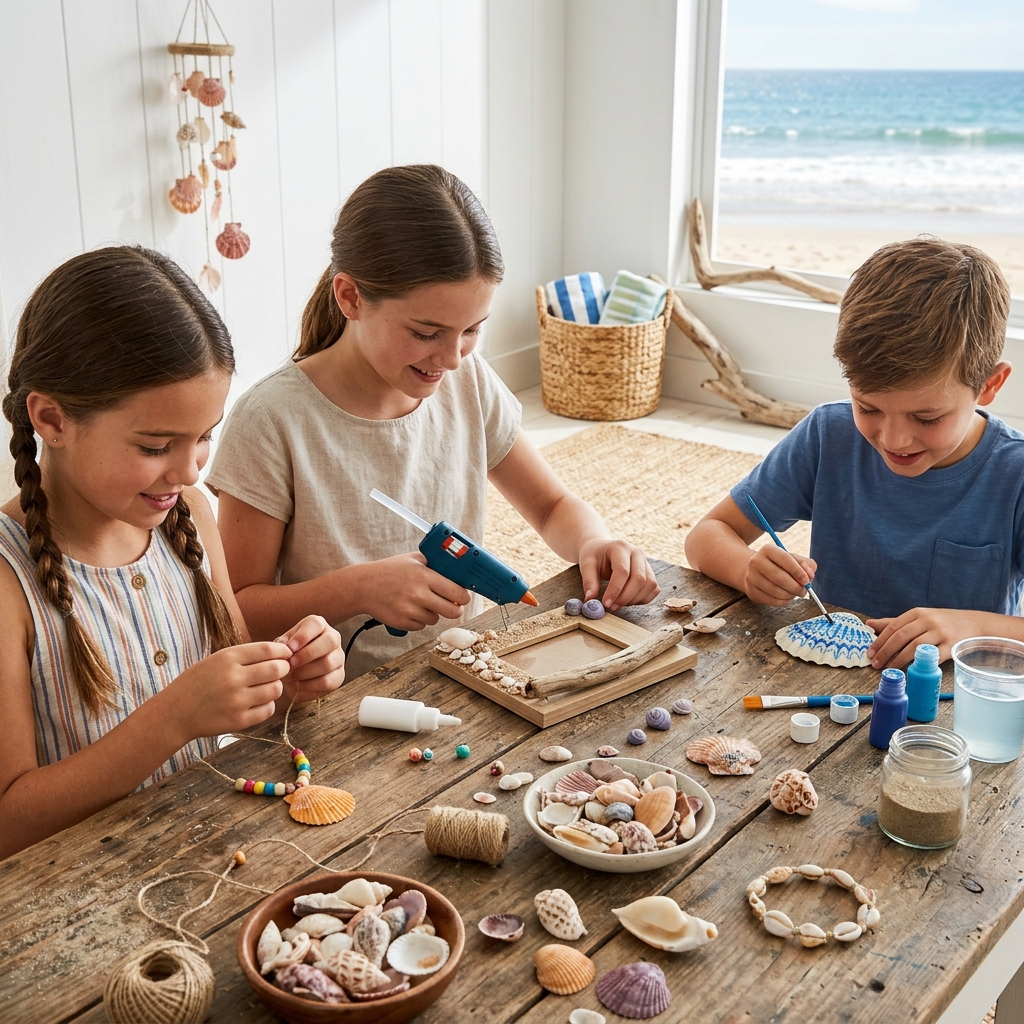
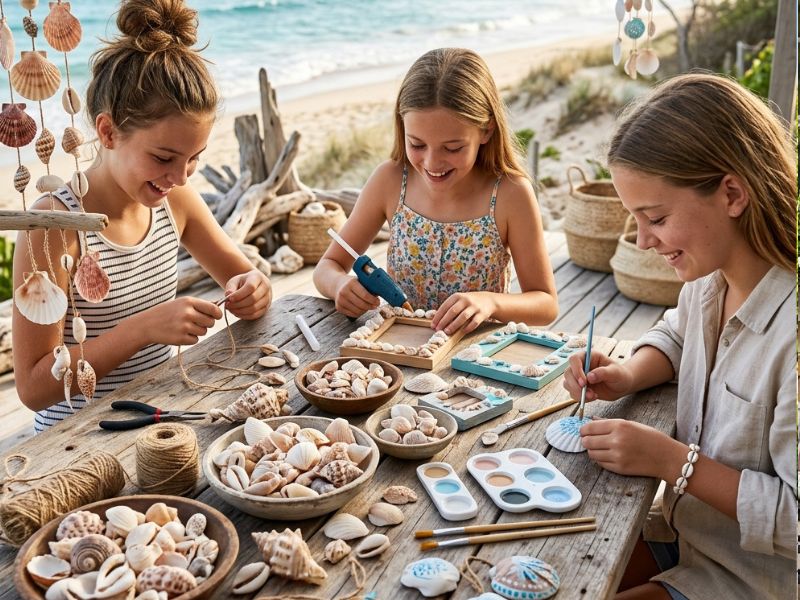
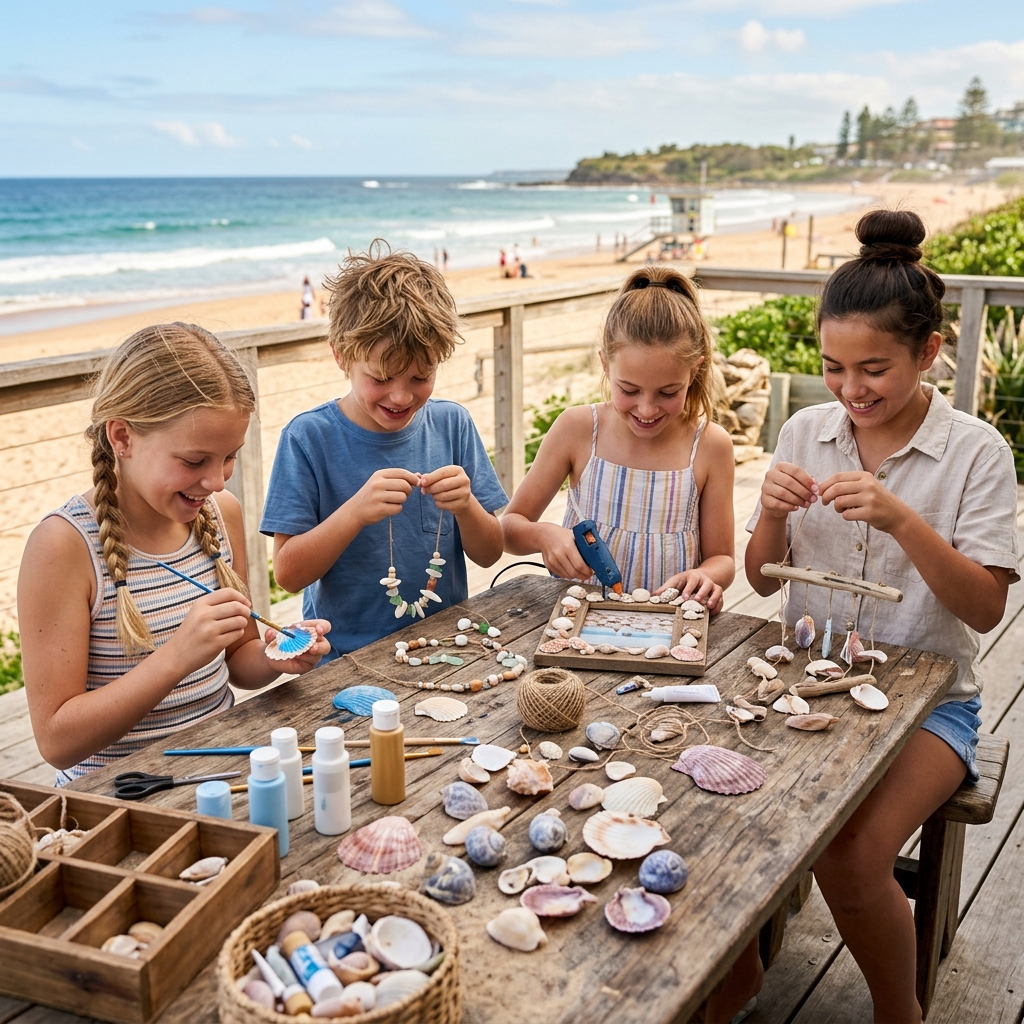
Beautiful Seashell Crafts for Big Kids
A. Creative Decor Projects That Feel Room-Ready
1. Minimal Coastal Shell Mirror Border
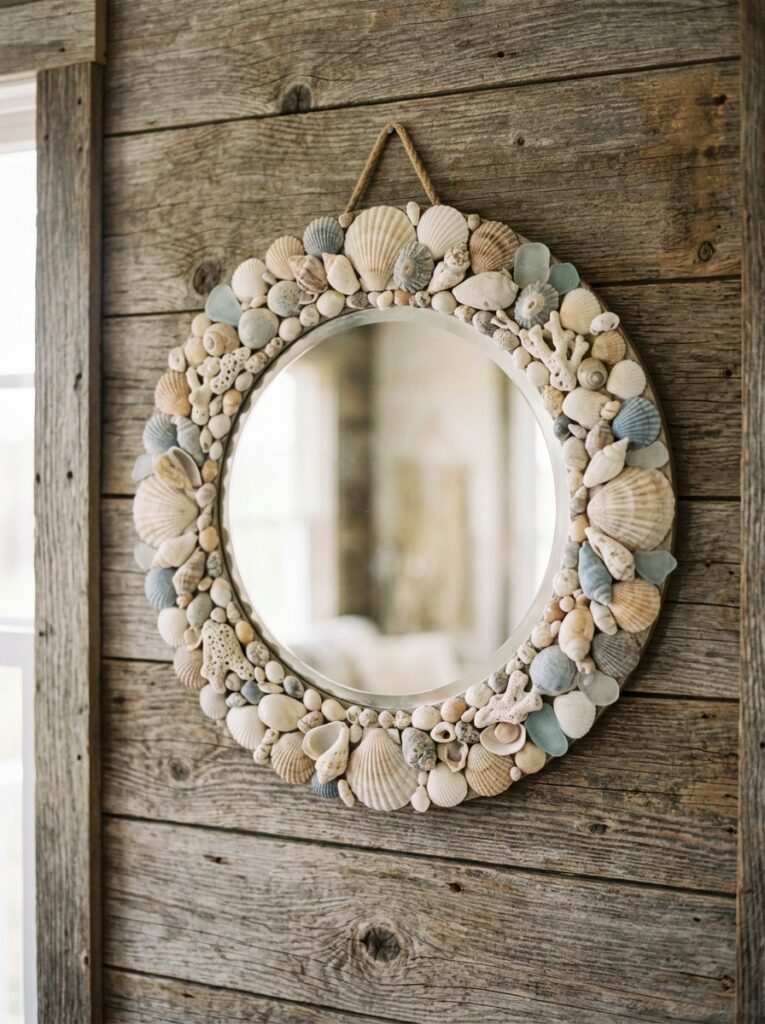
A shell mirror border gives older kids a creative project that also works as real room decor. Keeping the layout minimal helps the design feel modern instead of overcrowded.
Materials
- Plain round or square mirror
- Medium and small seashells
- Hot glue gun or strong craft adhesive
- Neutral acrylic paint (optional)
- Rope or twine for texture
- Soft cloth for cleaning
How to Make It
- Clean and dry all shells before starting.
- Lay the shells around the mirror first without gluing to test spacing.
- Start with larger shells as anchor pieces around the edges.
- Fill small gaps with tiny shells or rope accents.
- Keep some empty space visible so the design feels balanced.
- Glue each shell firmly and allow it to dry completely before hanging.
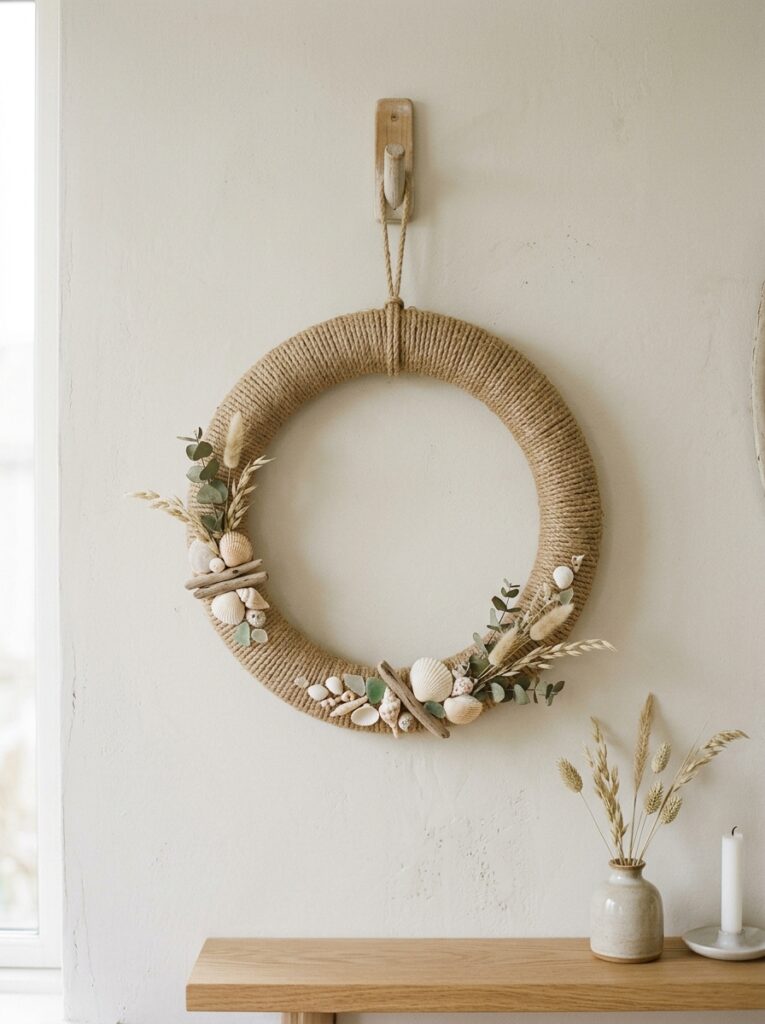
2. Driftwood & Shell Wall Hanging
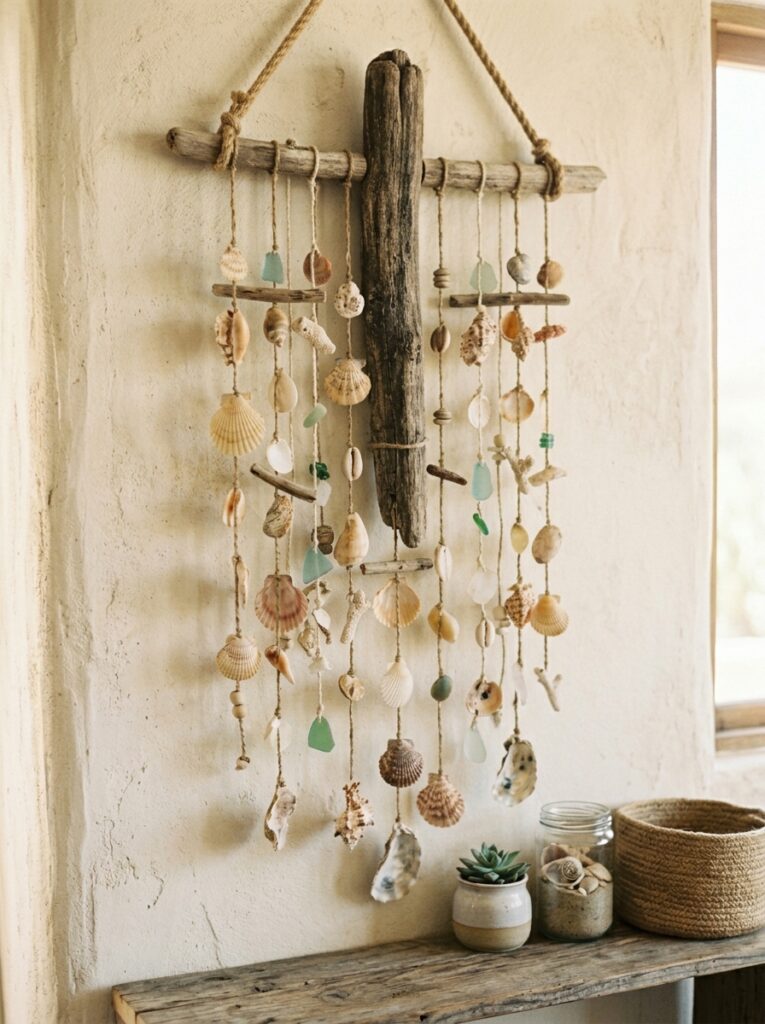
This project combines natural textures like wood, shells, and rope to create relaxed coastal wall decor that feels artistic and display-worthy.
Materials
- Piece of driftwood or smooth branch
- Assorted seashells
- Cotton string or fishing line
- Small beads (optional)
- Craft drill or nail for shell holes
- Scissors
How to Make It
- Arrange shells by size before attaching them.
- Carefully create small holes in stronger shells if needed.
- Cut strings at different lengths for layered movement.
- Tie shells onto the string securely.
- Attach each strand to the driftwood piece evenly.
- Add beads between shells for extra texture if desired.
- Hang where natural light can highlight the shell textures.
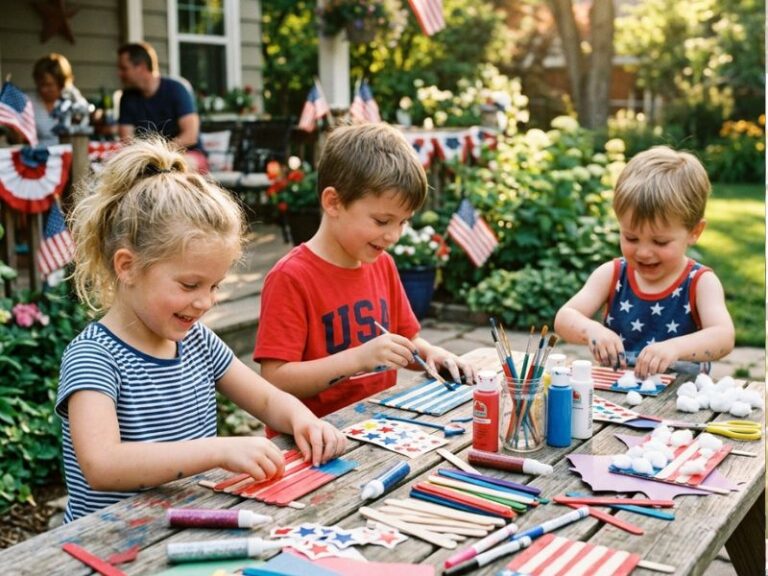
Meaningful seasonal activities are easy to plan with 21 Meaningful Father’s Day Sunday School Crafts for Kids, designed to teach gratitude through creative expression.
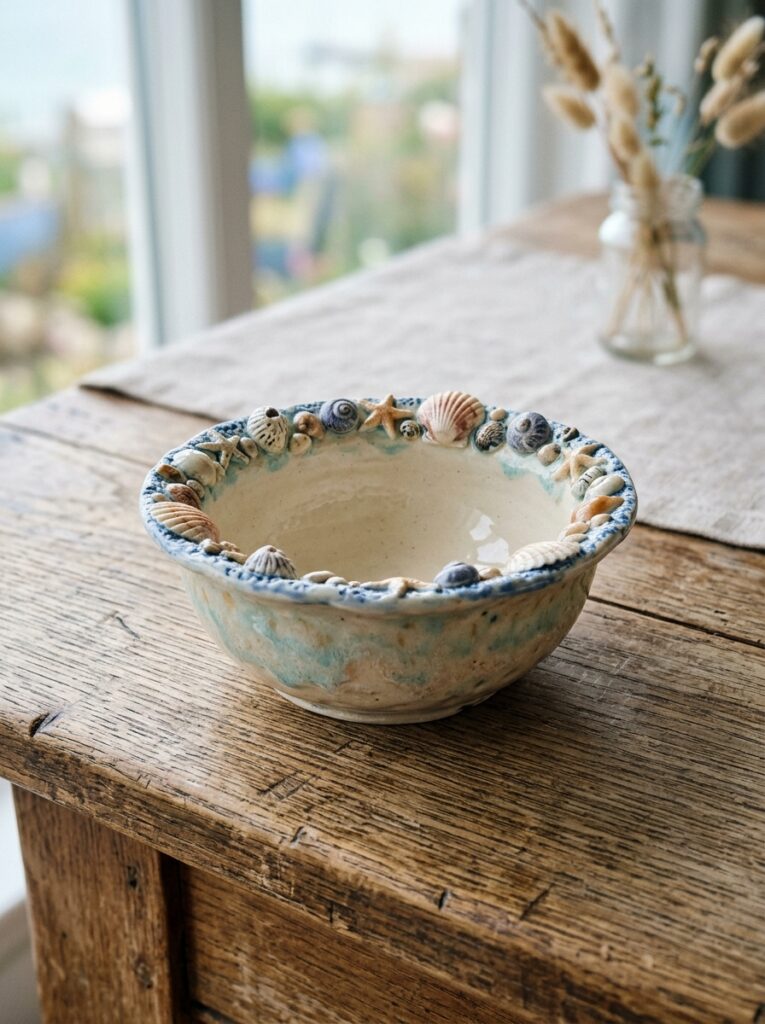
3. Neutral Seashell Shadow Box
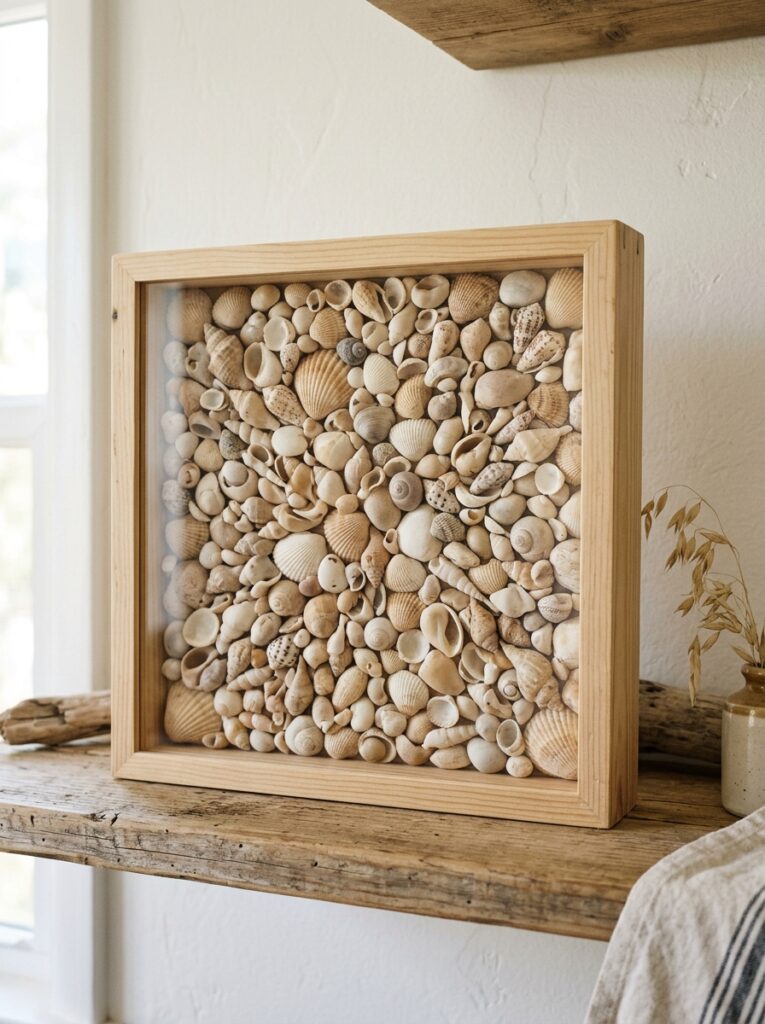
A shadow box turns collected shells into organized coastal art instead of loose decorations sitting in containers.
Materials
- Shadow box frame
- Neutral background paper or linen fabric
- Mixed seashells
- Hot glue or mounting adhesive
- Small labels or handwritten notes (optional)
- Tweezers for placement
How to Make It
- Choose a neutral background color to keep attention on the shells.
- Arrange larger shells first to create structure.
- Add smaller shells around them without overcrowding the layout.
- Leave visible space between pieces for a cleaner design.
- Glue shells carefully once satisfied with placement.
- Add optional labels with beach names or collection dates.
- Close the frame securely before displaying.
4. Textured Beach Memory Frame
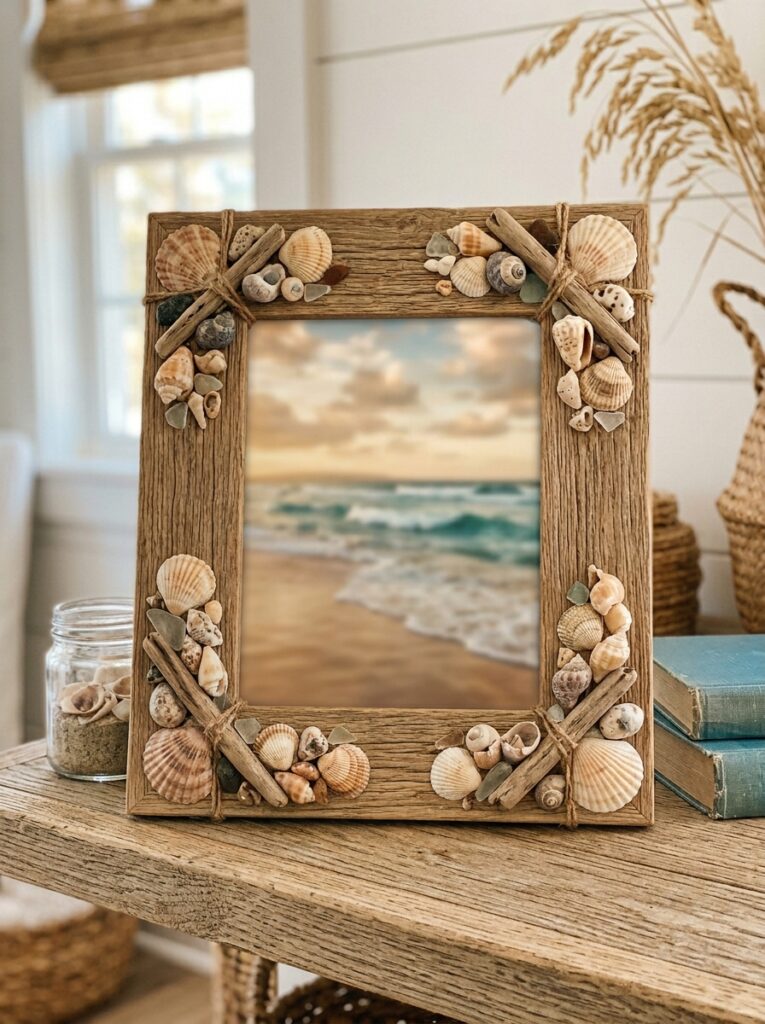
This craft turns beach memories into personalized decor while teaching balance, texture layering, and composition.
Materials
- Plain wooden photo frame
- Seashells in different sizes
- Small pieces of sanded driftwood
- Rope, linen, or textured fabric scraps
- Hot glue gun
- Printed beach photo
How to Make It
- Place the photo inside the frame before decorating.
- Arrange shells and driftwood around the corners first.
- Use rope or fabric sparingly for soft coastal texture.
- Avoid covering the entire frame to keep it visually balanced.
- Mix smooth and rough textures for depth.
- Glue pieces firmly and let the frame dry completely.
- Display on a shelf or hang as beach-inspired room decor.
School-based projects become simpler with Easy Father’s Day Crafts for Kindergarten Kids to Make at School, helping younger children create thoughtful gifts with minimal materials.
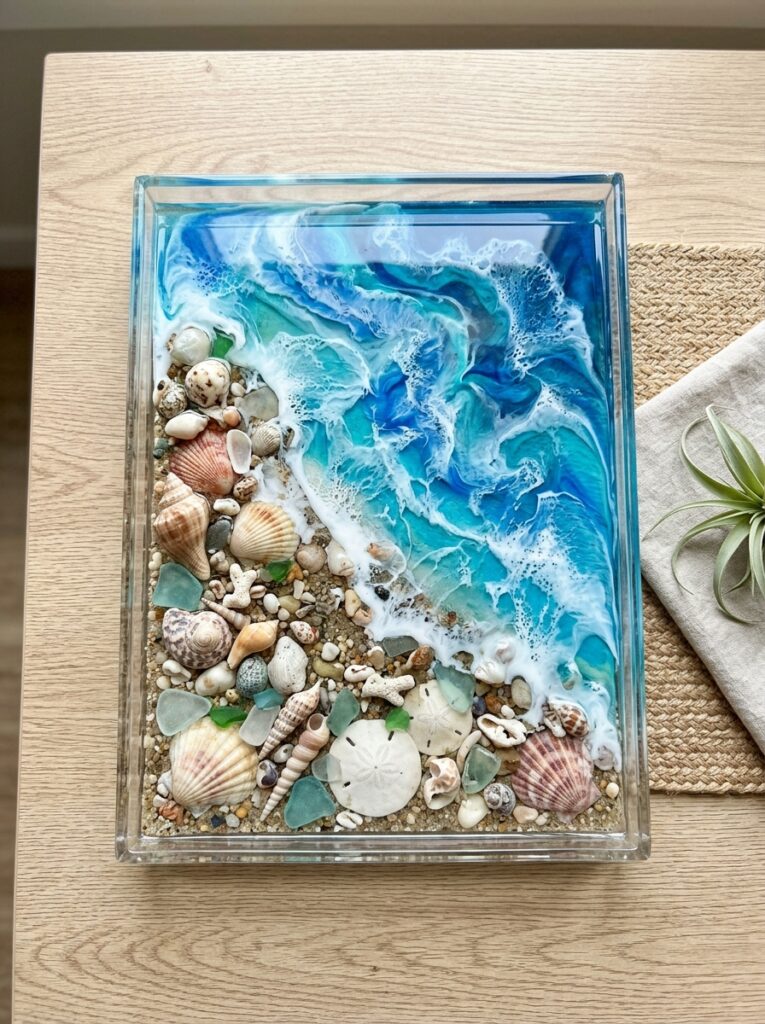
B. Artistic Shell Projects That Encourage Creativity
5. Abstract Shell Mosaic Canvas
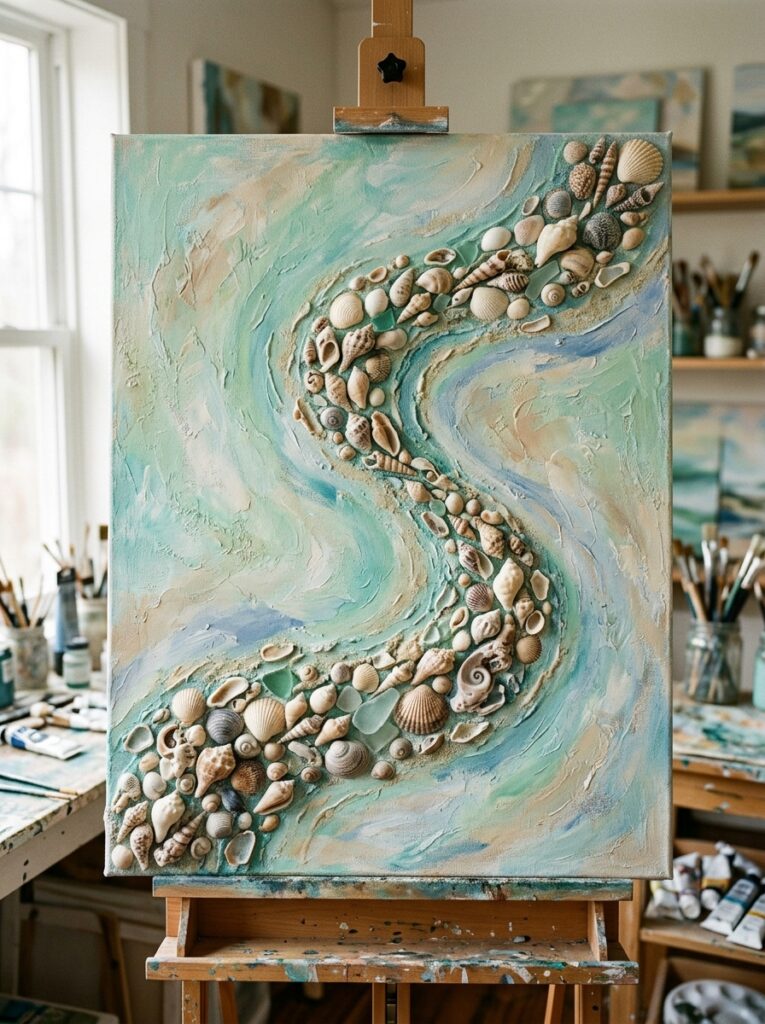
Abstract mosaic designs allow older kids to experiment with color, spacing, and texture without worrying about making everything perfectly symmetrical. Among creative seashell crafts, this project feels more like real wall art than a basic kids’ activity.
Materials
- Blank canvas board
- Mixed seashells in different sizes
- Acrylic paint in coastal tones
- Strong craft glue or hot glue gun
- Pencil for sketching layout
- Small sponge or paintbrush
How to Make It
- Sketch a loose abstract pattern on the canvas first.
- Paint the background using soft beach-inspired colors.
- Arrange larger shells first to create focal points.
- Fill smaller spaces with tiny shells or shell fragments.
- Leave some empty canvas visible for a cleaner artistic look.
- Glue shells carefully once satisfied with the composition.
- Allow the canvas to dry fully before displaying.
6. Painted Shell Constellation Art
Combining astronomy-inspired patterns with coastal textures makes these seashell crafts feel creative, educational, and visually unique for older kids.
Materials
- Flat seashells
- Dark blue or black cardstock/canvas
- White paint pen or metallic marker
- Silver acrylic paint
- Glue adhesive
- Small paintbrush
How to Make It
- Paint selected shells with soft metallic or pearl finishes.
- Arrange shells in the shape of constellation patterns.
- Draw connecting lines lightly between shells using a paint pen.
- Keep spacing even so the design stays readable.
- Add tiny painted stars around the shells for depth.
- Glue shells only after finalizing the arrangement.
- Frame the artwork for a more polished result.
Personal keepsakes feel extra special in 19 Adorable Father’s Day Footprint Craft Ideas Kids Can Make, turning tiny footprints into memorable handmade gifts.
7. Ocean Gradient Shell Arrangement
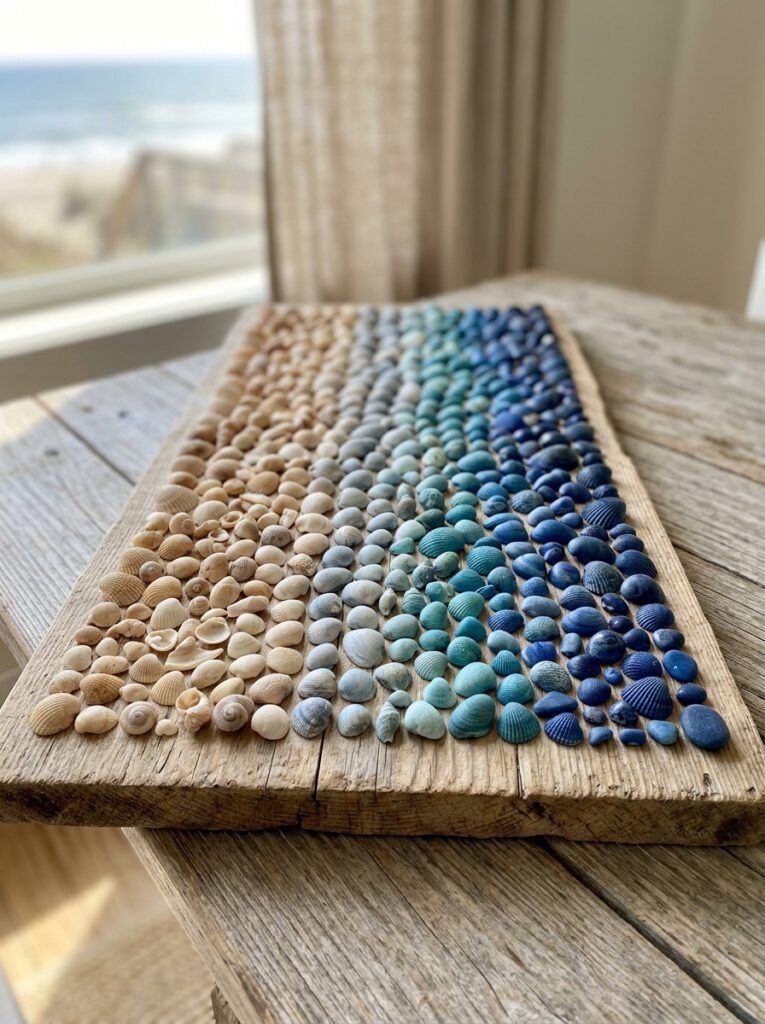
Color gradients help older kids understand visual balance while creating modern-looking seashell crafts inspired by changing ocean tones.
Materials
- Assorted shells
- Acrylic paint in ocean-inspired shades
- Wooden board or canvas
- Glue gun
- Paint palette
- Soft cloth for cleaning shells
How to Make It
- Sort shells by size before painting.
- Paint shells gradually from light sandy tones to deep ocean blues.
- Allow all painted shells to dry completely.
- Arrange the shells in an ombré or wave-like gradient pattern.
- Start with darker shades on one side and lighter shades on the other.
- Glue shells carefully while maintaining smooth color transitions.
- Keep the layout slightly spaced so the gradient remains visible.
8. Shell Mandala Wood Board
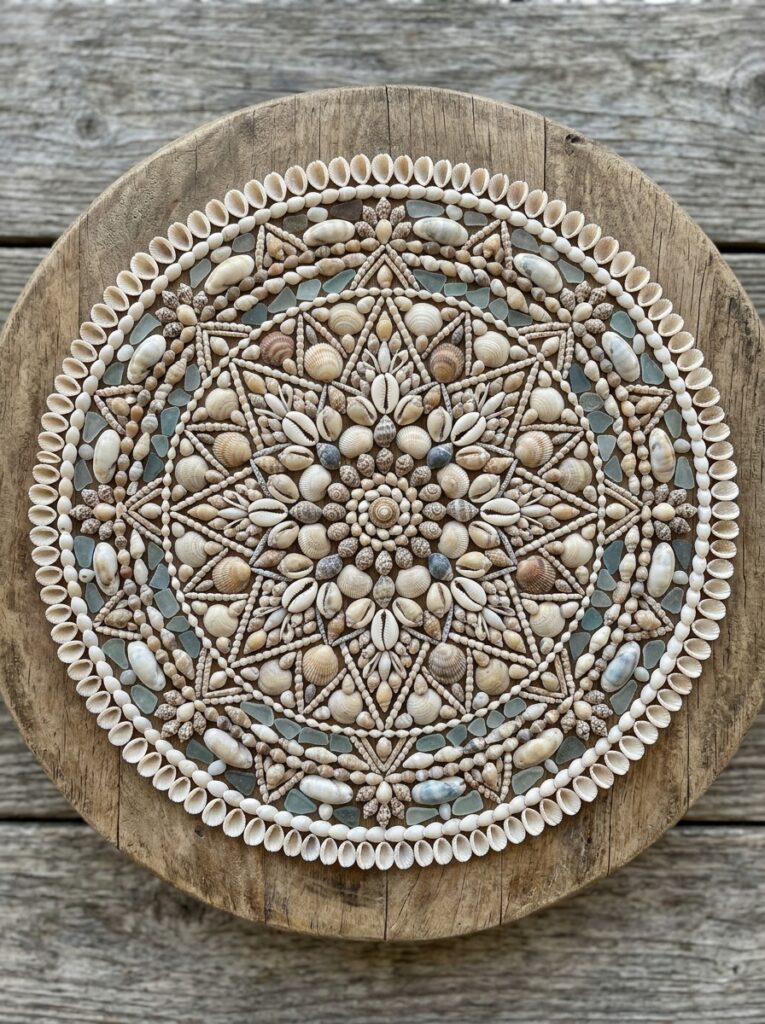
Mandala-inspired seashell crafts encourage patience, focus, and pattern-building while creating detailed coastal-style decor that feels mature and artistic.
Materials
- Round wooden board
- Small and medium seashells
- Pencil for guidelines
- Strong adhesive
- Neutral paint or wood stain (optional)
- Ruler or compass tool
How to Make It
- Draw light circular guidelines on the wooden board.
- Place one larger shell in the center as the focal point.
- Build repeating shell patterns outward from the middle.
- Alternate shell textures and sizes for visual contrast.
- Keep spacing consistent to maintain symmetry.
- Glue one ring of shells at a time instead of rushing the layout.
- Let the finished board dry completely before hanging or displaying.